Homemade Peanut Butter Dog Treats
This post may contain affiliate links. Please see our privacy policy for details.
The easiest homemade dog treats ever – simply mix, roll and cut. Easy peasy, and so much healthier than store-bought!
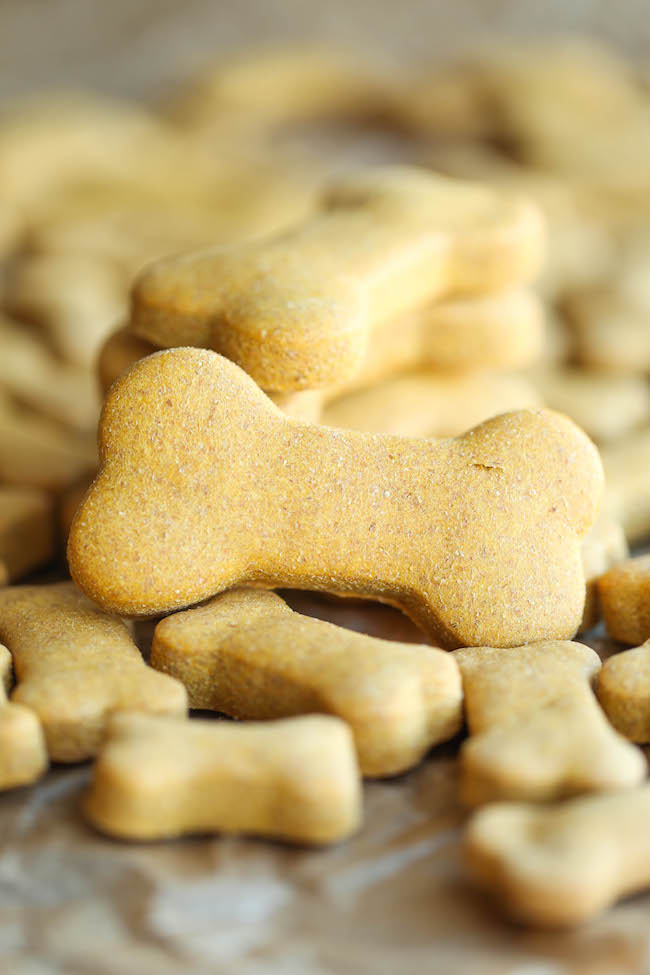
I know. Dog treats on Damn Delicious? I never thought I’d see the day. But with this face, I just couldn’t resist.
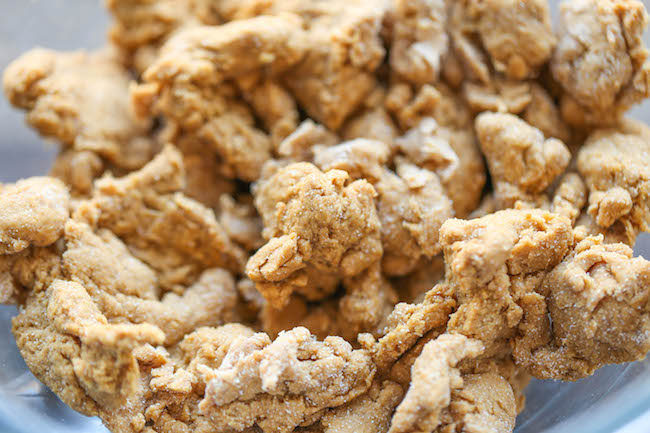
No, but really, I’ve been spending a lot of time and money shopping for good-quality dog treats for Butters here, but then I thought, why not just make them at home?
Nothing beats the homemade version and I know exactly what’s going into his food instead of all those suspicious by-products.
Best of all, these homemade treats are incredibly easy with ingredients you already have on hand – peanut butter, some leftover pumpkin puree from the holidays, eggs and whole wheat flour.
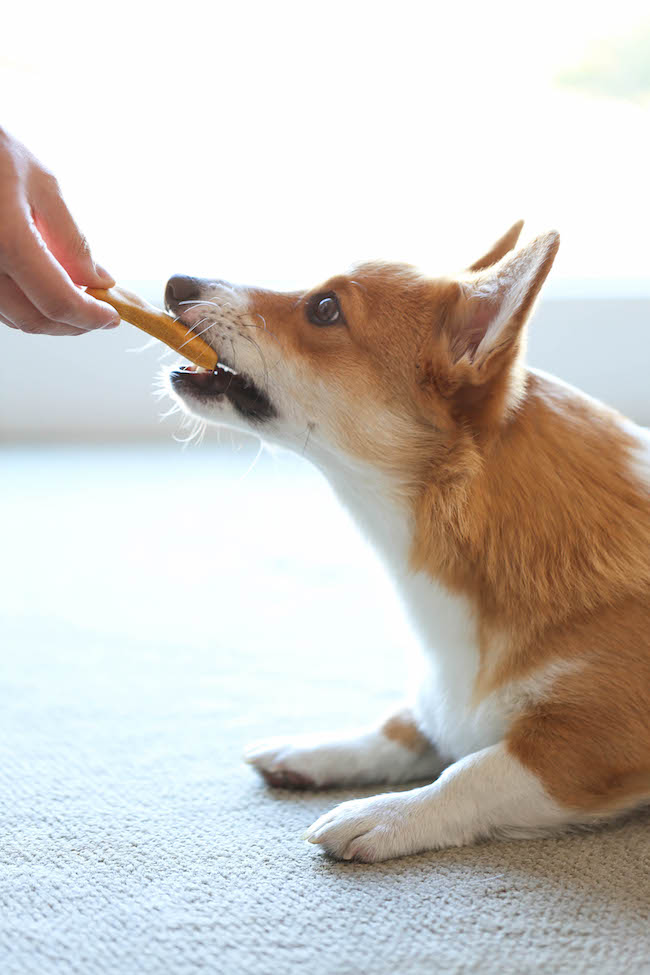
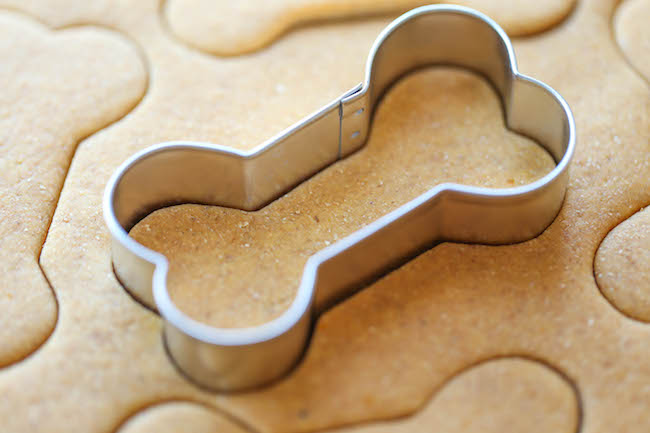
And bone-shaped cookie cutters are just so much fun to work with. I used these and made several different sizes, although I certainly favored the smallest ones. They are just too cute.
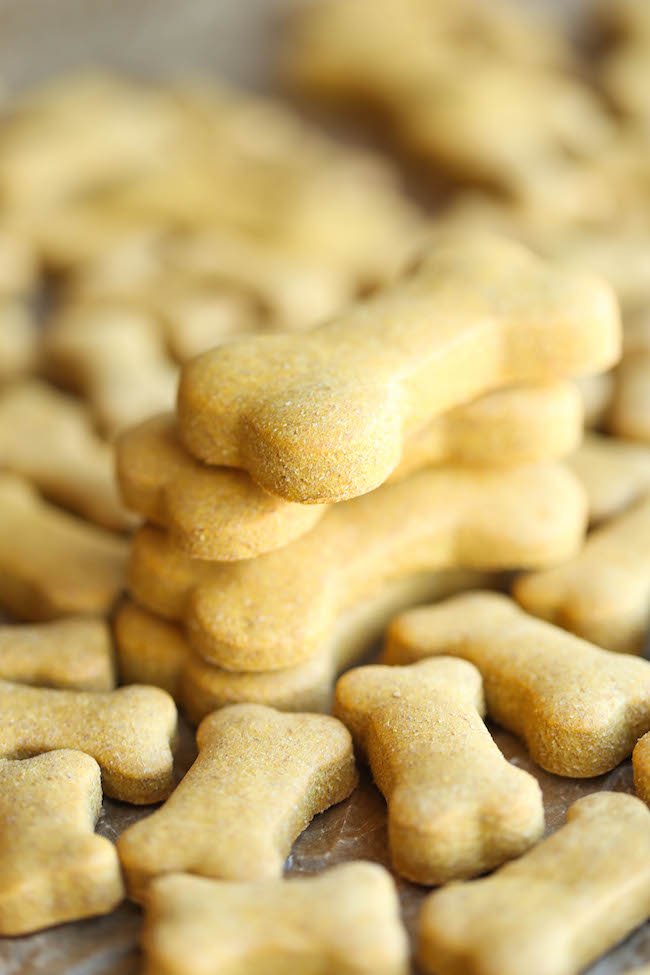
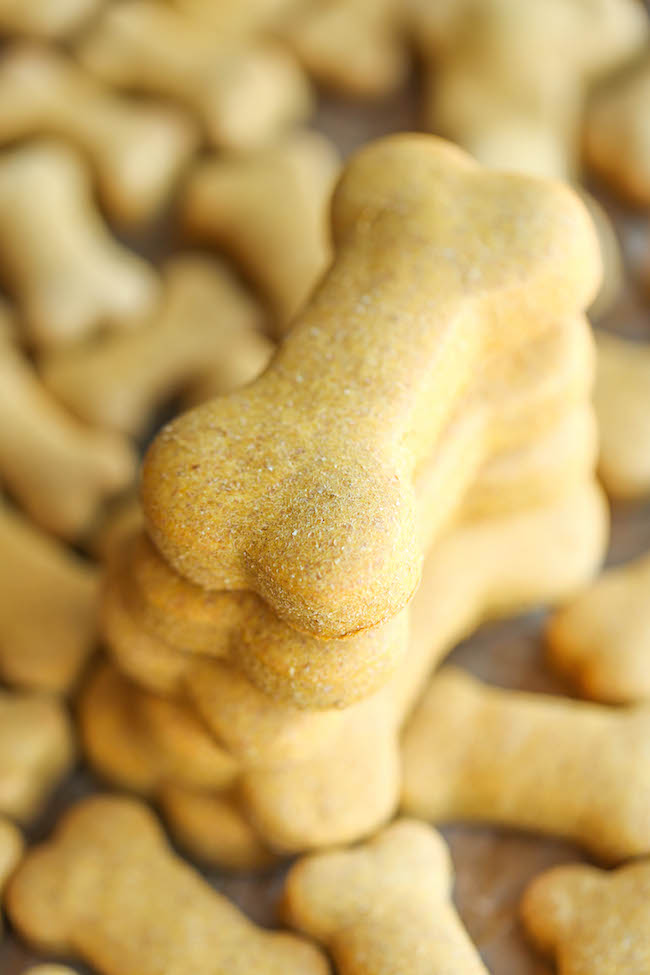
But you can really use any kind of cookie cutter you want – hearts, stars, dog houses, paws, etc. It’s up to you! Just be sure to adjust baking time as needed – the longer they bake, the crunchier they are so it’s really up to your pups’ preferences.
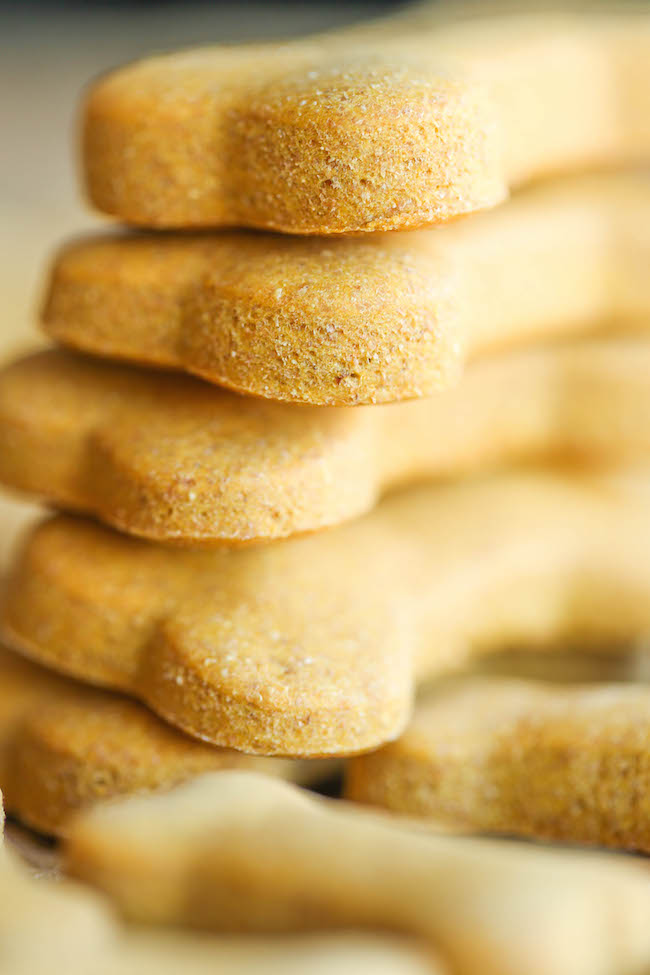
And believe me when I tell you that your pup is going to LOVE these so much!
Please consult with your pet’s veterinarian regarding possible allergies your dog may have.
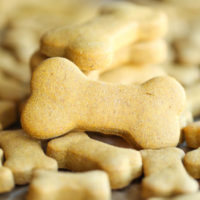
Homemade Peanut Butter Dog Treats
Ingredients
- ⅔ cup pumpkin puree
- ¼ cup peanut butter*
- 2 large eggs
- 2 ½ cups whole wheat flour
Instructions
- Preheat oven to 350 degrees F. Line a baking sheet with parchment paper or a silicone baking mat; set aside.
- In the bowl of an electric mixer fitted with the paddle attachment, beat pumpkin puree, peanut butter and eggs on medium-high until well combined, about 1-2 minutes.
- Gradually add 2 1/2 cups flour at low speed, beating just until incorporated. Add an additional 1/4 cup flour at a time just until the dough is no longer sticky.
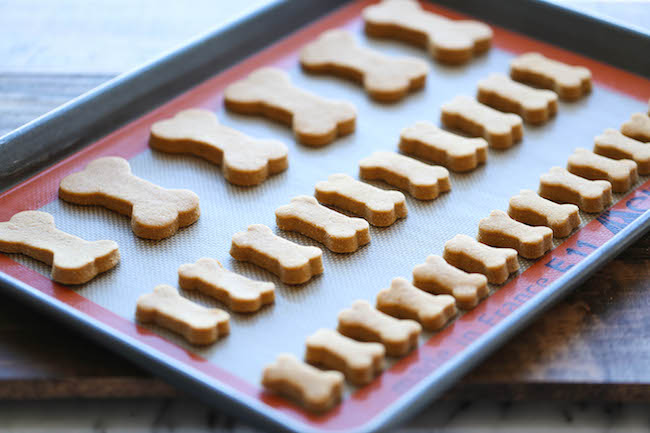
- Working on a lightly floured surface, knead the dough 3-4 times until it comes together. Using a rolling pin, roll the dough to 1/4-inch thickness. Using cookie cutters, cut out desired shapes and place onto the prepared baking sheet.
- Place into oven and bake until the edges are golden brown, about 20-25 minutes.*
- Let cool completely.
Notes
Did you make this recipe?
Tag @damn_delicious on Instagram and hashtag it #damndelicious!
style=”text-align: center;”>







All my friends’ dogs loved them but I would advise that you do not put them in a plastic bag since they cool semi-soft. In less than a two week period being in a plastic ziploc bag the treats started to mold. I would advise drying them til they were hard or keeping in the refrigerator if you wanted them semi soft.
My girl is SO SO picky. These are a hit. Simple and quick to make. Thank you for this recipe, she’s a happy girl. And the food driven boy obviously loves them lol
I didn’t find a bone cookie cutter but used a lid. Made about 100. Took very little time/effort and my 3 dogs love them! Did I mention safe and cost effective?! Thank you.
Three cups of flour would have been way too much. I used a scant 2 1/2 cups and the dough was workable and easy to roll. They came out perfect. We have a set of miniature cookie cutters in Christmas shapes and you wouldn’t believe how neat these looked. A double batch made about a hundred. All our friends with dogs got a little tin of treats and the dogs were all crazy about them. My own little dog–a fussy eater–liked them a lot. I’ve made dog treats before but this was by far the best liked and didn’t wind up being so costly as other recipes I’ve tried that call for weird stuff like wheat germ and honey. Thanks for posting this great recipe!
I’ve made these twice now. My dogs love them. I definitely recommend baking 25 minutes. Will certainly make again!
Cindi, what size cookie cutter did you use? I have a small bone cookie cutter and my dog is 14 pounds. You said you would recomment baking 25 minutes. But if you made larger treats, I shouldn’t bake my small ones for 25 minutes. Please advise as I am going to make some next weekend.
My 9 month old English Mastiff pup loves these! I only needed 2 and 1/2 cups of wheat flour instead of 3. I recommend that if you are making these for the first time, start with 2 and 1/2 cups and add more if necessary. I made these for Christmas for all of the pups in our family, and they thoroughly enjoyed them!
Great biscuits! I’ve made these several times already and always freeze extra dough so we can bake more before he runs out! My dog loves these cookies! Still goes crazy every day. Thanks for the recipe!
Awesome with oat flour, just need to add more. Dough was super easy to handle!
My dog is going nuts for these, so thank you for the receipe… however I need a little help here if you don’t mind, I made the dough as directed, started with hand electric mixer and finished by hand, dough came out fabulous. The baking part is where I’m struggling, I don’t bake much because I’m not good at it. I have a very small wall oven (probably from the 70s) typically cookies that call for 11 minutes take 7 minutes. I baked my first batch for 15 minutes on the middle rack, they came out like cookies, soft , half of them puffed up others didn’t and others still were half puffed. My second batch for 20 and some are dark brown and very hard.
I realize my dough might not be perfectly uniform in thickness but Should they puff? And why aren’t they all puffing uniformly? Should they be Chewy or crunchy(I realize that may be a taste preference for your pup). My dog won’t leave me alone so regardless of how they look, they apparently taste awesome. I’m making these as gifts for the daycare staff so i want them to look decent and I’m far from that. I appreciate any help here.
Hello! I made these for my brother’s rat terrier, and he loved them to death! The dog biscuits should come out crispy n’ crunchy! To help with the puffing-up, use a fork to poke 3 holes in the middle of the biscuit. using the spokes.
Sincerely, Abigail
My doggy friends (I’m a Cat lover) look for me because of these cookies. Dogs that are being walked, sit in my driveway and won’t move until I come out, or sit in their backyard and whimper and till he gets my attention for a cookie. I’ve been adding more pumpkin puree and the cookies are softer and it uses up the puree. 4 Barks for these cookies!
First thing I wanted to say was that I made these without using a mixer of any kind – I just used a wooden spatula and then as the mixture got stodgier I used my hands and the treats came out perfectly (so no need for expensive equipment if you don’t have).
(I’d scrolled through the comments looking to see if anyone else had mentioned this and couldn’t find any – I nearly didn’t try them because of not having the mixer but I’m so glad I did!)
I’m a dog walker and I’m going to make these for my doggy clients as Christmas presents! My own cockapoo loved them!
When do they expire? My dogs love them.
They get moldy after about a week! I recommend you keep them in an airtight container in the refrigerator, whee they will stay fresh for 1 week. I recommend you devour them after a couple days though, a week at the most!
Sincerely, Abigail
I’ve made these for the past few Christmas seasons for some co-workers; I’m making 4x the batch this year and EVERYBODY says their dogs (and some cats!) love these. Thank you for this recipe!
My dog loves these treats. Simple preparation. I just used my food processor and it all came together. I didn’t have a cookie cutter. I just rolled the Dough in a large rectangle, and cut into squares with a pizza cutter. Thanks for a easy recipe. My friend Benson is happy
Please note as I didn’t see it mentioned anywhere in the recipe…..there are some brands of peanut butter designed for humans that contain xylitol….which is TOXIC to dogs. This has been known for several years so your readers need to ensure they have looked at the ingredients in the peanut butter chosen to use for their treats to be sure it doesn’t contain xylitol.
Thank you for reminding us of this, and teaching others. So important!
My pups LOVED these!!
Awesome
Not only does my little Ecuadorian pup love these treats, but I volunteer at a state-run aviary, and the parrots and macaws can’t get enough of them either.
The recipe is super simple and easy to substitute and/or add ingredients (like adding some small seeds in the bird version). I sometimes also add cooked, mashed sweet potato. I roast my own peanuts for peanut butter, so no sugar added (except the sweet potato), and I use calabaza squash because North American pumpkin isn’t popular here (I’ve never even seen the canned version in the stores). I use any combination of variations of flour and I also add some rolled oats (the “quick” variety).
EXCELLENT!
I forgot to add that I’m baking at altitude (8500 feet), and I wanted to extend the shelf life. I lowered the temperature and cooked them in the convection oven. The thicker the treat, the longer it takes to cook. Thicker ones were cookie-like the first time around, so I fiddled with temp and time.
We have 5 dogs and alot of goats…they all enjoy Blue Dog Bakery treats, which gets expensive! The dogs liked these, the goats not so much! The only problem I had was that they puffed up will baking and were kind of soft. I am going to try poking air holes with a fork before baking next time.
I have a question….i can’t remark on them because i never made them…but i want to know can all purpose flour be used?