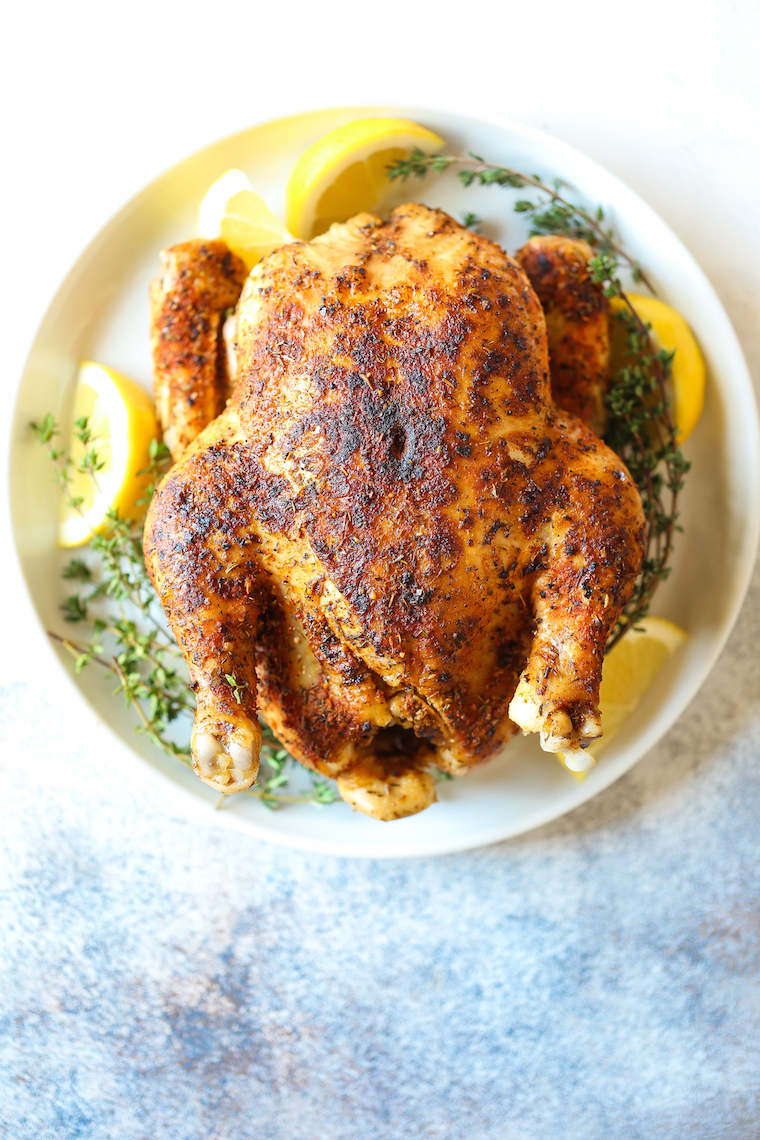
Instant Pot Rotisserie Chicken
This post may contain affiliate links. Please see our privacy policy for details.
28 min whole rotisserie chicken? Yes! The chicken comes out perfectly tender, juicy + packed with flavor. And it’s SO EASY!

Featured Comment
I love a good rotisserie chicken. I mean, I really love a good rotisserie chicken. It’s so versatile, and has so many uses. It’s great on its own with a few roasted veggies and it’s great with pastas and soups as a fill in for even quicker dinners.
why i love this recipe
- Yields the most tender, juicy and flavorful rotisserie chicken
- Requires minimal prep, pantry staples and zero babysitting
- Natural release of the Instant Pot gives you time to prep your side dishes
- Freezer-friendly, perfect to freeze whole, in pieces or shredded
tips and tricks for success
- Use good-quality stock. The better quality your stock, the better your chicken. Many brands love to pack in the salt so always opt for unsalted or a lower-sodium variety. Homemade stock is even better.
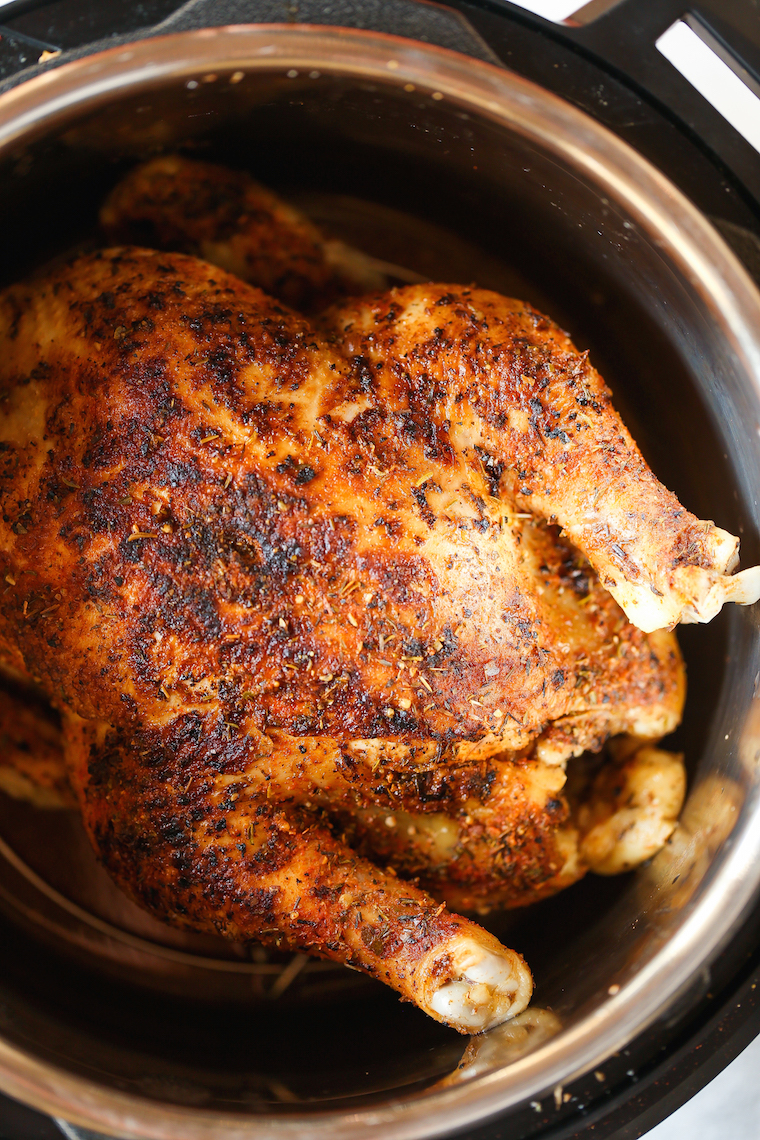
- Don’t skip the metal trivet. After browning the chicken, place the chicken on top of the metal trivet. This will help ensure that the chicken does not burn, as well as providing better circulation for even cooking throughout.
- Lift the trivet to remove the chicken. The chicken will be very fall-off-the-bone tender (quite literally). Working carefully, lift the trivet to remove the chicken from the Instant Pot and serve.
- Use an instant-read thermometer for the most accurate results. The internal temperature should reach 165°F, inserting through the thickest part of the thigh between the breast and leg but avoiding the bone.
- Broil for crispy skin. As an optional step, broil the chicken on a sheet pan until desired crispness is reached, about 3-5 minutes.
- Let your chicken rest. Let your chicken rest for at least 5-10 minutes prior to serving, allowing the juices to redistribute – this will allow for maximum flavor and juiciness.
- Save the chicken bones. Repurpose the leftover chicken bones for homemade stock.

what to serve with instant pot rotisserie chicken
Tools For This Recipe
6-qt Instant Pot®
Instant Pot Rotisserie Chicken: Frequently Asked Questions
The metal trivet helps elevate the chicken from the bottom of the Instant Pot, ensuring even cooking and avoiding the dreaded “burn” error.
Place the chicken back in the Instant Pot, cooking for an additional 2 minutes for every 5 degrees below 165°F.
Yes! But be sure to increase the chicken stock to 1.5 cups.
Leftovers can be stored in an airtight container in the fridge for 3-4 days.
Yes! Rotisserie chicken is very freezer-friendly and can be frozen whole, in pieces or shredded in plastic freezer bags. Label, date and freeze up to 3 months.

Instant Pot Rotisserie Chicken
Video
Ingredients
- 2 teaspoons kosher salt
- 1 teaspoon freshly ground black pepper
- 2 teaspoons dried thyme
- 1 ½ teaspoons paprika
- 1 teaspoon dried oregano
- 1 teaspoon onion powder
- ½ teaspoon garlic powder
- 1 (4-pound) whole roasting chicken
- 1 lemon, halved
- 2 tablespoons canola oil
- 1 cup chicken stock
Equipment
Instructions
- In a small bowl, combine salt, pepper, thyme, paprika, oregano, onion powder and garlic powder.
- Remove giblets and excess fat from the chicken cavity. Dry chicken thoroughly with paper towels. Season chicken and chicken cavity with salt mixture. Stuff cavity with lemon.
- Set 6-qt Instant Pot® to the high saute setting. Add canola oil and chicken, breast side down, and cook until evenly golden brown, about 4-5 minutes. Using tongs, flip, and cook for an additional 4 minutes; set aside.
- Place metal trivet into the pot and add chicken stock. Gently place chicken on top of the trivet. Select manual setting; adjust pressure to high, and set time for 28 minutes. When finished cooking, naturally release pressure according to manufacturer’s directions, about 20-30 minutes. Let rest 10-15 minutes.
- Serve immediately.
Did you make this recipe?
Tag @damn_delicious on Instagram and hashtag it #damndelicious!

Also, it just tastes better with one’s own seasoning. We end up eating all of our chicken (whereas with the one from the store, the dogs get snacks off of it for a few days – it’s tasteless on the second day).
THIS chicken (prepared almost exactly as here – sometimes I vary the seasonings and use garlic in the broth).