Easy No Knead Bread
This post may contain affiliate links. Please see our privacy policy for details.
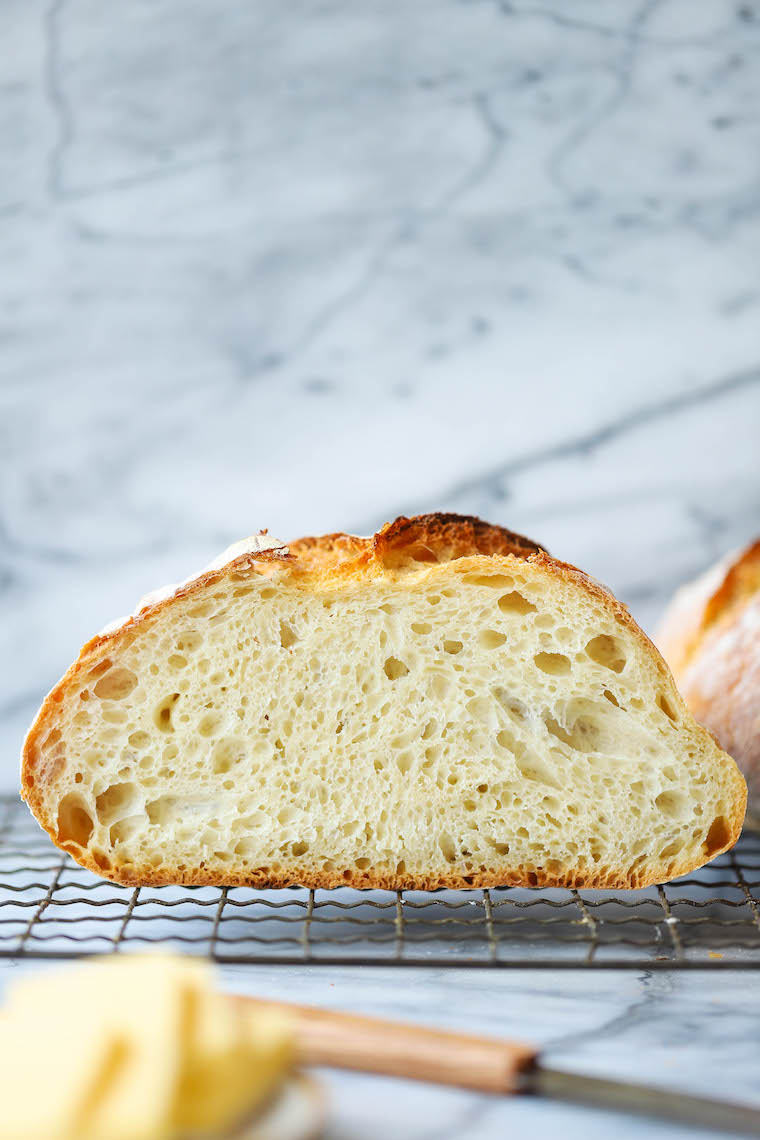
FOOL-PROOF and only 4-ingredients! So hearty and rustic with the most amazing crust – so fluffy, soft + chewy inside.
Featured Comment
Guys, please say hello to my COVID baby. Yes, that’s exactly right. My bread baby. My bread baby I made every single week starting in March.
My first loaf was…well, it wasn’t the prettiest but it was still so darn good. The shaping definitely needed some work. My second loaf was better, and then my third and fourth loaves were dropped off at neighbors and friends with a contactless drop off.
They all got rave reviews. And they all finished the loaves within a day, maybe less.
I don’t blame them. It is just that good. And it’s unbelievably easy (except no one will believe you when you tell them that). Bread making has such a tedious, overwhelming rap to make but this no knead method requires very little hands-on time, perfect for beginners.
what exactly is no knead bread
- A bread-making method that does not require any special techniques or equipment
- Uses a long fermentation (rising) process to allow the gluten to develop naturally and on its own, eliminating the need for physical kneading
- Creates a very wet, shaggy dough, allowing it to be stretched and folded as needed
- Typically baked in a Dutch oven to mimic a professional bread oven
tips and tricks for success
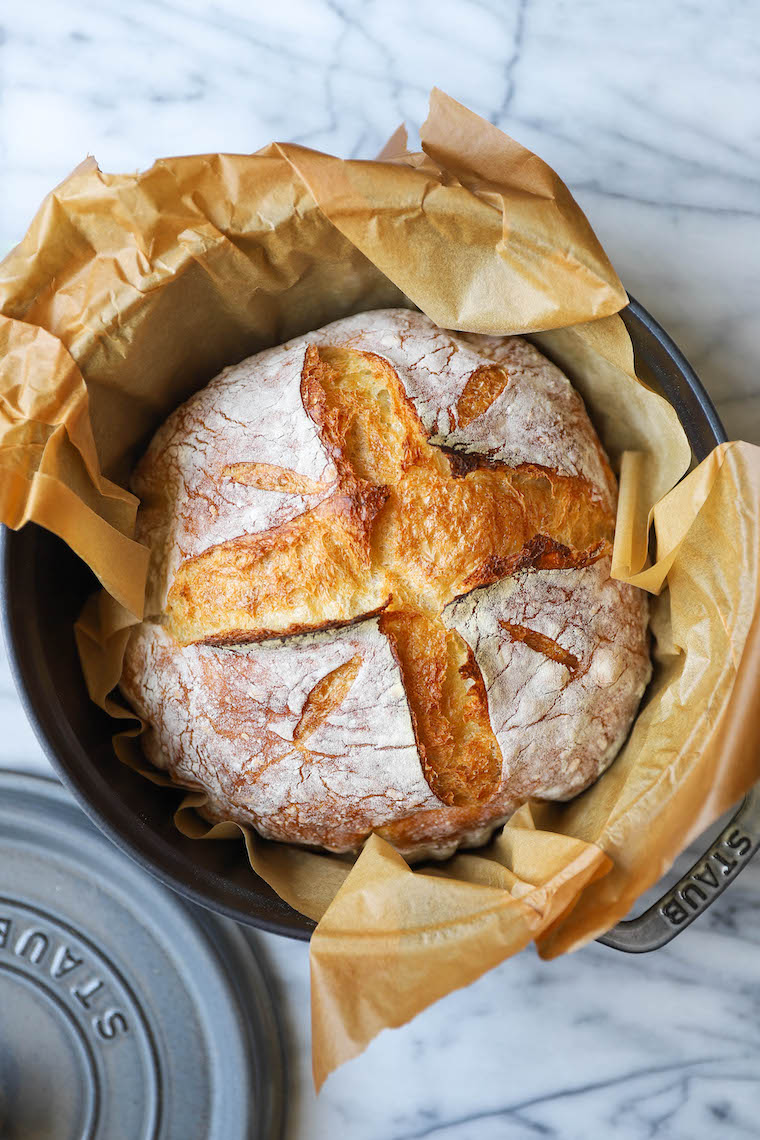
- Use a Dutch oven. A heavy bottom pot with a lid, such as a Dutch oven, is key here for even heat distribution. This will help the bread rise appropriately and develop that favorited golden crusty exterior.
- Use warm water. The warm water will help activate the yeast to help the dough rise. If the water is too hot (120°F), the yeast can start to die, preventing the bread from rising.
- Use parchment paper. Using parchment paper will help to transfer the dough into the hot preheated Dutch oven.
- Preheat the Dutch oven. Preheating beforehand will create steam, helping the dough open up and create a better rise with golden brown crisp ridges.
- Mix it up. Add leftover fresh herbs such as thyme, rosemary or sage, roasted garlic or freshly grated Parmesan cheese.
- Freeze as needed. Once cooled completely, cover the bread tightly with plastic wrap, then aluminum foil, freezing up to 3 months.
what to serve with no knead bread
Tools For This Recipe
Dutch oven
Easy No Knead Bread: Frequently Asked Questions
A Dutch oven is ideal for this recipe to get that favorited golden brown crisp exterior. If you do not have a Dutch oven, an oven-safe casserole dish with a lid can be used instead, double checking that it can be heated to 450°F.
1 cup of all-purpose flour can be substituted for whole wheat flour, keeping the rest of the recipe the same.
If you cannot find instant yeast, we have substituted active dry yeast with an overnight rise with great results.
You do not necessarily need a bread lame to make slits across your dough. You can use a paring knife or kitchen shears to score the bread dough instead.
Leftovers can be stored in an airtight container at room temperature for 2-3 days.
Yes! Once cooled completely, cover the bread tightly with plastic wrap, then aluminum foil. Label, date and freeze up to 3 months.

Easy No Knead Bread
Video
Ingredients
- 3 ¼ cups all-purpose flour
- 2 teaspoons kosher salt
- ¾ teaspoon instant yeast
- 1 ½ cups warm water, 100-110 degrees F
Instructions
- In a large bowl, combine flour, salt and yeast. Create a well in the center; add water.
- Using a wooden spoon or your hand, stir until a wet, sticky dough forms, about 1-2 minutes.
- Cover bowl tightly with plastic wrap and let stand at a warm place until doubled in size and surface is dotted with bubbles, about 6-8 hours.
- Working on a lightly floured sheet of parchment paper, fold dough over itself 3-4 times, turning after each fold; gently shape dough into a round.
- Cover with a clean dishtowel and let stand at room temperature until dough has doubled in size, about 1 hour.
- Preheat oven to 450 degrees F. Place a Dutch oven, covered, in the oven for at least 30 minutes.
- Remove Dutch oven from the oven; working carefully, place dough into the Dutch oven using the parchment paper as a sling.
- OPTIONAL: Using a sharp knife or bread lame, make a few shallow cuts on the top.
- Cover and place in the oven; remove the lid after 30 minutes. Continue baking until golden brown and completely cooked through, reaching an internal temperature of 210 degrees F, about 15 minutes more. Let cool 30 minutes on a wire rack.
- Serve warm.
Notes
Did you make this recipe?
Tag @damn_delicious on Instagram and hashtag it #damndelicious!


BEST and EASIEST bread recipe of all time. This is my go-to!
I can’t wait to make this! I could only find Active Dry Yeast packets. Can I use this and do I use the whole packet or 3/4 tsp of it per the recipe?
What a delightful recipe. A great treat I’m looking forward to making this weekend!
I tried this recipe two nights ago when I invited some of my coworkers for a light dinner and they loved it. The bread had a crusty exterior that was hard yet broke durably to reveal such a spongy-soft interior. The bread was piping hot and went spectacular with the wine we had as well. Highly recommend for a light dinner addition with some wine. Doesn’t take that long to be completely honest.
Not sure where you live… but 6-8 hrs for rising is not doing it here in upstate cold. I have to let it rise longer or add more yeast in the future.
That being said…it’s still rising and I’m looking forward to baking!!!
Best way to get the temp for raising is to ues your oven with the light left on…works every time
I’m in upstate NY too. I put mine on top of the stove with the overhead light on. I doubles in about 7-8 hours.
Incredible! Thanks for guiding me through my first loaf. It was delicious!
I am about to make, but realized I only have a 2 qt Dutch oven, so making half at a time. Any suggestions about how long to cook with lid on then off? I’m thinking 20 mins with kid and 10 mins without, but not entirely sure. Thank you I’m advance!
Lid*
No kids in the oven
If the kids start rising, put them outside!
Absolutely LOVE this bread recipe! It’s so easy…tools help…and patience (I’m short in those). I’ve made 5 in the past week. Took some to a blue crab cookout here in Nebraska and it didn’t make it long enough for the meal. (Best friend from TX brought them up fresh)!! Anyhow, I added roasted garlic seasoning and everything bagel seasoning to my bread – delicious! Thank you!!
Becky – NE
i have not made yet, but can you make with whole wheat flour instead of all purpose flour?
This was my first ever time making bread and it came out as described: “So hearty and rustic with the most amazing crust + fluffy, soft, chewy inside. Seriously, SO GOOD”. Made this for my family of 5 since everyone is working/schooling from home right now. My kids loved it even without toasting bc it’s so fluffy and good.
Highly recommend!
This is probably a dumb question… but I don’t use plastic wrap. Is that an essential part of the process (outlined in step 2), or can I just cover it with a dish towel?
I would think you could cover it with a cookie sheet.
Made once, was perfect. Delicious.
Question: I plan to let rise overnight. If more than 8 hours, is that ok??
Do you have let it rise for that amount of time?
I have made this bread several times and always just cover with a dish towel. I’ve added garlic,Italian seasoning,everything bagel change it up and enjoy.
Amazing recipe! Super easy and the bread tastes like it’s from a restaurant! I do have one question. Could you add rosemary/ garlic or any other add in to this recipe? Or would it mess up the chemistry?
Sure you could add herb & garlic. I’ve baked bread for years. I personally would use the minced garlic not big chucks. Should not effect chemistry of bread just add to flavor. Happy Baking
Was the easiest bread I have ever made!
At what point would you add additions like black olives, rosemary, garlic, etc? Once it has risen before letting it sit for an addtl hour? Or at the get go before it sits foe 6-8 hours?
i have been making this with King Arthur Unbleached Bread flour and it’s PHENOMENAL.
I did have to make two alterations – using a little less flour and a little more water.
i use 3 cups of flour and 1 and 2/3 cups water – turns out perfect now every time
Is instant yeast the same as rapid rise yeast?
I bought rapid rise instant yeast, and the bread never rose- just stayed a gloopy mess.
So I guess maybe there is a difference? I hate when recipes say fool proof- it just makes me feel that much more like a failure when I mess them up
Hardest part of making bread at first is first getting it to rise, which then leads to all the anxiety about types of yeast, how to use it, how long to let dough rise, temperatures, and is this dough actually rising or not…you are not alone, for sure!
I am only an occasional bread maker, but I definitely prefer no knead types in a Dutch oven recipes like this one.
Best tip I can give anyone is to simply “proof your yeast”, whatever type it is, before adding it to the flour mix, to ensure you know it is properly active before you go thru all the rest of the steps. If it froths up, you’re good to go…if it doesn’t…any one of many things has gone wrong (yeast is too old and it can get old very fast, proofing water was too hot or cold).
I must have printed off an earlier incorrect version of this recipe, because the one I used, sitting in front of me, called for 1/4 teaspoon instant yeast, not 3/4 teaspoon like this version. So just be aware and don’t make my mistake! Mine was just a big gooey glop that didn’t do anything. But I will try it again with the 3/4 teaspoon and I am sure it will be fabulous!
An update: I made it again today with the corrected yeast. It was SO GOOD!!! Bread perfection. This recipe is so easy and the results are amazing!!!
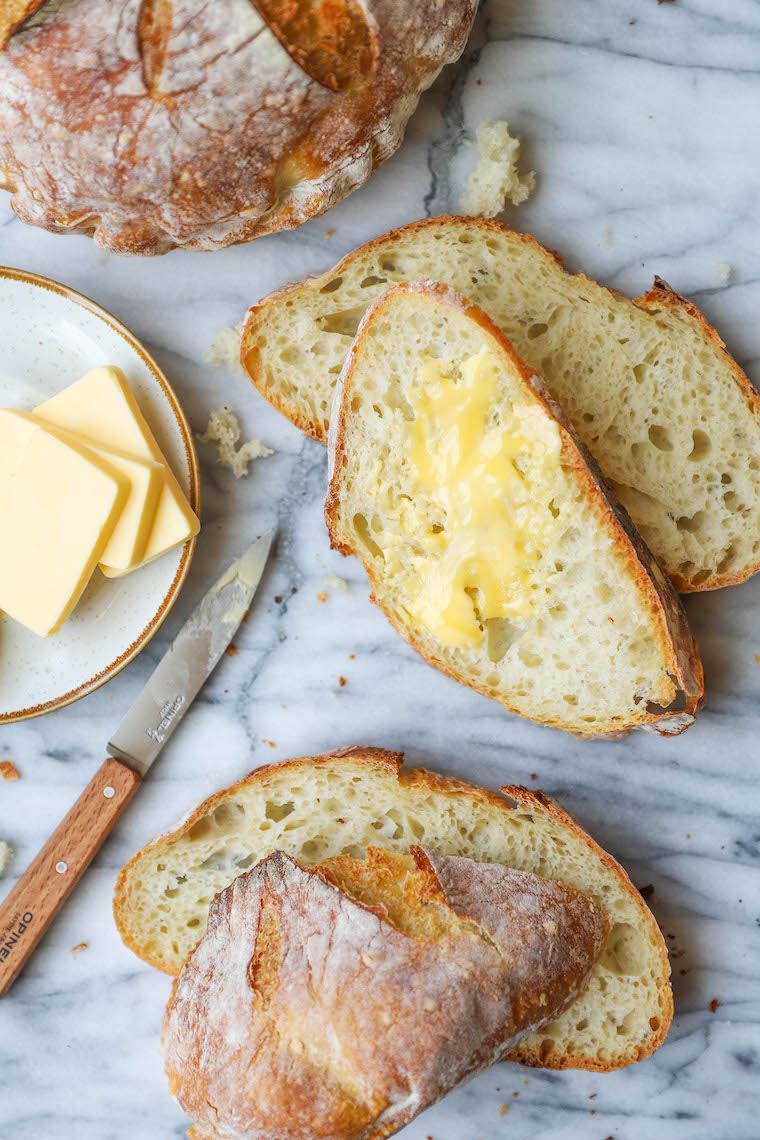
The easiest bread I’ve ever made and it was AMAZING!!! So easy to make, texture and flavor are wonderful and it is sublime with butter on it. I could easily see myself making this bread weekly. Thank you!!!
For those asking, I baked this in my large, 7.25 quart dutch oven, and it turned out great.
Also, I used America Test Kitchens method, in that I Did not pre-heat the Dutch oven…. instead, I let the dough do half of its second rise (~1/2 hour) on the counter (in the Dutch oven w/lid) and then put the whole thing (dough/Dutch oven/lid) in the cold oven and pre-heated them together, then baked for the time the recipe recommends once at temp.
(Le Cruiset does not recommend heating their Dutch ovens empty, saying it could crack the enamel coating.) ♀️
I’ve tried 5 or 6 recipes from this site, and they are all amazing tasting and very easy/quick to make. Keep up the good work!
I have made lots of breads, this one was amazing! Best loaf ever, easy to do – just need to remember to set aside the time for the dough to sit.
My husband absolutely loved it! Thanks for sharing :0)
I made this bread last night and it turned out perfectly, except I forgot to cut the top before putting it in the oven… but that was alright because it looked beautiful when it was done 🙂
. Since the crust is so solid, I think it even would make a great bowl for dips or even soup! Thank you for sharing, I’ll definitely be making it again and maybe will leave more than a slice for my family.
Amazing! Everybody loves this! We only have a giant dutch oven so we bake two loaves together at the same time.