Homemade Pasta
This post may contain affiliate links. Please see our privacy policy for details.
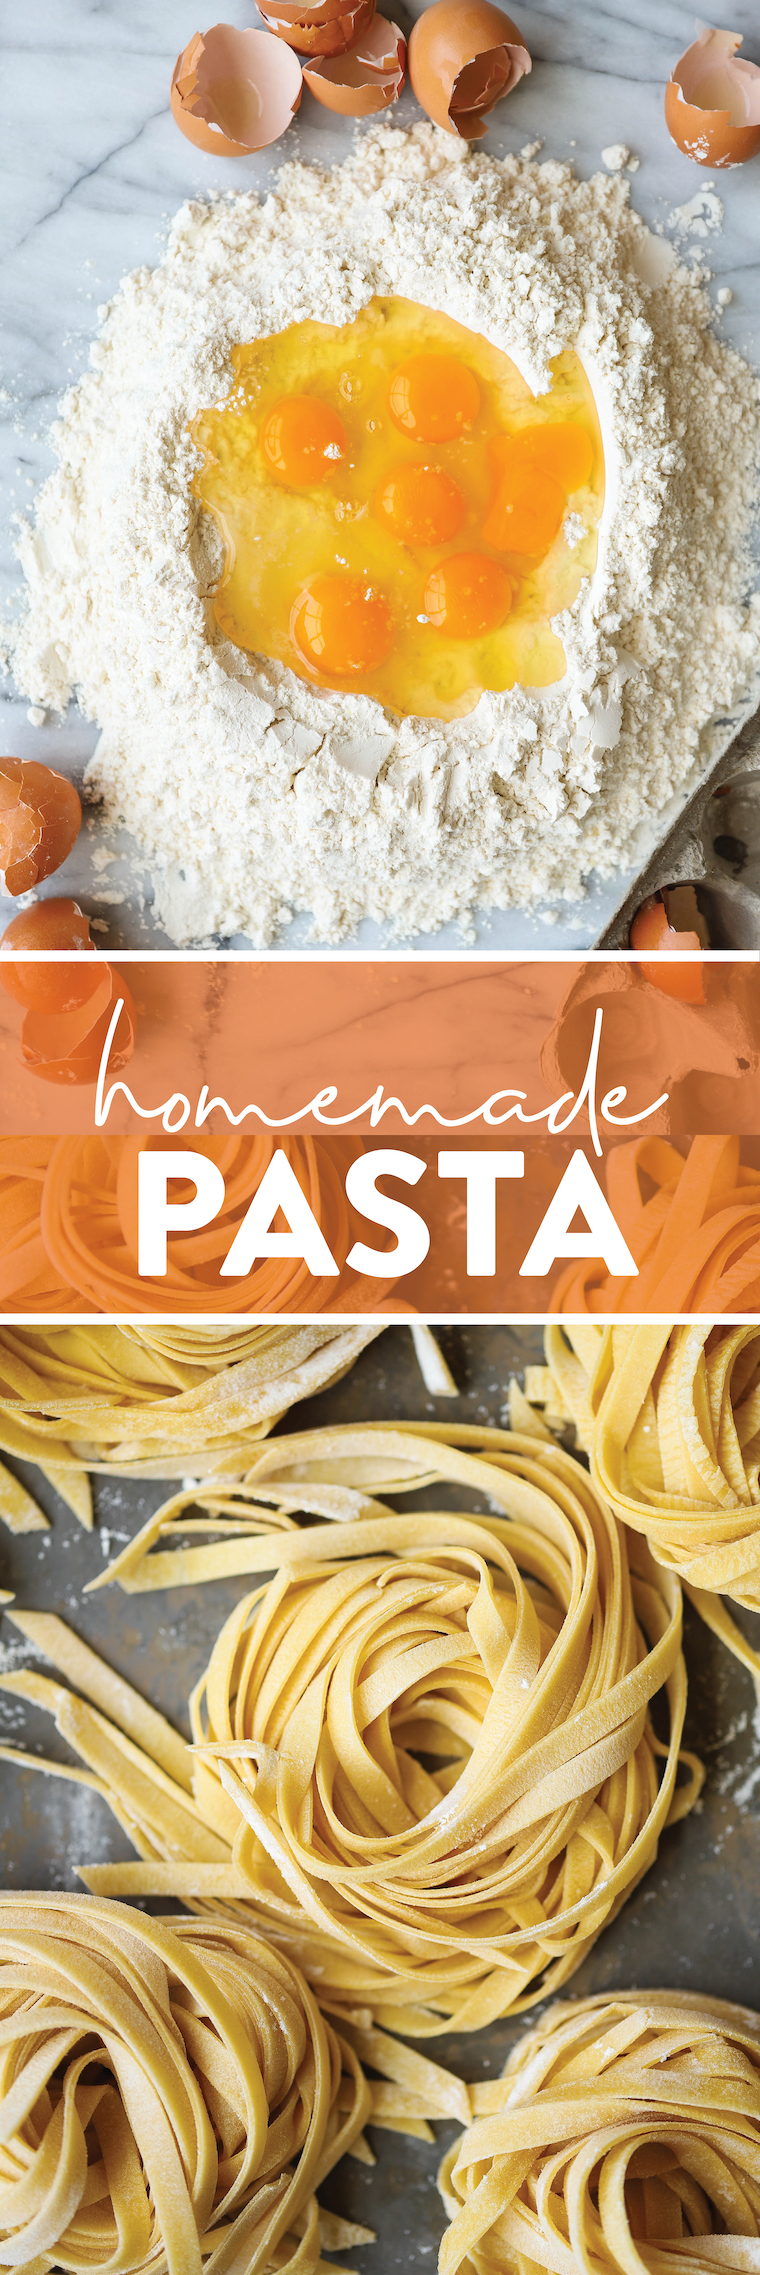
Homemade fresh pasta dough! All you need is 4 ingredients and it’s incredibly easy (and so versatile). Perfect for any shape!
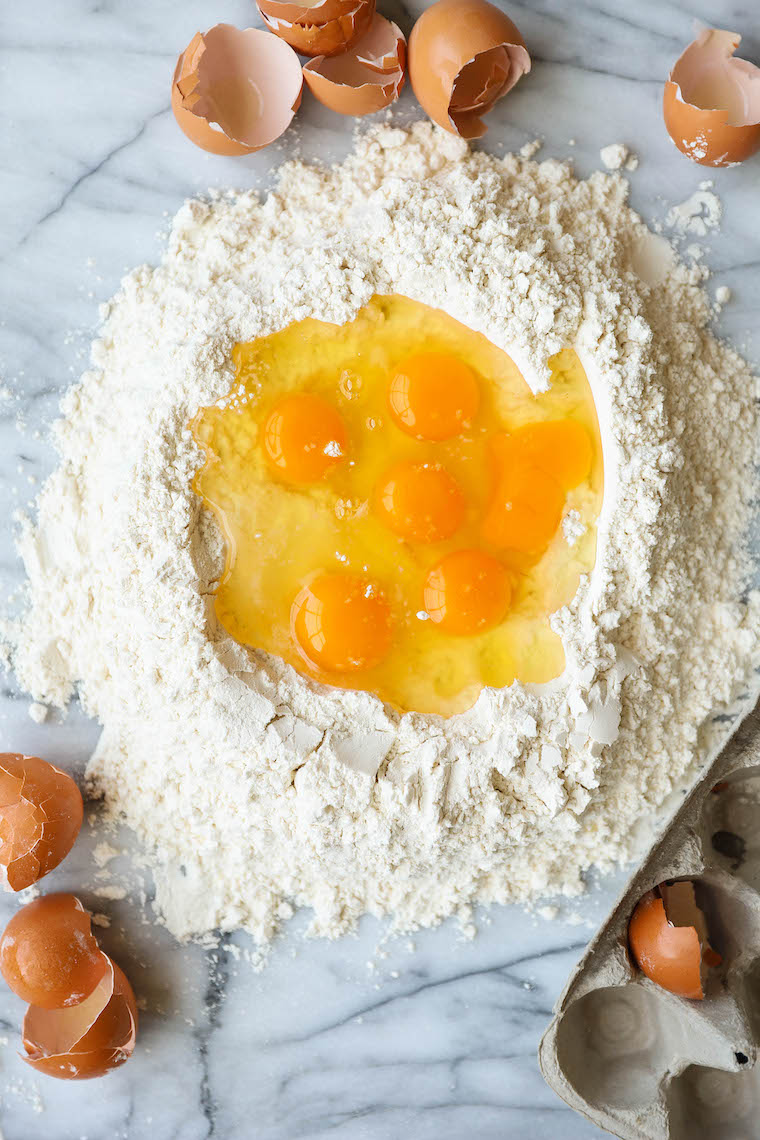
There is truly nothing better than homemade pasta. It may seem a little daunting at first but once you feed the dough through the pasta roller a few times, you will be hooked! My husband showed me how to make this very pasta (he used his Italian grandma’s recipe) on our third date and well, I ended up marrying him so there’s that.
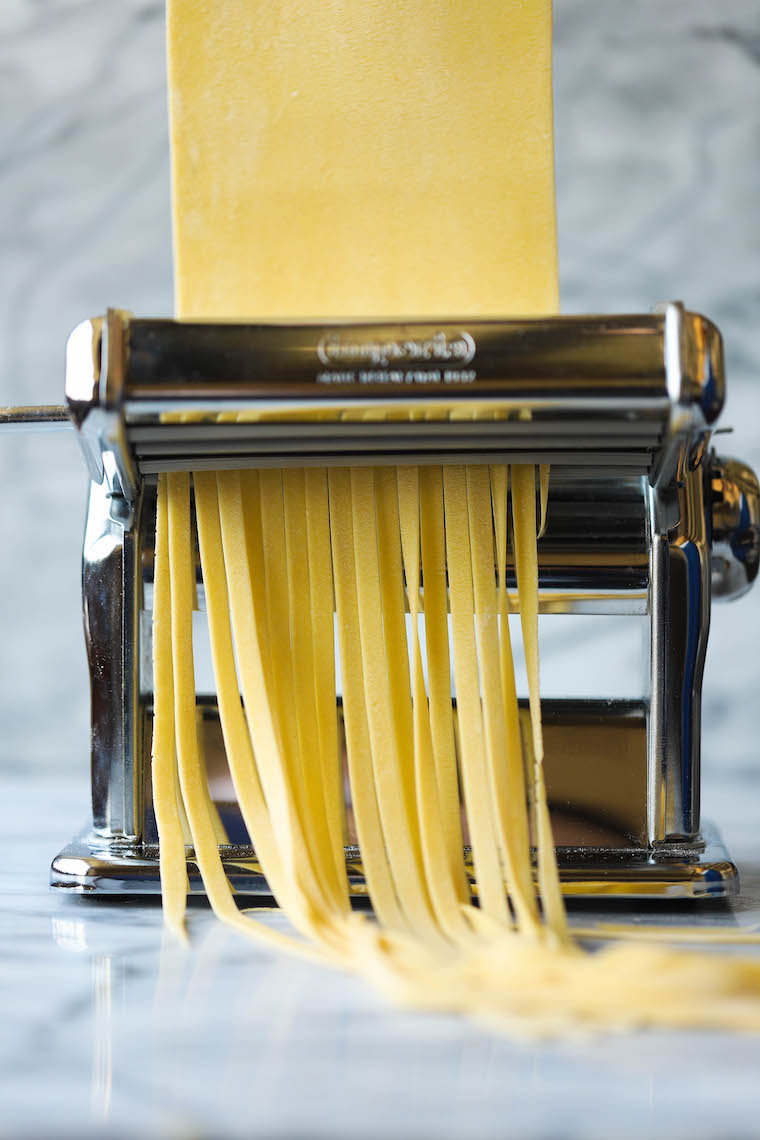
We also used this recipe religiously throughout the pandemic, dropping off batches of pasta at our neighbors. I also cannot even begin to tell you how many times we used this pasta in this recipe. After this, we haven’t been able to touch the boxed pasta ever again.
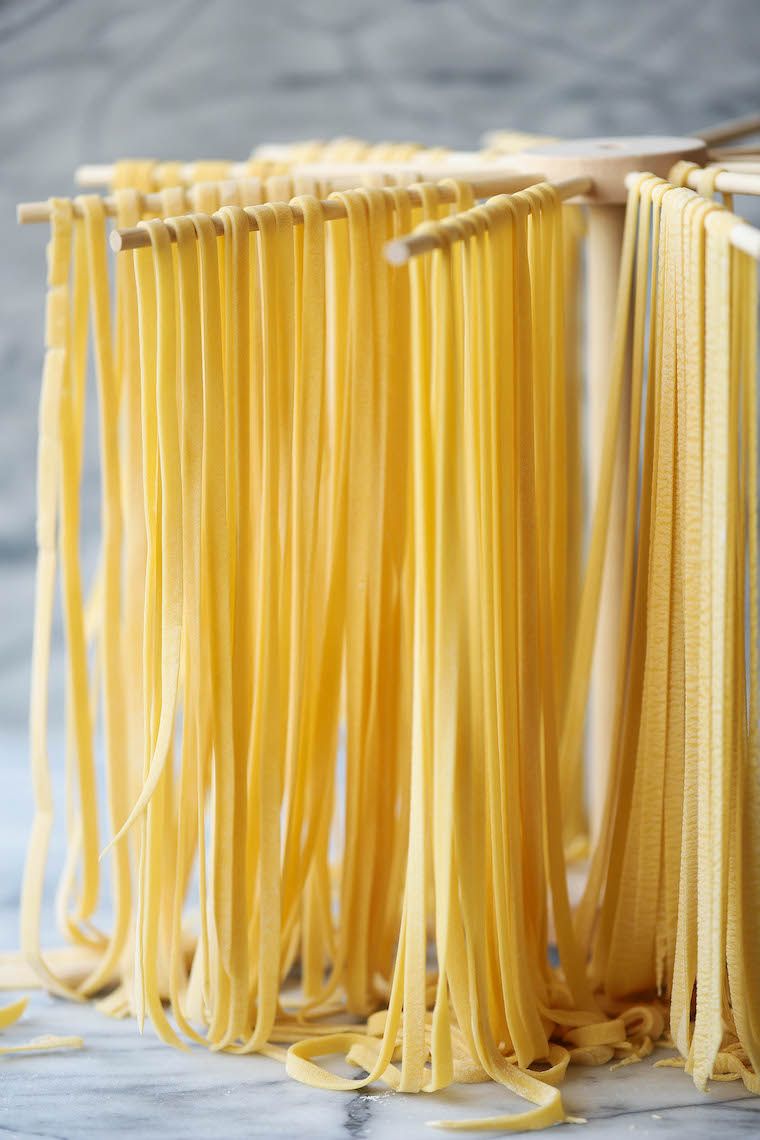
It may seem a little daunting at first but practice makes perfect. After your first run of making homemade pasta with these helpful tips, you will become an absolute pro in no time. Promise.
Types of flour – all-purpose, semolina, and 00 flour
Most pasta recipes recommend using semolina or 00 flour. Semolina has a heartier texture, helping soak up rich sauces, while 00 flour has a powdery texture, yielding silkier pasta noodles. These flours can be found at speciality Italian markets.
I prefer to use a combination of all-purpose flour and semolina or 00 flour, depending on what I have on hand. However, all-purpose flour also works very well.
Make-ahead
The beauty of pasta dough is that it can be made ahead of time! Up to one day if placed in the fridge or up to four weeks if placed in the freezer. With either option, just to be sure to let the dough come to room temperature before kneading and feeding through the pasta attachments.
Recipes to use homemade pasta
- Spaghetti Aglio e Olio
- Brown Butter Mushroom Pasta
- Instant Pot Bolognese
- Quick Tomato Sauce
- Vodka Sauce
- Easy Baked Meatballs

Homemade Pasta
Ingredients
- 3 cups all-purpose flour
- 3 cups semolina or 00 flour*, all-purpose flour can be substituted
- 6 large eggs
- 1 tablespoon olive oil
- Pinch of salt
- ¾ cup water, or more, as needed
Instructions
- In the bowl of an electric mixer fitted with dough hook attachment, beat the flours, eggs, olive oil, salt and water on medium-low speed until a soft, smooth ball of dough is formed, about 5-10 minutes. If the dough is too dry, add more water as needed. The dough should feel elastic and slightly tacky to the touch.
- Working on a lightly floured surface, knead the dough 3-4 times until it comes together.
- Wrap tightly in plastic wrap and let stand at room temperature for at least one hour or in the refrigerator overnight, letting it come to room temperature prior to using.
- Using the KitchenAid® Stand Mixer Pasta Roller Attachment, adjust thickness to setting #1.
- Working on a lightly floured surface, divide dough into 4 equal pieces.
- Working one piece at a time, turn on the stand mixer at speed 2 and feed dough through the pasta roller to knead, lightly flouring the dough as needed to avoid sticking. Fold dough in half and roll again, repeating as needed, until dough is smooth.
- Adjust thickness to setting #2. Feed dough, repeating once.
- Adjust thickness to setting #3. Feed dough, repeating once.
- Adjusting thickness to setting #4. Feed dough, repeating once. Turn off mixer.
- Using the KitchenAid® Stand Mixer Fettuccine Cutter Attachment, turn on the stand mixer at speed 4 and feed dough through the pasta cutter before carefully arranging pasta on a pasta drying rack for 30 minutes, lightly flouring the pasta as needed to avoid sticking.
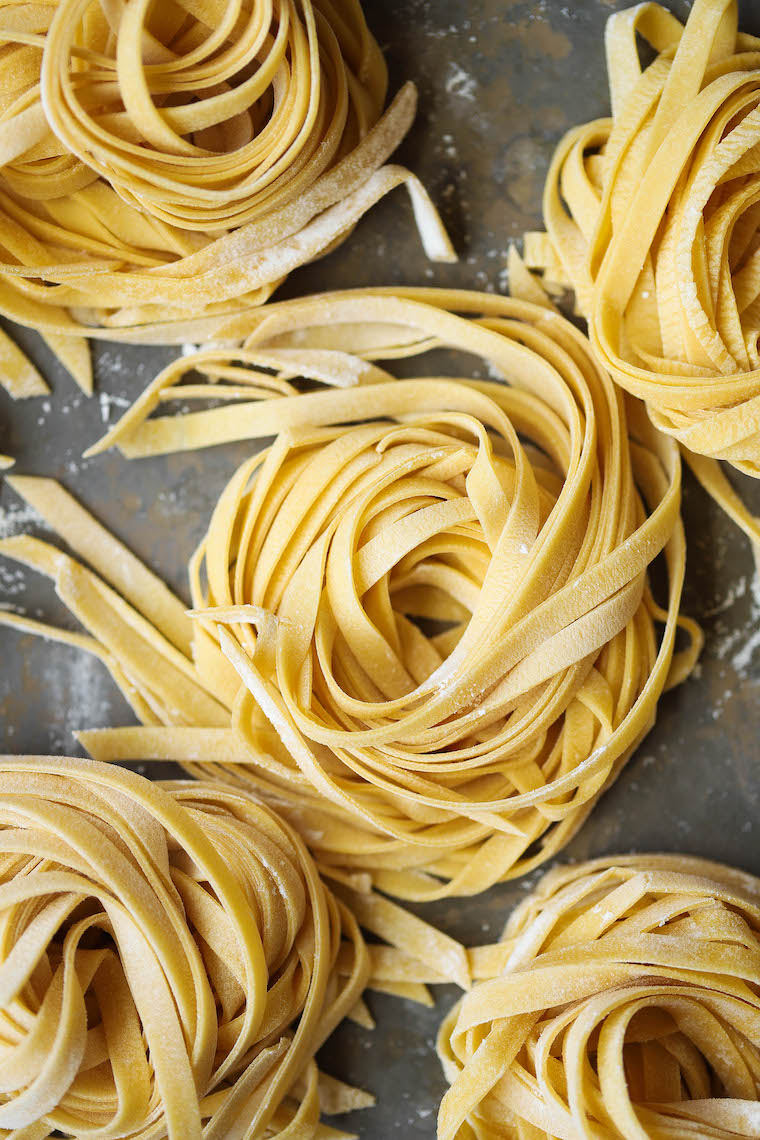
- Transfer to an airtight container and place in the refrigerator for up to 2 days or in the freezer for up to 2 weeks.
Did you make this recipe?
Tag @damn_delicious on Instagram and hashtag it #damndelicious!


Have you tried this recipe to make ravioli?
Sounds very easy. How long do you cook it?
Great recipe! I have a electric auto matic pasta machine also. Would this recipe work in that? Thank you
the ansa is in the question “I have an electric PASTA MAKER “
Step 1. Get a kitchen aid mixer lol
Great recipe! Thank you!
Have a question, how do you store the pasta in the freezer? Do you have special plastic boxes or can you just put them in a paper bag?
Freezer Ziploc bags should work very well here! 🙂
Her recipe says to store the pasta DOUGH in the freezer – not the finished pasta.
See Steps 10 & 11. She tells you how to cut the pasta and store the finished product (not the dough) in freezer.