The Best Cauliflower Pizza Crust
Easy to make, grain-free AND so healthy. Plus, you will honestly not even be able to taste a difference!
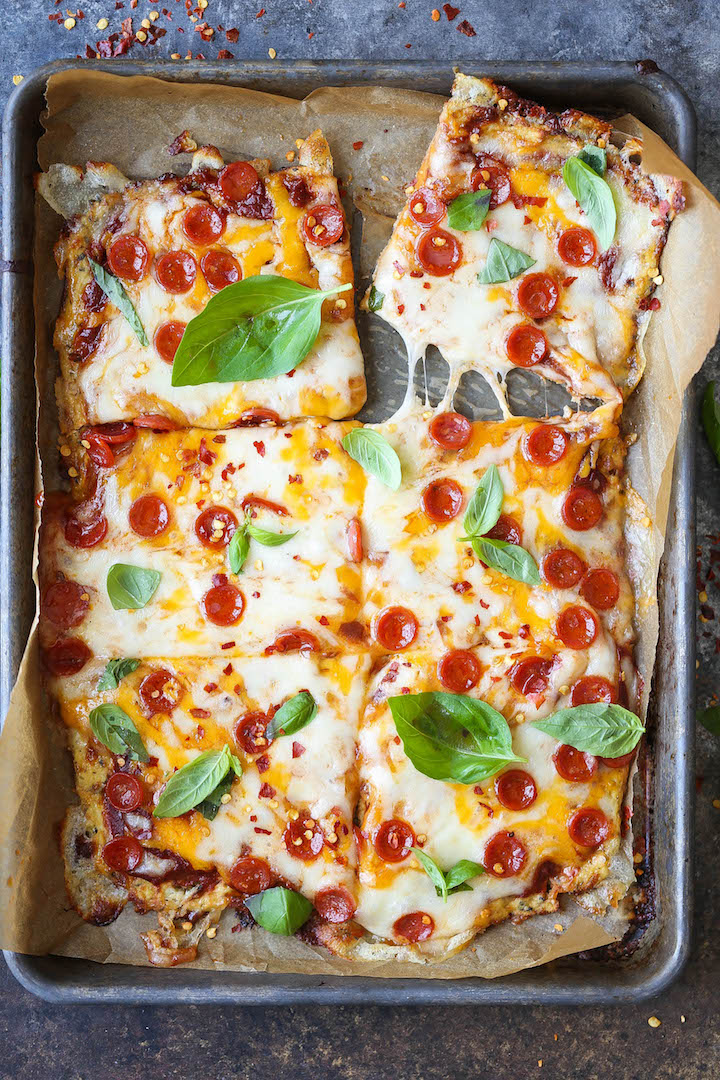
I know what you’re thinking. A cauliflower crust? Ummmmm, no, thank you. But guys, believe me. This crust is bomb.com. And you know I wouldn’t lie to you.
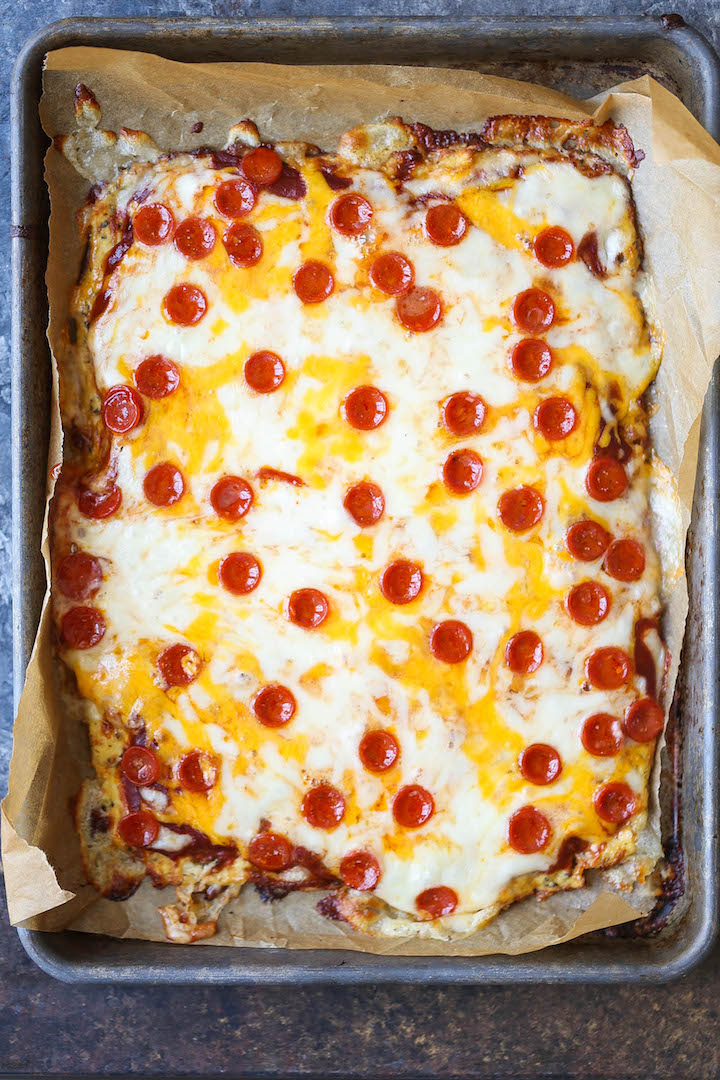
I tweaked an old recipe of mine for mini cauliflower pizzas, except in this version, you get to have those super crisp edges – the edges that everyone fights for.
And you know it wouldn’t be the best cauliflower crust without Pomi’s Pizza Sauce, which is BPA and gluten-free, with no water or citric acid added. Really, it’s just suitable for any stinking recipe.
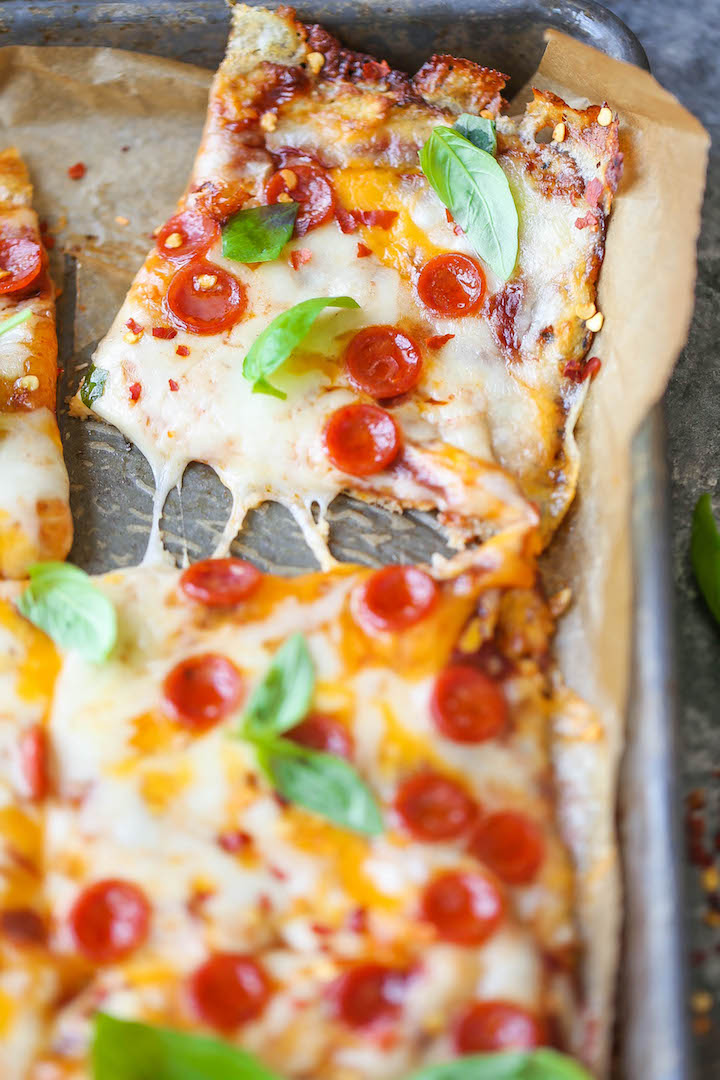
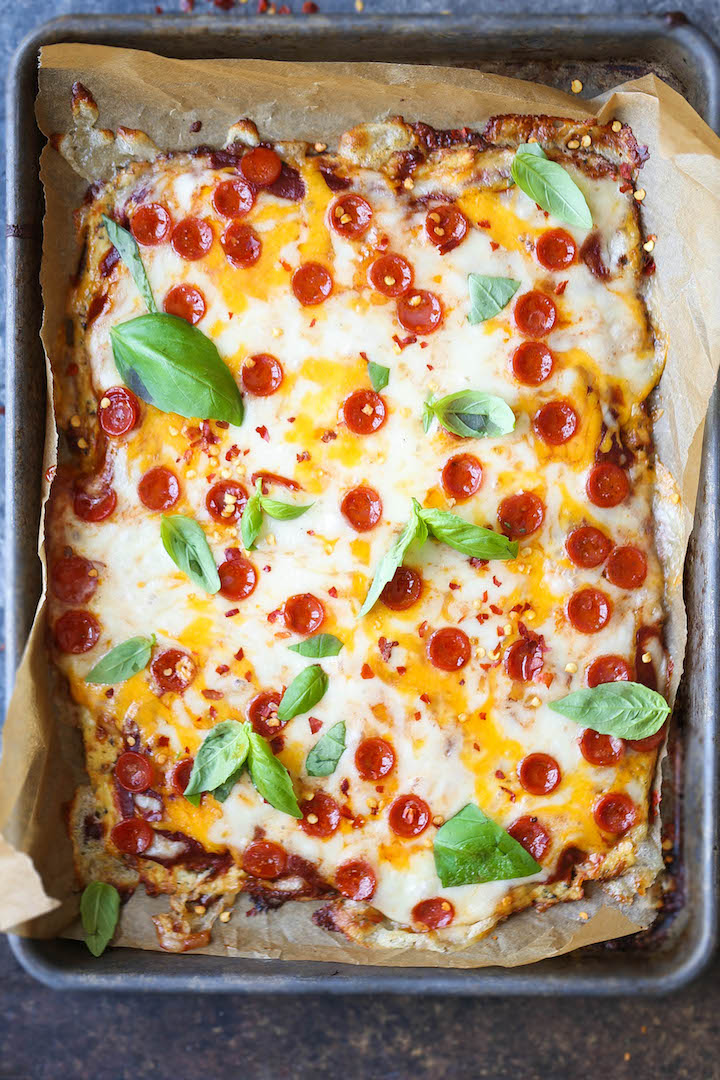
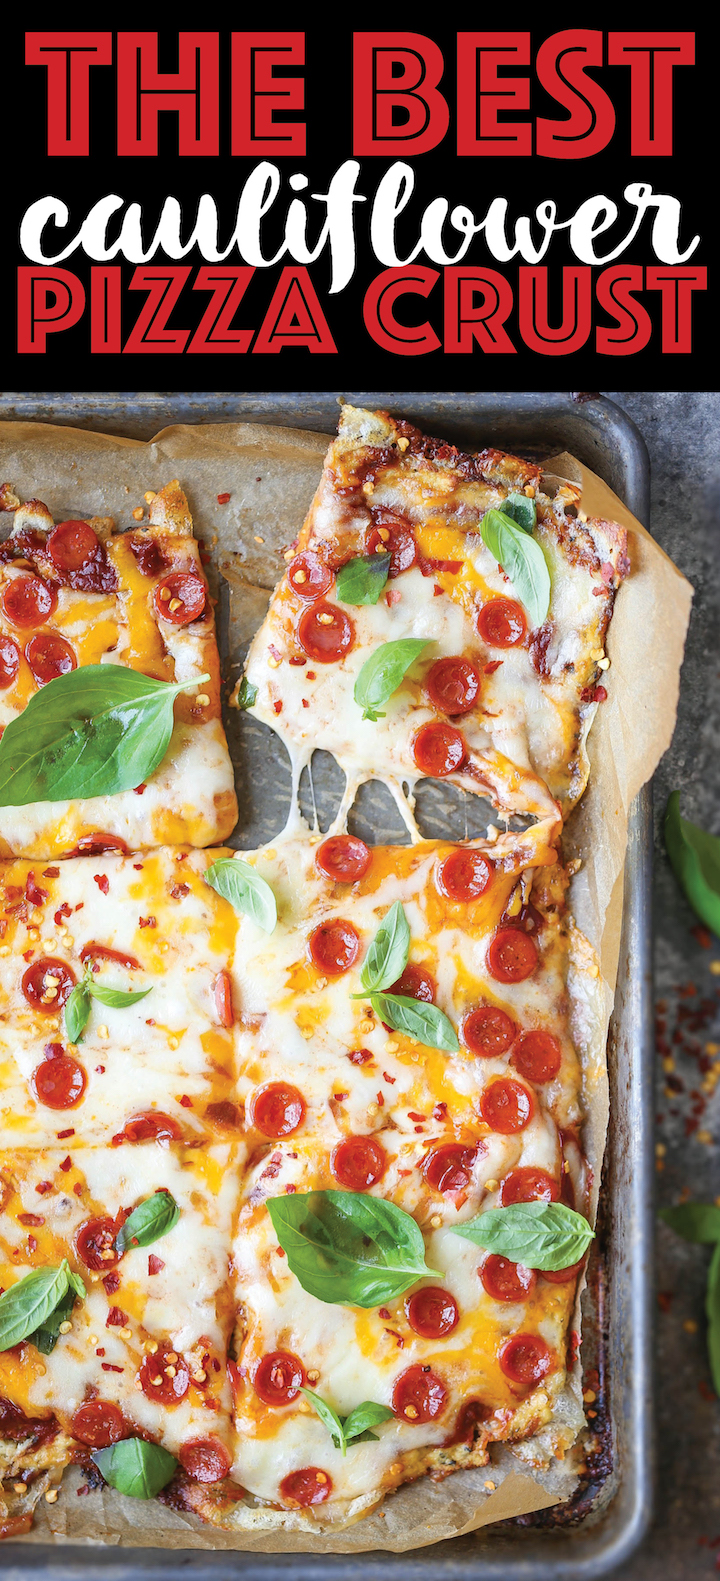
You can add anything for your toppings: cheese, mini pepperonis, fresh basil leaves, crushed red pepper flakes, etc. Or you can add some eggs and bacon for a LEGIT breakfast option. It’s just a thought, you know?
Don’t forget to follow Pomi on Facebook, Twitter and YouTube for your recipe inspirations!

The Best Cauliflower Pizza Crust
Ingredients
- ½ cup Pomi Pizza Sauce
- 1 cup shredded mozzarella cheese
- ½ cup shredded cheddar cheese
- ¼ cup pepperoni minis
- ¼ cup fresh basil leaves
- ½ teaspoon crushed red pepper flakes, optional
For the cauliflower crust
- 1 head cauliflower, chopped
- 2 large eggs
- ½ cup shredded mozzarella cheese
- 2 tablespoons freshly grated Parmesan
- 1 tablespoon Italian seasoning
- Kosher salt and freshly ground black pepper, to taste
Instructions
- Preheat oven to 425 degrees F. Line a baking sheet with parchment paper or a silicone baking mat; set aside.
- To make the cauliflower crust, add cauliflower to the bowl of a food processor and pulse until finely ground, yielding about 2-3 cups.*
- Transfer to a microwave-safe bowl. Cover loosely and place into microwave for 4-5 minutes, or until softened; let cool.
- Using a clean dish towel or cheese cloth, drain cauliflower completely, removing as much water as possible.
- Transfer cauliflower to a large bowl. Stir in eggs, mozzarella, Parmesan and Italian seasoning; season with salt and pepper, to taste.
- Spread cauliflower mixture into a 15- by 10-inch rectangle onto the prepared baking sheet. Spray lightly with nonstick spray and bake for 12-15 minutes, or until golden.
- Top with pizza sauce, cheeses and pepperoni minis. Place into oven and bake until the cheese has melted, about 3-5 minutes.
- Serve immediately, sprinkled with basil and red pepper flakes, if desired.
Notes
Did you make this recipe?
Tag @damn_delicious on Instagram and hashtag it #damndelicious!
Disclosure: This post is sponsored by Pomi. As always, I only partner with brands that I love and truly believe in, allowing me to create more quick and easy recipes to get us through the week without breaking the bank. All opinions expressed are my own.



Green Giant is now selling frozen riced cauliflower, and I don’t think it needs draining. Today I tried it cooked in a skillet and it was very dry, no water came out. Worth a try.
I used the frozen packaged riced cauliflower. It did require draining. I used cheesecloth and it drained at least 1/2 cup fluid. Next time I will squeeze it even more- I didn’t quite achieve the crispness of the crust I was looking for, but the taste was fine.
What can I do if I don’t have a food processor
You can also use a blender.
Made it with no Italian season did a batch with egg and one without … Came out amazing everyone loved it .. Thanks 🙂
Made this tonight. My tummy is SO happy 🙂 I did modify a bit by adding a few more toppings like red & green pepper, garlic, mushrooms Definitely will be making this one again. Definitely recommend taking the time to really squish out all the moisture you can from the cauliflower…I may have been a little impatient on that step, it still was amazing, but I think it would be just that much better if I had squished more 😉 Family LOVED it too…a definite keeper!
I made this today and it was amazing! I only used the crust recipe, then topped with a lean ground turkey, green bell pepper, and black olives, with cheese and sauce.
But the crust was the best faux pizza crust I’ve ever made. Only variation is that I added about a cup of panko because I’ve had experiences with faux crusts being too soggy before, and I didn’t use Italian seasoning.
Kids loved it, and the crust holds up under thick toppings.
As for draining the steamed cauliflower, I wrapped it in the towel and then used a big mug to press it out. It took effort, but was simple – not sure why people are flipping out about it.
This will be a weekly addition for me.
How many cups of cauliflower should I have?
Once the cauliflower is processed, it should yield about 2-3 cups.
If the draining part is so tedious why don’t you note it ? I’m a fan of cauliflower pizza but everytime I made it you practically have to body slam the thing, and strain it, heat it, strain it over and over again, it’s ridiculous. I hate when cooking blogs aren’t honest about the process, I read a lot of your recipes so when I saw that you wrote it I thought you’d give some pro tips instead of selling it like its some 30 minute weekday dinner but no, this totally reads like a sponsored post. With the time/effort it takes to prepare this dish, you could have eaten a regular pizza and gone to the gym. Expected more from you Damndelicious!
She said to “completely remove as much water as possible”. Sometimes you just have to find out for yourself and not have your hand held the whole time. She posted a delicious recipe. If you follow it and do the steps, it’s perfect.
wow complain much
Do you add water when you microwave it?
Nope, no water needed here! 🙂
I’ve made a couple of your recipes, and have enjoyed them all! My pizza didn’t come out as large as yours (maybe since I only used one egg), but tasted great.
I found this crust to be very “quiche-y”. Any suggestions for what I may have done wrong? Could I use 1 egg instead of 2?
Yes, absolutely.
How do you cook the crust cauliflower if you don’t have a microwave?
You can also pop it in the oven as needed.
Hi! I made this tonight and it tasted great but felt a little spongey, it didnt seem like there was really any water in the cauliflower after I cooked it in the microwave, and I didnt have a cheesecloth, so im guessing that is the reason for the spongy texture? Your pictures look like your crust is really crispy especially on the ends! How would I go about using a the dishtowel method? Thanks so much!
Yes, the dish towel method is key for a crisp crust! You want to squeeze out as much water as possible using a clean dish towel, cheese cloth or even a t-shirt!
Is the 169.5 calorie count per serving of the crust or per serving of the crust + toppings?
Per serving of crust + toppings.
How do you make it so the cauliflower is absolutely dry? I’ve tried this a couple of times and the draining part is always super annoying. Do you have any tips for making the squeezing part faster?
Yes, the draining part is super tedious – it is best not to rush through it as it makes such a key difference in a crispier crust!
I have to say this was an amazing crust! After it was baked on parchment paper, I put the toppings on, then I slipped it onto a cooling rack (safe to 500°F) and cooked it. The crust was a bit crisper than when I did it the first time on just the baking pan. Still not a fold over New York Pizza, but everyone gobbled it up! The second time I did it, I made 2 and it still did not seem like enough for all of us. Even my 2 year old granddaughter ate a ton of it. Thank you for an amazing and healthy alternative that everyone can eat at the table, gluten free and all!
I’ve tried cauliflower crust in the past and it always came out spongey. I was a bit skeptical reading through these instructions until I noticed that you have to wring out the water from the cauliflower, which I had never done before. I tried this method and it came out GREAT! The crust was thin and crispy. No one in my family suspected a thing, they gobbled it all up! No deviations; no substitutions.
I’ve made this recipe twice. The first time around, I must not have squeezed out enough water, because my crust was too crumbly and messy. Otherwise, good flavor, so I decided I would try it again with modifications. Second time around, I chose to use pre-riced cauliflower out of convenience (less mess, less time to make), and used two heaping cups. Instead of microwaving it, I cooked it in a 12 inch cast iron skillet to allow for more water evaporation. Once it was soft, I mixed it together with low moisture mozzarella I shredded myself, plus the seasonings, eggs, and parmesan. Instead of using a baking sheet with parchment paper again, once I was done cooking the cauliflower I put a touch of oil onto the skillet and threw it into the heating oven. When the oven reached temperature/the skillet was hot, I pulled the skillet out, and poured the cauliflower mixture onto the bare skillet, spreading it with a spatula to cover the bottom of the skillet, and then proceeded with the recipe as instructed. This time, the pizza was FANTASTIC. The crust came out so crispy/firm from pre-heating the skillet that I could actually fold slices of the pizza to eat it with my hands. All in all, I recommend this recipe, but if you’re having trouble with it becoming a crumbly mess, considering frying the cauliflower instead of zapping it, and try using an oven-safe skillet that you preheat to form the crust in.
This sounds terrific. We don’t use a microwave in our home and I’m a fan of my skillet. I wanna try it your way.
this sounds great!! did you squeeze the water out of it? I am nervous to make this but it looks great!!!!
This looks so cute, Chungah!
I’ve yet to try making a cauliflour crust pizza, having done sweet potato instead and so will definitely be giving this a go soon. Thanks for sharing.
Loved this pizza crust! Has anyone tried freezing it?
I make several at a time and then freeze them for easy weeknight dinners!! Sooo good
What’s your process for freezing? Do you cook just cook the crust and then freeze or do you add toppings, bake and then freeze?
It looks delicious and am sure it was! Something I have to try soon!