Easy No Knead Bread
This post may contain affiliate links. Please see our privacy policy for details.
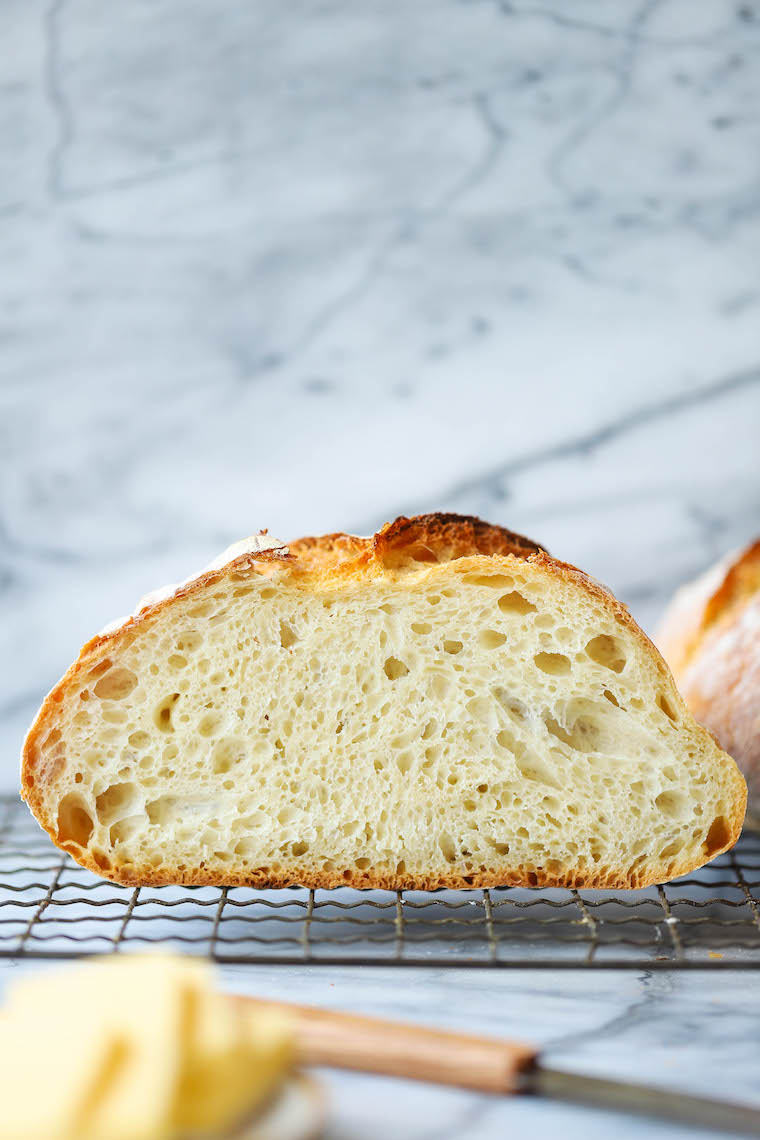
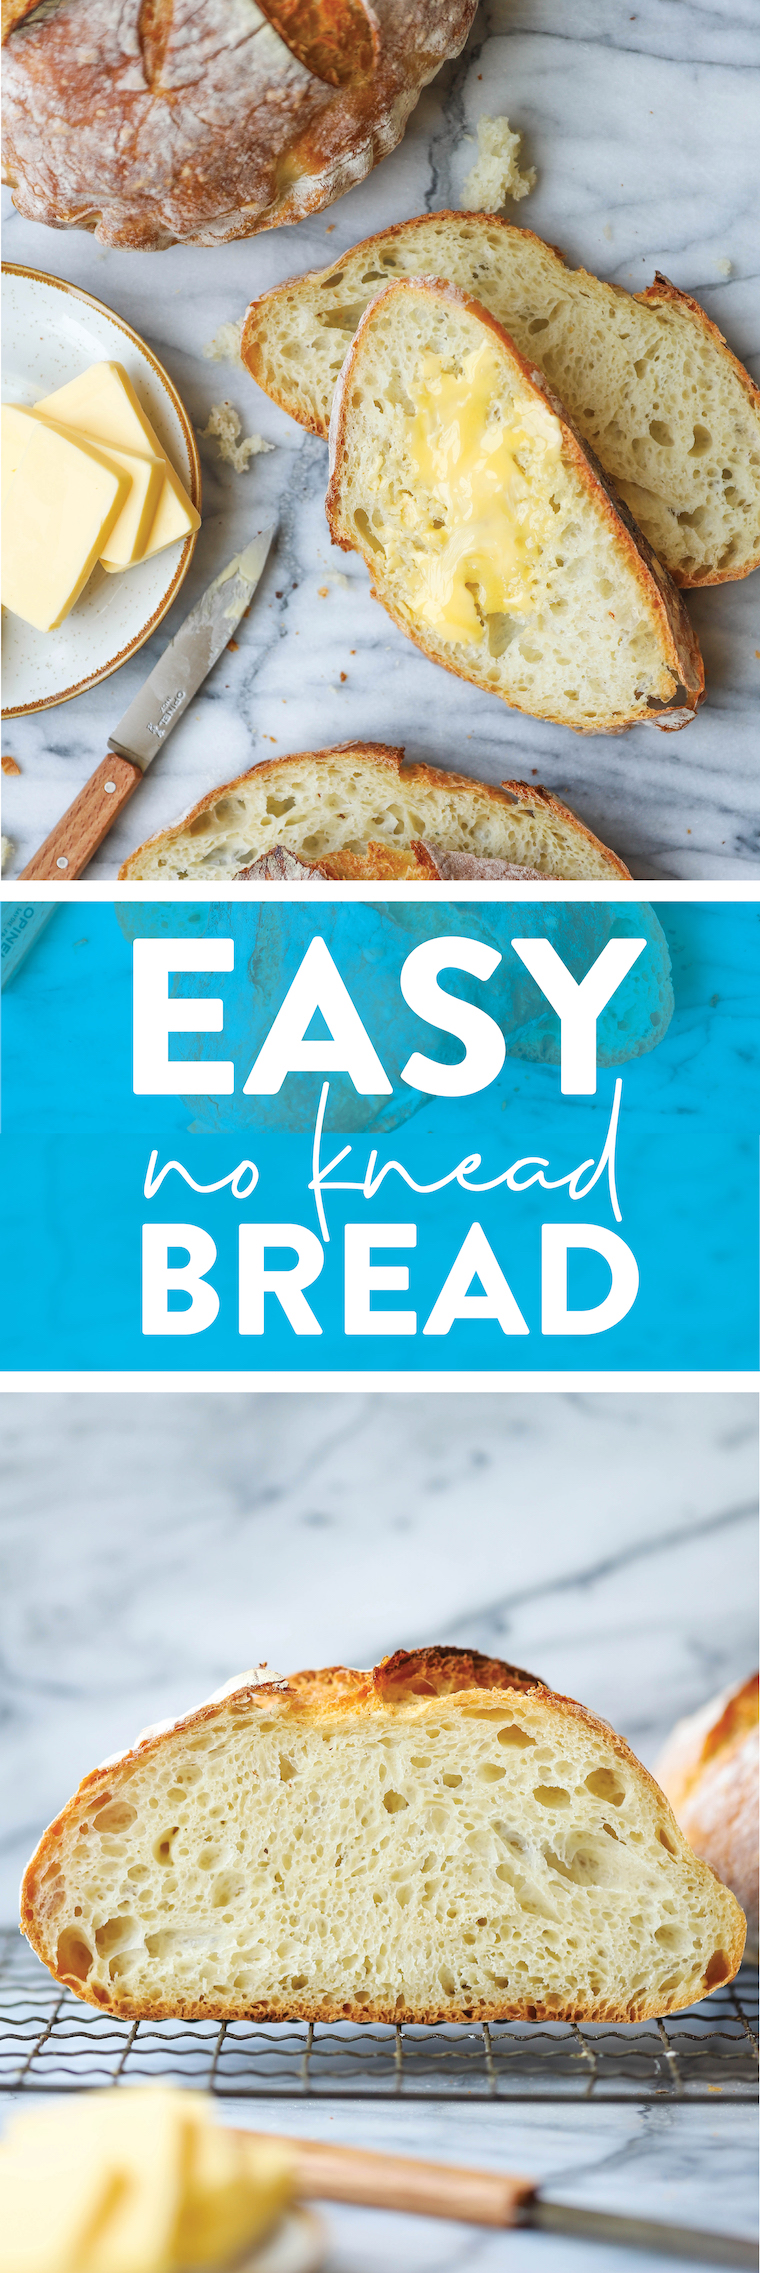
FOOL-PROOF and only 4-ingredients! So hearty and rustic with the most amazing crust – so fluffy, soft + chewy inside.
Featured Comment
Guys, please say hello to my COVID baby. Yes, that’s exactly right. My bread baby. My bread baby I made every single week starting in March.
My first loaf was…well, it wasn’t the prettiest but it was still so darn good. The shaping definitely needed some work. My second loaf was better, and then my third and fourth loaves were dropped off at neighbors and friends with a contactless drop off.
They all got rave reviews. And they all finished the loaves within a day, maybe less.
I don’t blame them. It is just that good. And it’s unbelievably easy (except no one will believe you when you tell them that). Bread making has such a tedious, overwhelming rap to make but this no knead method requires very little hands-on time, perfect for beginners.
what exactly is no knead bread
- A bread-making method that does not require any special techniques or equipment
- Uses a long fermentation (rising) process to allow the gluten to develop naturally and on its own, eliminating the need for physical kneading
- Creates a very wet, shaggy dough, allowing it to be stretched and folded as needed
- Typically baked in a Dutch oven to mimic a professional bread oven
tips and tricks for success
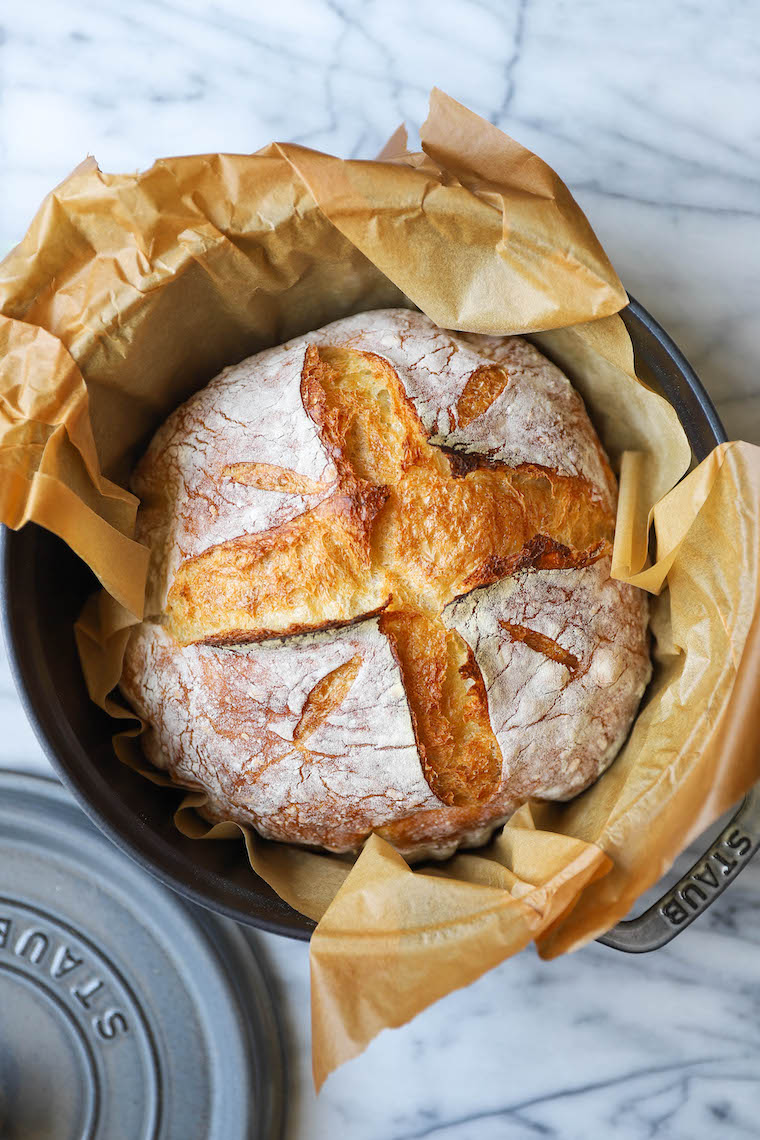
- Use a Dutch oven. A heavy bottom pot with a lid, such as a Dutch oven, is key here for even heat distribution. This will help the bread rise appropriately and develop that favorited golden crusty exterior.
- Use warm water. The warm water will help activate the yeast to help the dough rise. If the water is too hot (120°F), the yeast can start to die, preventing the bread from rising.
- Use parchment paper. Using parchment paper will help to transfer the dough into the hot preheated Dutch oven.
- Preheat the Dutch oven. Preheating beforehand will create steam, helping the dough open up and create a better rise with golden brown crisp ridges.
- Mix it up. Add leftover fresh herbs such as thyme, rosemary or sage, roasted garlic or freshly grated Parmesan cheese.
- Freeze as needed. Once cooled completely, cover the bread tightly with plastic wrap, then aluminum foil, freezing up to 3 months.
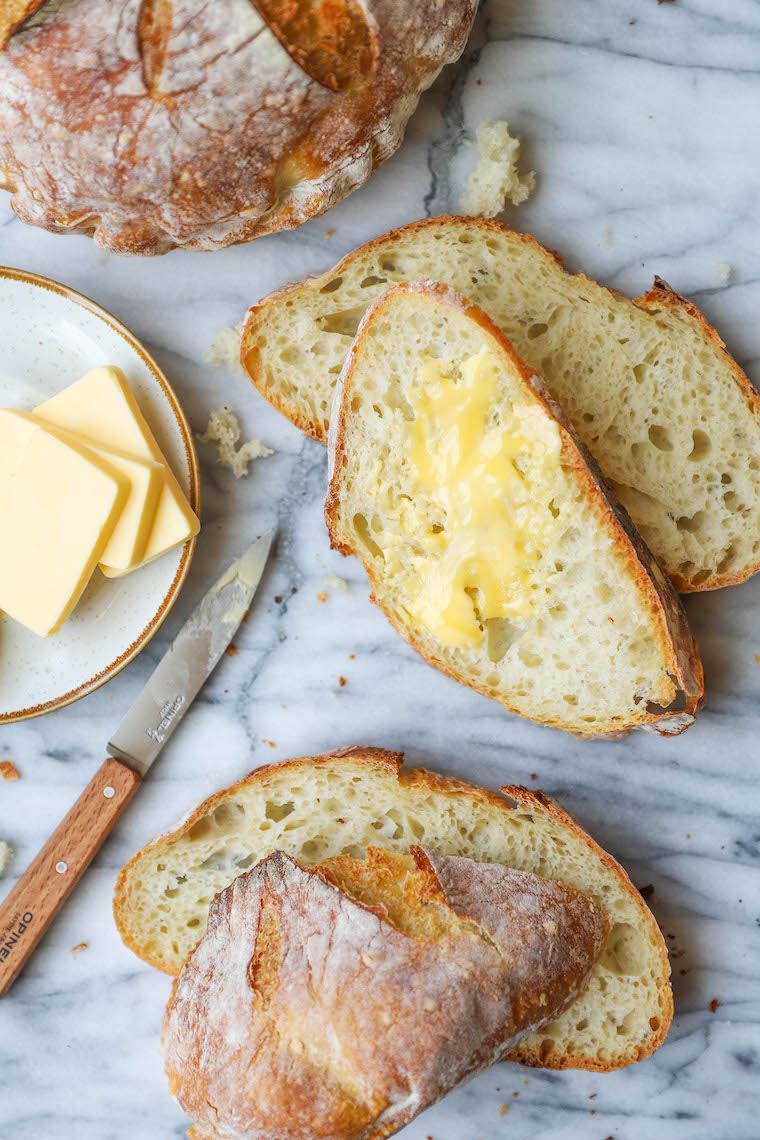
what to serve with no knead bread
Tools For This Recipe
Dutch oven
Easy No Knead Bread: Frequently Asked Questions
A Dutch oven is ideal for this recipe to get that favorited golden brown crisp exterior. If you do not have a Dutch oven, an oven-safe casserole dish with a lid can be used instead, double checking that it can be heated to 450°F.
1 cup of all-purpose flour can be substituted for whole wheat flour, keeping the rest of the recipe the same.
If you cannot find instant yeast, we have substituted active dry yeast with an overnight rise with great results.
You do not necessarily need a bread lame to make slits across your dough. You can use a paring knife or kitchen shears to score the bread dough instead.
Leftovers can be stored in an airtight container at room temperature for 2-3 days.
Yes! Once cooled completely, cover the bread tightly with plastic wrap, then aluminum foil. Label, date and freeze up to 3 months.
Easy No Knead Bread
Video
Ingredients
- 3 ¼ cups all-purpose flour
- 2 teaspoons kosher salt
- ¾ teaspoon instant yeast
- 1 ½ cups warm water, 100-110 degrees F
Instructions
- In a large bowl, combine flour, salt and yeast. Create a well in the center; add water.
- Using a wooden spoon or your hand, stir until a wet, sticky dough forms, about 1-2 minutes.
- Cover bowl tightly with plastic wrap and let stand at a warm place until doubled in size and surface is dotted with bubbles, about 6-8 hours.
- Working on a lightly floured sheet of parchment paper, fold dough over itself 3-4 times, turning after each fold; gently shape dough into a round.
- Cover with a clean dishtowel and let stand at room temperature until dough has doubled in size, about 1 hour.
- Preheat oven to 450 degrees F. Place a Dutch oven, covered, in the oven for at least 30 minutes.
- Remove Dutch oven from the oven; working carefully, place dough into the Dutch oven using the parchment paper as a sling.
- OPTIONAL: Using a sharp knife or bread lame, make a few shallow cuts on the top.
- Cover and place in the oven; remove the lid after 30 minutes. Continue baking until golden brown and completely cooked through, reaching an internal temperature of 210 degrees F, about 15 minutes more. Let cool 30 minutes on a wire rack.
- Serve warm.
Notes
Did you make this recipe?
Tag @damn_delicious on Instagram and hashtag it #damndelicious!


Easy and delicious! I’ve shared it with family.
Really good bread we ate with some beef stew and really enjoyed it
The bread looks amazing and want to try this
But can anybody tell me what 3/4 of teaspoon yeast is and 3 1/4 cups of flour in grams?
I live in the netherlands .
Thanks
3/4 tsp is equivalent to 3.75 ml. The flour measurement in grams is 390. 1 cup of flour = 120 grams. Hope this helps
I made this my first time today. An old bread maker, but first time to try the no-knead method. Uncharacteristically, I followed the recipe precisely. The result was superb — Damn Delicious. Will be revisiting for sure. This site is addicting.
Thank you!
somebody adding vinegar, sugar or oil,….
what is the reason?
I don’t know what I’m doing Bering. The dough is so wet I can’t turn it on the parchment.
Anyone else have this issue? I followed the recipe to the t.
I checked a similar recipe to see if anything was drastically different, and actually they use only 3 cups of flour instead of 3 1/4, so that’s no help. Bread can be pretty forgiving, so I would just keep working a little bit of flour in at a time until it seems the right consistency.
I had the same problem. Followed the recipe exactly but it was a total mess turning it out on to the parchment. I’LL try one more time and add additional flour but I was pretty disappointed on my first try.
Thanks for sharing.. Can’t wait to try..
Allergic to milk products. Need bread receipes
I finally made my first loaf of bread! I had always been too intimidated to even try. This recipe seemed easy enough for me to make my first attempt. It was so easy and it turned out incredible. I may never buy store brought Rustic Italian bread again.
I have never made bread before. I made this today and it was fabulous! I used a cup of whole wheat flour to up the nutrition and fiber. Next time I am going add rosemary! My husband and neighbor loved it!
This is the best home made bread I have EVER made. It doesn’t taste yeasty and every one I’ve made before does. So easy! I didn’t have instant yeast so used active dry, looked up the conversion, dissolved it in the warm water for ab0ut half an hour. For the first time ever I actually used a thermometer to make sure the water was the right temperature so maybe that helped as well.
If I can stay organized I’m not sure I’ll ever buy bread again. This is so inexpensive and so delicious!
Do you have to grease the Dutch oven before adding the bread?
There is no need with the use of the parchment paper.
Best recipes EVER!!!!
What size Dutch oven? I only have a 7 qt
Can anyone tell me what size Dutch oven? I only have a 7qt.
Is there a way to make this bread in a log for sandwiches?
Could I let this sit for 12 hours?
I make the recipe at least twice a month. So good and my husband loves it! I’ve never made bread before and this recipe is so approachable and delicious!
Can prep and let sit overnight and bake in the morning?
I need it for 2pm gathering so I figure doing this way should be fine
If I wanted to leave it overnight do I have to put it in the fridge?
Hello there,
Does anyone have the grams of the cups of flour??
Thanks
One cup of all-purpose flour weighs about 120 grams, or 4 1/4 ounces. This is the amount of flour that recipes typically call for.
The images speak a thousand words. Wow.