Homemade Tater Tots
This post may contain affiliate links. Please see our privacy policy for details.
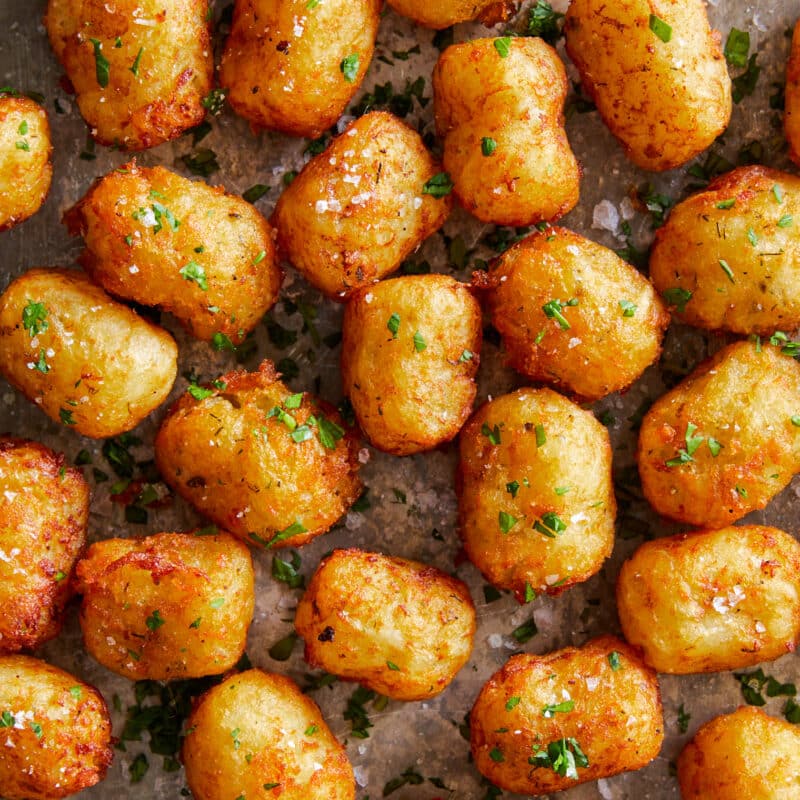
Say goodbye to those frozen bags of tots! This homemade version is easy, freezer-friendly and better than store-bought!

There’s no shame in the frozen tots game. But after trying these homemade tots from scratch, there’s absolutely no going back to the store-bought version.
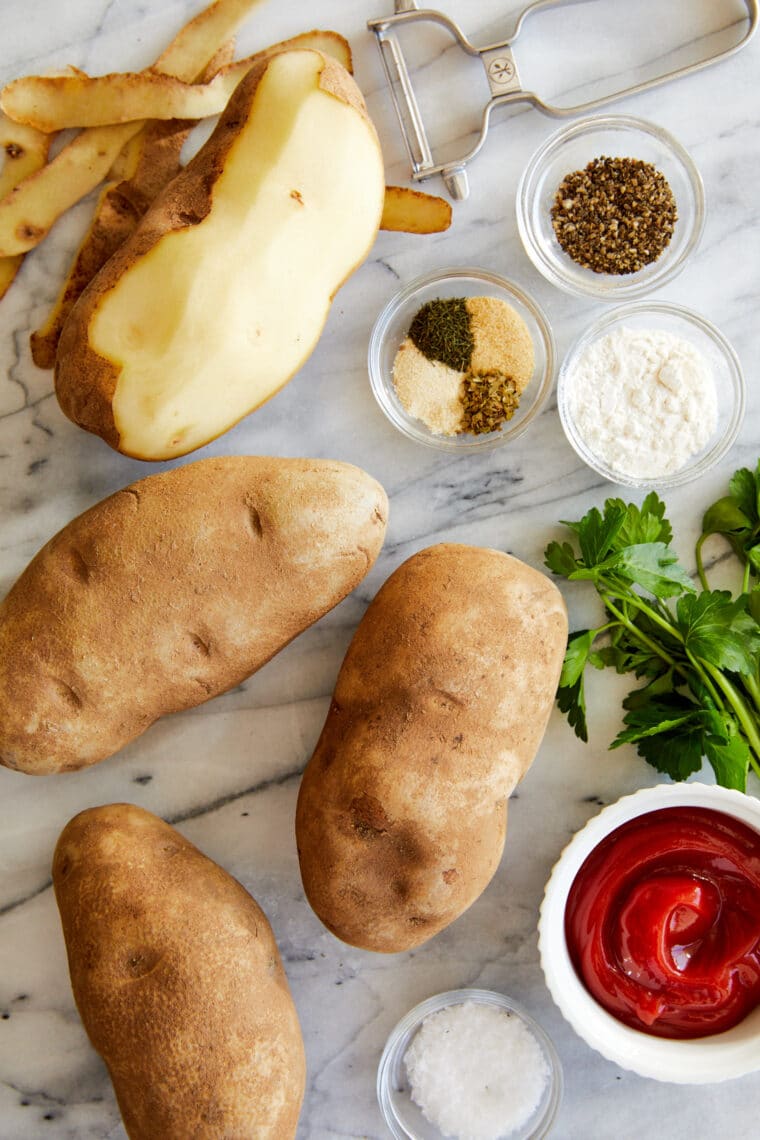
And the homemade version is super easy to whip up – special equipment like a potato mill or potato masher are not required here. All you need is a cheese grater to shred those parboiled potatoes and a clean dish towel to squeeze out as much moisture as possible (for maximum crispness, of course).
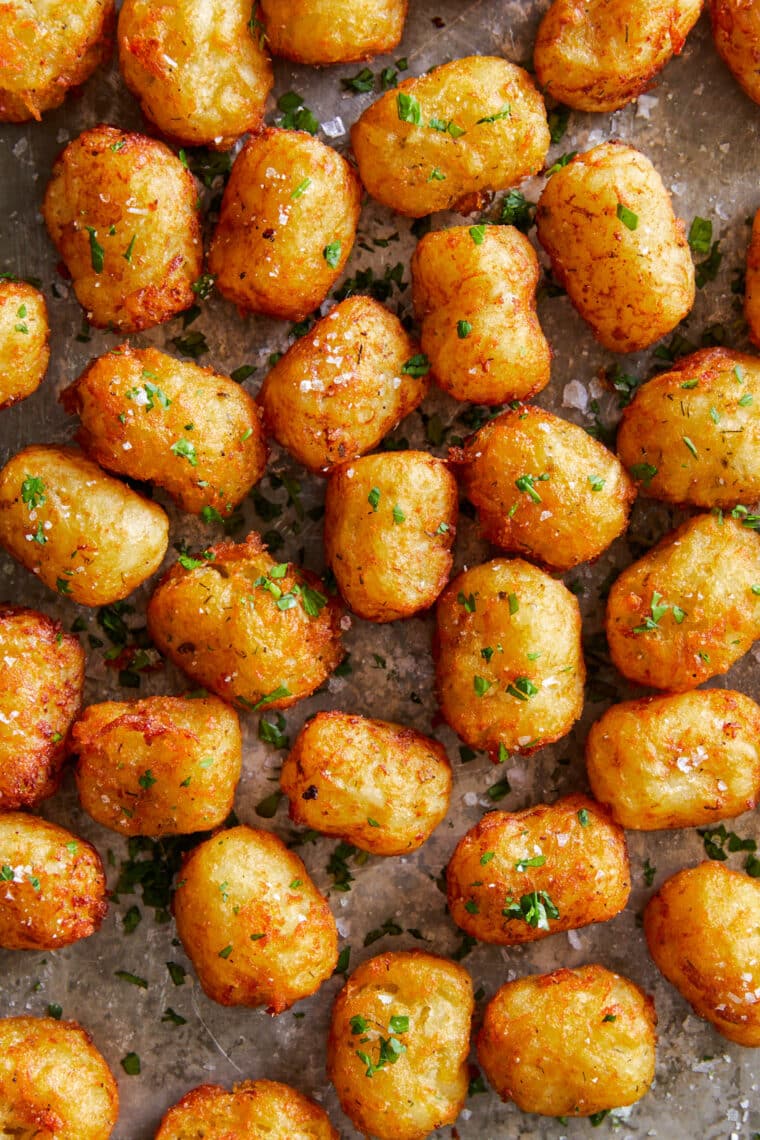
From there, you can add in your desired seasonings, form them into beautiful little tots, and throw them into some hot oil to let these babies get amazingly crisp and golden brown.
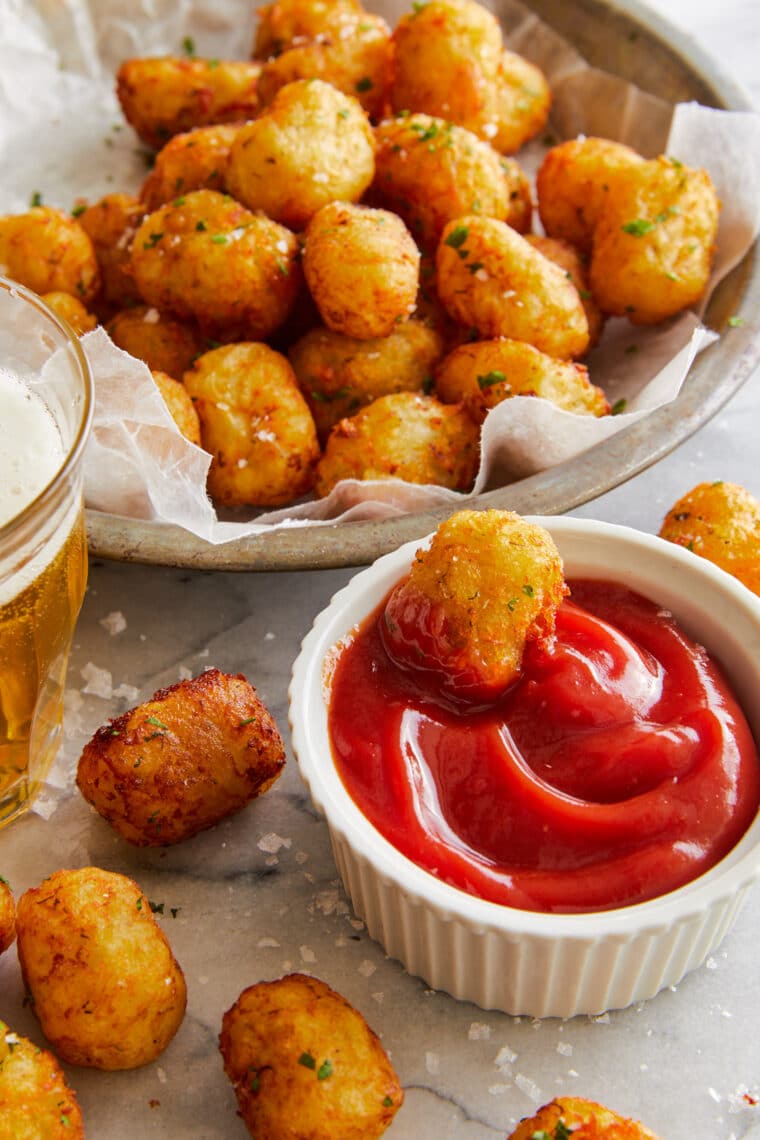
All that’s left to do is serve these with some ketchup and you’re set. And if you manage to have some leftovers, you can freeze them for next time (up to 1 month)!

Homemade Tater Tots
Ingredients
- 2 pounds russet potatoes, peeled
- 1 tablespoon all-purpose flour
- 1 teaspoon garlic powder
- ½ teaspoon onion powder
- ¼ teaspoon dried oregano
- ¼ teaspoon dried dill
- Kosher salt and freshly ground black pepper, to taste
- 3 cups vegetable oil
- 2 tablespoons chopped fresh parsley leaves
Instructions
- Place potatoes in a Dutch oven and cover with cold salted water by 1 inch. Bring to a boil; reduce heat and simmer, covered, until parboiled, about 6-7 minutes; drain well and let cool.
- Using a box grater, finely shred potatoes. Using a clean dish towel or cheese cloth, drain potatoes completely, removing as much water as possible.
- Transfer potatoes to a large bowl. Stir in flour, garlic powder, onion powder, oregano and dill; season with salt and pepper, to taste. The mixture should be workable but dry. Form potatoes into tots.
- Heat vegetable oil in a large stockpot or Dutch oven over medium high heat until it registers 360 degrees F on a deep-fry thermometer.
- Working in batches, add tots to the Dutch oven and cook until evenly golden and crispy, about 3-4 minutes. Transfer to a paper towel-lined plate.
- Serve immediately, garnished with parsley, if desired.*
Video
Notes
Did you make this recipe?
Tag @damn_delicious on Instagram and hashtag it #damndelicious!







I just made this and they were delicious! Everyone who had some loved them as well. Thank you for this recipe.
Just finished cooking them up! Here’s my thoughts:
1) I may have boiled the potatoes a little too much? Once I started to shape the tots, they became more of a mashed potato consistency. This might have caused the rest of my trouble.
2) Used a pastry bag and it made perfectly shaped tots.
3) Threw the first dozen in the deep fryer. They fell apart.
4) Second batch I fried on the stove top, in about 1/3 inch of oil. They held their shape this way.
5) The final consistency was not what I look for in a tater-tot, but again that could have been caused by possibly over boiling the potatoes in the beginning.
6) The dill was a bit overpowering for me, but I don’t like dill, so I’m not really sure why I added it. 🙂
They were fun to make! I ended up taking about 2 hours to finish them so I think I still see bags of frozen tots in my future, but these were good!
I made these today and they were lovely. We are not used to tater tots in Ireland but I will definitely make these again. Looking forward to trying out more of your recipes.
I ended up with mashed potatoes
Edna, did you drain the potatoes completely, removing as much water as possible?
Have you tried to make these with sweet potatoes or a mix of sweet potato & russet?
I actually have not but it sounds amazing!
OMG Just finished making cooking and eating these Ammazing Tots !!!! WOW !!!! A little time consuming but well worth it ! I used coffee filters to mold my tots which Helped with any excess water … Thanks for the post !!!
This looks amazing. And there are so many possibilities: curry tots, tot burritos, smoked brisket over tots, tot poutine. Can’t wait!
You don’t need egg, because the gluten in the flower does the binding. However, if you want to use gluten free flower, which you can, I do recommend using one.
Made these yesterday and they were GREAT! Easy too. We parboiled them at 11am and let them sit for a couple hours at room temp and that eliminated the need to squeeze out any liquid as they we dry by then, so kind of a nice do-ahead tip. Amazing crunch! I’ve seen some recipes that are so much more involved and I can’t imagine them being any better.
Thanks!
First of all, these are amazing. Never thought about grating potatos until now. My only question is how do I make the potatos less sticky so I can actually form them correctly?? I ended up using two spoons and it was a difficult process.
I recommend draining the potatoes completely as best as you can, removing as much water as possible.
Also patting a little cooking oil on your hands now and then helps!
I’d prefer to just leave out the flour for my GF daughter. Would that work, or will I need to add a flour substitute?
I recommend using a substitute.
Tater tots aren’t sold in the UK so when I found this recipe knew I had to try it, fantastic! Husband’s only complaint was I hadn’t made enough! Will definitely be making again i.e. tomorrow for my parent’s and my joint birthday party!
Cool. Loved it
it looks like totally crispy and yummy to me lol probably not only me also others.
your recipe is cool to me. thank you for your idea. i will try this at my home.
it will be a good tater tots surely to our family
meeee, not our. i meant my family 😛
I was wondering if using a small cookie scoop would work for forming the tater tots? They would be round, instead of log shaped, but so what? From what I can tell, forming the tots is the most time consuming part of this recipe.
Why not give it a try.
I just got done eating tater rounds, that is what they are called here in Idaho, land of the famous potato. So I really don’t see why you couldn’t shape them in rounds, or disc shape. I going to try this recipe, I love homemade more than store bought.
Yay! A total success, these turned out perfect and were loved by the whole family! Thanks for sharing!
I made these tonight and used red and yellow potatoes from my garden. I might have boiled the potatoes a little too long because the finely grated potatoes were quite gummy. I tried to get as much moisture out as possible, but probably still had too much moisture as they were not quite done in the center after they were fried. I also kept adding flour to my hands while forming them as they were a bit sticky. However, I still had a hard time not eating all of them as they came out of the fryer! These are very delicious, and I will either freeze these tots or use for tater tot casserole so they cook a little further in the middle. I have SOOO many potatoes this year out of my garden, so I will keep trying this recipe until perfected 🙂 Thank you for the recipe!
This will be the 4th recipe I’m using from your site. The first 3 have been a hit in our home so I’m sure these will at well. Quick question, to freeze these tater tots do you recommend freezing prior to frying or after they’ve been fried?
I recommend freezing them in a cooked state (once they’ve been cooled).
I don’t normally leave comments at cooking websites, or any website for that matter, but after making a batch of these little morsels I felt compelled to inject my culinary observation (i.e. I am putting in my two cents worth). I followed the instructions verbatim, in spite of my apprehension as to the possible outcome. To my considerable surprise they came out remarkably well, most particularly the flavor. I could discern each individual seasoning without any one of them overpowering the others (i.e. I made some tots and they tasted good). I was elated to the point that I made a stationery representation of the list of ingredients and preparation instructions and added it to my repertoire of culinary documents for future consideration (i.e. I printed out the recipe and put it in my cookbook). Previous posts by other patrons of this website suggested using a piping bag to extrude the amalgamation. Over the era that my culinary experience entwines I have never acquired the said utensil (i.e. I don’t have a piping bag). So to achieve the desired specific form of the said tots, I applied an aerosol cooking lubricant to resinous impregnated parchment (i.e. I put some cooking spray on wax paper). I then appropriated a sufficient amount of the tuberous crop mixture and applied it to the previously mentioned parchment. I then manipulated the mixture until I achieved the desired appearance (i.e. I put some potato mix on the wax paper and rolled it with my hand until it was the right size and shape). Once I had completed that task I then continued with the remainder of the outlaid instructions.
This is possibly the best comment that I have ever read. It is the most descriptive instructions I have ever had and very entertaining. Thank you!
Mike: Ditto Jeanne. You might be an amateur cook (really?) but I sure hope you are embracing the world in some capacity as a writer. You have a wonderful talent which ought not to go to waste. You are both engaging and entertaining. Please consider enriching us in this field if you don’t already……as an English teacher, would love to encounter more of your writing ……
Mike, as a nonnative speaker I feel like a croissant reading your comment. Marvellous.
Great Recipe! I just whipped up some for my kindergarten aged son’s lunch and there’s none left. I only used 1 large potato because I wasn’t sure he would like it, he LOVES it. He’ll have wedges tomorrow but I’ll definitely make a big batch for next week.
I am on a Renal diet …and I could eat a couple of these because you boil then drain then cook again…This removes some of the potassium which allows me to have a few. And I would not feel like I wasted anything if I did like this…love it.