Instant Pot Rotisserie Chicken
This post may contain affiliate links. Please see our privacy policy for details.
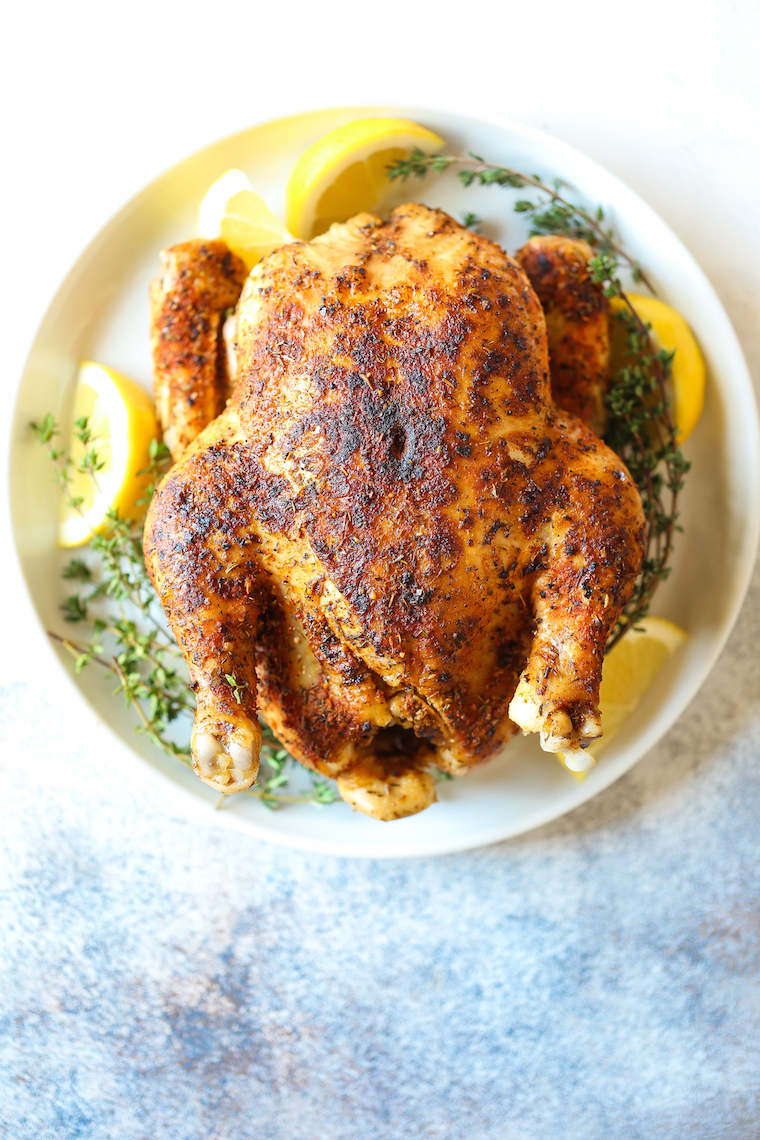
28 min whole rotisserie chicken? Yes! The chicken comes out perfectly tender, juicy + packed with flavor. And it’s SO EASY!

Featured Comment
Also, it just tastes better with one’s own seasoning. We end up eating all of our chicken (whereas with the one from the store, the dogs get snacks off of it for a few days – it’s tasteless on the second day).
THIS chicken (prepared almost exactly as here – sometimes I vary the seasonings and use garlic in the broth).
I love a good rotisserie chicken. I mean, I really love a good rotisserie chicken. It’s so versatile, and has so many uses. It’s great on its own with a few roasted veggies and it’s great with pastas and soups as a fill in for even quicker dinners.
why i love this recipe
- Yields the most tender, juicy and flavorful rotisserie chicken
- Requires minimal prep, pantry staples and zero babysitting
- Natural release of the Instant Pot gives you time to prep your side dishes
- Freezer-friendly, perfect to freeze whole, in pieces or shredded
tips and tricks for success
- Use good-quality stock. The better quality your stock, the better your chicken. Many brands love to pack in the salt so always opt for unsalted or a lower-sodium variety. Homemade stock is even better.
- Don’t skip the metal trivet. After browning the chicken, place the chicken on top of the metal trivet. This will help ensure that the chicken does not burn, as well as providing better circulation for even cooking throughout.
- Lift the trivet to remove the chicken. The chicken will be very fall-off-the-bone tender (quite literally). Working carefully, lift the trivet to remove the chicken from the Instant Pot and serve.
- Use an instant-read thermometer for the most accurate results. The internal temperature should reach 165°F, inserting through the thickest part of the thigh between the breast and leg but avoiding the bone.
- Broil for crispy skin. As an optional step, broil the chicken on a sheet pan until desired crispness is reached, about 3-5 minutes.
- Let your chicken rest. Let your chicken rest for at least 5-10 minutes prior to serving, allowing the juices to redistribute – this will allow for maximum flavor and juiciness.
- Save the chicken bones. Repurpose the leftover chicken bones for homemade stock.

what to serve with instant pot rotisserie chicken
Tools For This Recipe
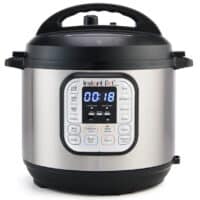
6-qt Instant Pot®
Instant Pot Rotisserie Chicken: Frequently Asked Questions
The metal trivet helps elevate the chicken from the bottom of the Instant Pot, ensuring even cooking and avoiding the dreaded “burn” error.
Place the chicken back in the Instant Pot, cooking for an additional 2 minutes for every 5 degrees below 165°F.
Yes! But be sure to increase the chicken stock to 1.5 cups.
Leftovers can be stored in an airtight container in the fridge for 3-4 days.
Yes! Rotisserie chicken is very freezer-friendly and can be frozen whole, in pieces or shredded in plastic freezer bags. Label, date and freeze up to 3 months.

Instant Pot Rotisserie Chicken
Video
Ingredients
- 2 teaspoons kosher salt
- 1 teaspoon freshly ground black pepper
- 2 teaspoons dried thyme
- 1 ½ teaspoons paprika
- 1 teaspoon dried oregano
- 1 teaspoon onion powder
- ½ teaspoon garlic powder
- 1 (4-pound) whole roasting chicken
- 1 lemon, halved
- 2 tablespoons canola oil
- 1 cup chicken stock
Instructions
- In a small bowl, combine salt, pepper, thyme, paprika, oregano, onion powder and garlic powder.
- Remove giblets and excess fat from the chicken cavity. Dry chicken thoroughly with paper towels. Season chicken and chicken cavity with salt mixture. Stuff cavity with lemon.
- Set 6-qt Instant Pot® to the high saute setting. Add canola oil and chicken, breast side down, and cook until evenly golden brown, about 4-5 minutes. Using tongs, flip, and cook for an additional 4 minutes; set aside.
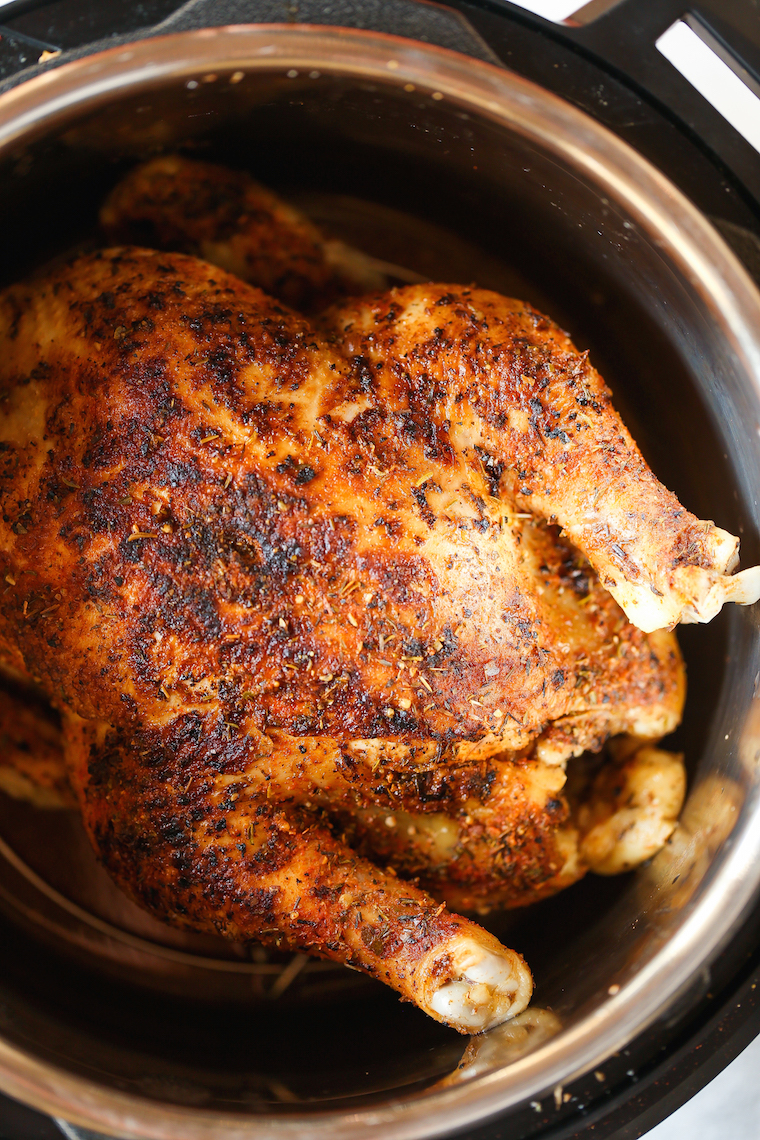
- Place metal trivet into the pot and add chicken stock. Gently place chicken on top of the trivet. Select manual setting; adjust pressure to high, and set time for 28 minutes. When finished cooking, naturally release pressure according to manufacturer’s directions, about 20-30 minutes. Let rest 10-15 minutes.
- Serve immediately.
Equipment
Did you make this recipe?
Tag @damn_delicious on Instagram and hashtag it #damndelicious!


This was positively delicious. I hate making roasted chicken because I am always worried about the “doneness”. But this was as easy as could be. Husband and 4 kids LOVED it (I had to make 2 birds! Not at the same time – one after the other).
Question though – is there some magical way everyone is getting their chicken *out* of the pot. I used tongs like the recipe says but it was a no-go. They got massacred (poor things). They were still fantastic, but the skin ripped and a couple of limbs may or may not have fallen straight off. :). I used tongs, but I ended up using two large serving spoons and not so gracefully lifting it out…but it was rough going.
Thanks!!
Our instapot came with a “trivet”. The trivet has handles which eased the process of removing the chicken from the cooker.
I definitely had the same issue trying to turn during the sauté process. Pretty frustrating. But everything else was great!
I’ve made this so many times since I got my IP for Christmas, I’ve lost count! I buy the two-pack of chickens at Costco and they fit perfectly. I’ve sent visitors home with a chicken just because I wanted them to know how easy and delicious is is! For those having a hard time turning the chicken during the sauté part, I have this huge meat thermometer fork that no longer works, but for some reason I didn’t throw it away. It works perfectly. I stick the prongs into the cavity of the chicken as far as I can, and as I lift it out, the chicken just spins on its own. Magic!
Such an easy recipe!! Chicken was fully cooked, tender and tasty! Add in high broil for 5-10 mins after to get that crispy skin.
Do I use a whole uncut lemon inside the chicken?
The recipe says 1 lemon cut in half.
Came back to print this recipe out as I’m giving the spice mix to my sisters for Christmas! We use this recipe almost every week to make delicious chicken. It’s a household favourite!
This is so very good! Other than the browning of the chicken in the InstaPot, it’s super fast and hands-off. Great for a family dinner when you want something warm and yummy, but healthy too. I’ve made this many times, and it’s consistently excellent.
I have made this so many times I’ve lost count. It is simply the best roast chicken I’ve ever made. Never fails.
I want to make this chicken but my chicken is totally frozen! HELP how do you suggest I do that, or can you?
Fill your sink with warm water. Place chicken in sink inside a ziplock bag. Change water every hour or just add very hot water to raise the temp. It will thaw in a couple of hours.
Do not try to thaw any meat with warm water, that is a terribly dangerous thing to do.
It can be done with cold, changed often – But there is plenty of information around on how to do this safely online. Just remember if you make meat warm but not hot enough to start cooking this becomes a breeding ground for bacteria which is why thawing with warm water is considered so dangerous.
You would be best off looking for full cook from frozen instructions if necessary, it is surprising what the instantpot can do from frozen but again it requires a cautious approach!
My moms been doing it for literally 40 years. It’s fine.
You are correct, thanks for sharing. Warm water is asking for trouble!
Followed the guide and the chicken was amazing! I made sure that the chicken had a good session on the saute function to ensure it was nicely browned and it was popular with the whole family. The father in law kept banging on about how it’s a quality chicken from the local butcher so didn’t want to burst his bubble that it was a discounted supermarket one. Do this NOW!
This came out really good! My husband said it was better than store bought rotisserie chicken. He said it was more moist! I agree and also thought it was less greasy. For some reason the rub didn’t stay on as much as I would have liked. I would have liked it to be a bit more crispy too. Nothing that was a deal breaker! I didn’t have lemon and look forward to trying this next time! Definitely recommend!!
Nachos are dinner! I’m totally with you. And this is a great little recipe.
Quick question… when I add the chicken back in on the metal trivet, does it go breast side up or down? Thank you!
I wondered this too 🙂 had it up.
I have to 10 in one cooker so I can switch the lids and go from instant pot to air fryer. Do you think after the chicken cooks in the instant pot for the 28 min plus natural release that I could put the air fryer lid on to brown/crisp the skin?
What is the purpose of chicken stock?
The stock serves 2 purposes: you must ALWAYS add liquid when pressure cooking, and it adds a depth of flavor to your chicken.
I cooked the chicken for 30 minutes, than for 15 minutes I put mealthy on for 15 minutes which browned and crisped it up. It was delicious! My instant pot chicken was a success.
I had no idea what a mealthy was until I read your post and looked it up. Thank you. I have the Emeril 10in1 and was wondering about switching to the air fry lid to crisp it.
This was absolutely fabulous. I will not be buying rotisserie chicken again.
Excellent! Good rightout of the pot and made chicken salad out of leftovers.
If cooking the chicken from semi thawed, how much time would you add per pound?
Nothing. The IP will just take a bit longer to reach pressure.
I haven’t tried it yet. Been reading reviews for tips. I will update after I cook. One thing I noticed is that people say the skin comes out soggy after the pressure cooking part. If mind comes out soggy I am going to throw it in the oven to broil for a few minutes to crisp it up. Will let ya’ll know how it goes.
I make this chicken every two weeks or so and it’s always good. I use a gourmet chicken seasoning to make it easier for me. I put the lemon in and it is always delicious! Totally recommend this recipe!
I’m super excited to try this! A few questions first though.
What adjustments do I have to do to make this in a 8qt I’m new to the insta pot and just started using it. Also how many minutes per pound do you cook the chicken?
There should be minimal conversions. 8 minutes per lb is recommended by a great Cookery Instructor for Roast Chicken in an 8 Quart Instant Pot.
Although I’m a vegetarian, but—I live with four carnivores! This is the second time that I’ve made your roasted chicken in my IP. Anytime that I run across a recipe that you’ve posted on Pinterest, I know without a doubt, it will be good!! My husband, who’s very picky, said he really liked the spices on the chicken! He and my daughter said it was moist and tender (as you can tell from my photo). I was ready to take a picture of this beautiful bird, but it was so tender, it fell apart when my husband took it out of the IP! I took a photo anyway—lol. Now all I have to do, is figure out where to post it!