Homemade Tater Tots
This post may contain affiliate links. Please see our privacy policy for details.
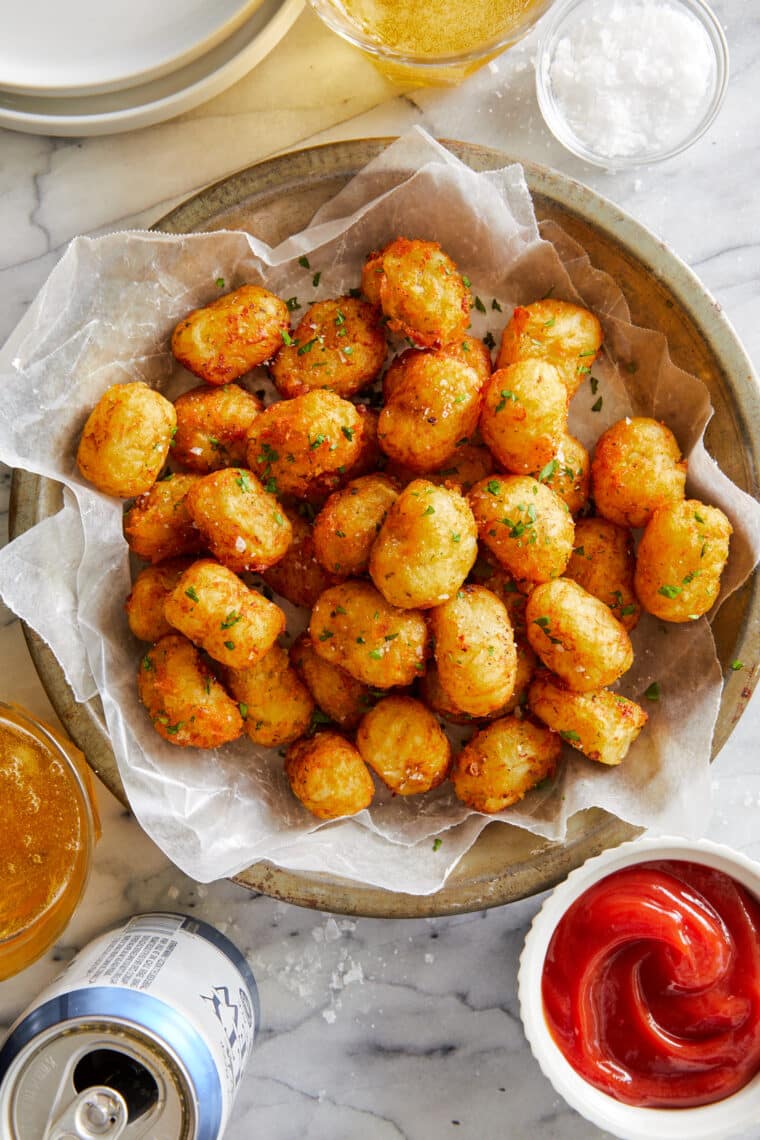
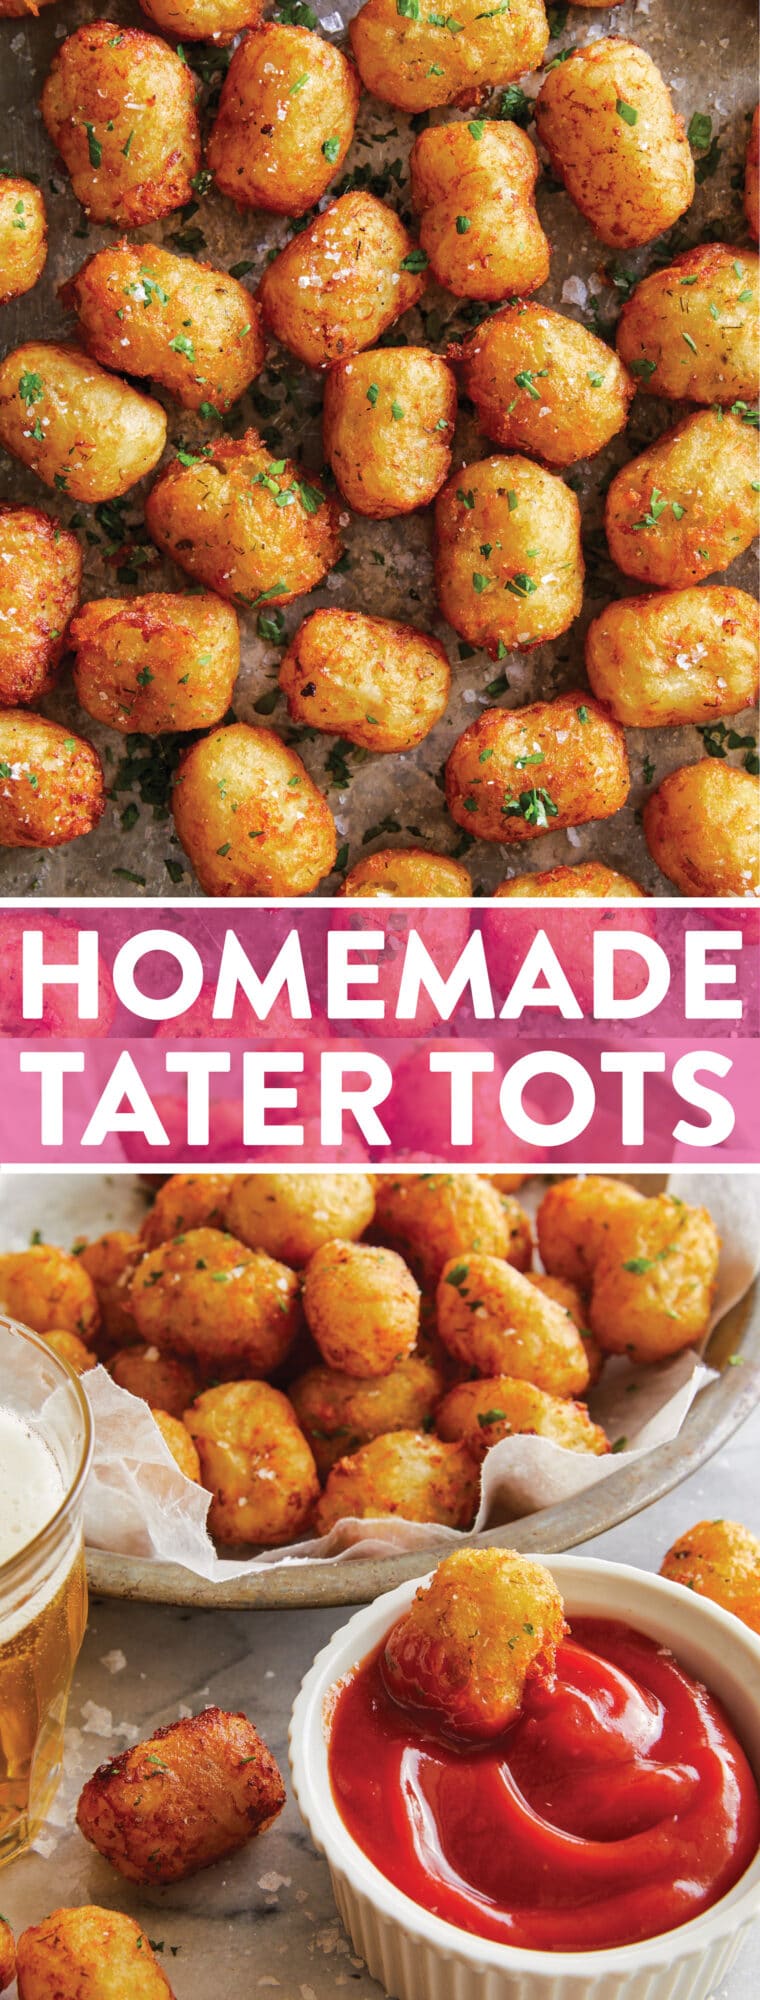
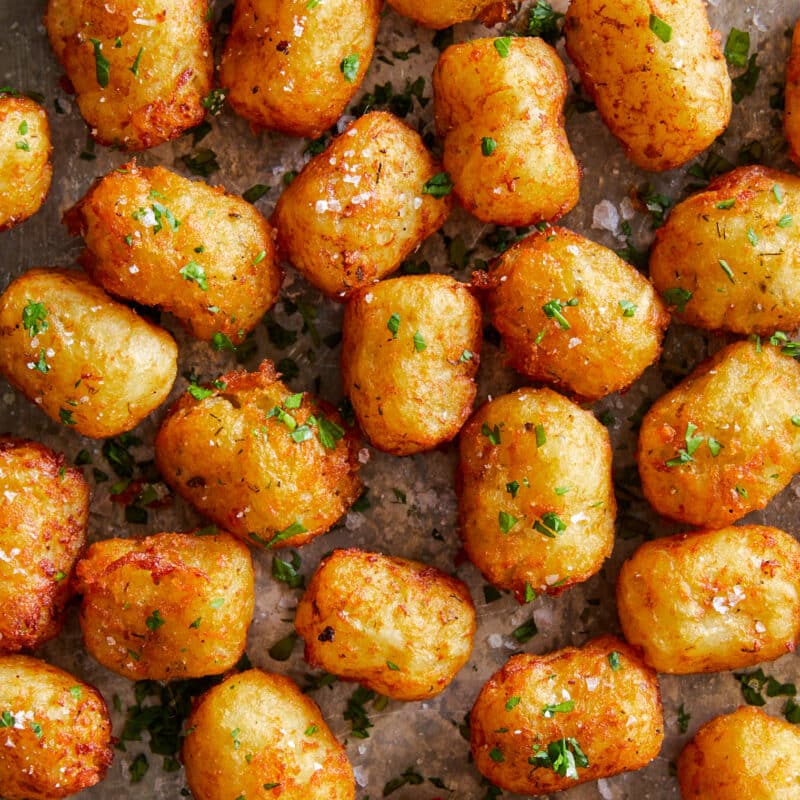
Say goodbye to those frozen bags of tots! This homemade version is easy, freezer-friendly and better than store-bought!
Featured Comment
There’s no shame in the frozen tots game. But after trying these homemade tots from scratch, there’s absolutely no going back to the store-bought version.
why i love this easy tater tot recipe
- No special equipment needed. Homemade tater tots is easier to make than you think! And special equipment like a potato mill or potato masher is not required. All you need is a cheese grater to shred those parboiled potatoes and a clean dish towel to squeeze out as much moisture as possible (for maximum crispness, of course).
- Crowd-favorite. Tater tots are a huge hit with kids, teens, grown-ups, grandmas and great-grandpas alike. And they can be served with anything and everything any time of day – we’re talking afternoon snack, an appetizer or as a side!
- Freezer-friendly. Tots freeze beautifully before or after cooking (but generally preferred before) and can keep for at least 1 month in the freezer.
how to make the crispiest tater tots
- Peel and parboil the potatoes until just tender
- Shred the potatoes and squeeze out the excess moisture
- Stir in the seasonings and form into beautiful little tots
- Freeze for later, if desired, or fry the tots until crisp, golden brown goodness (in batches, of course)
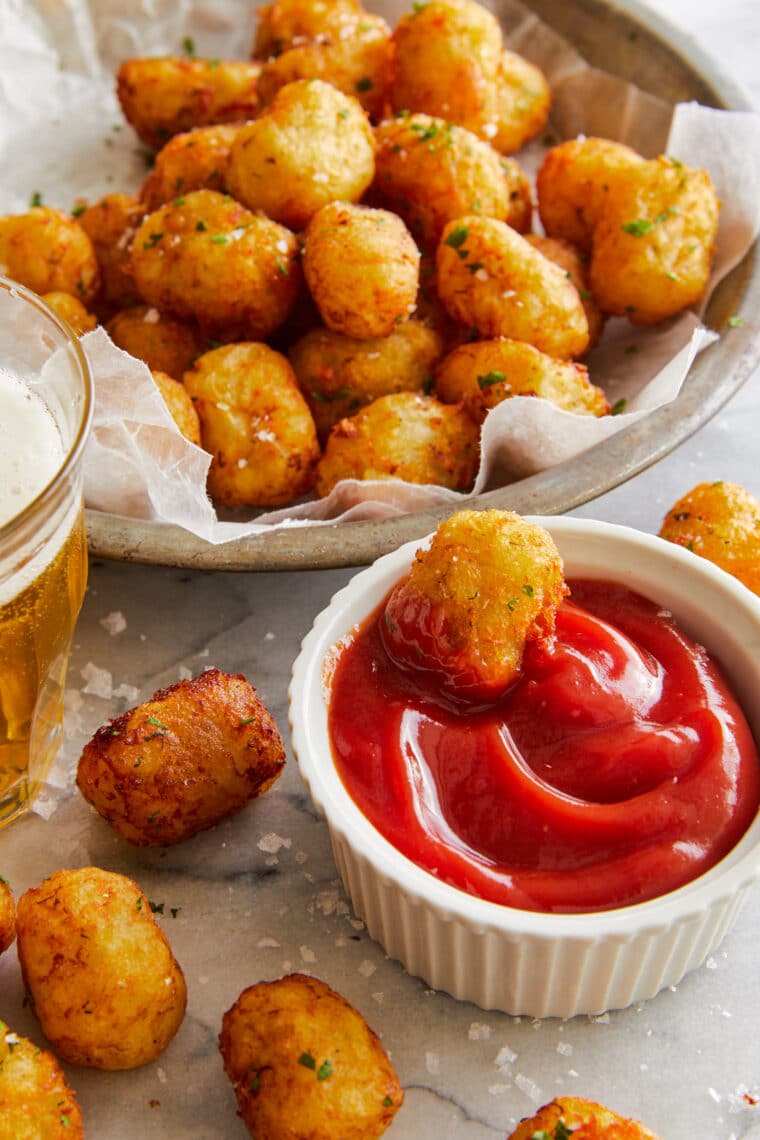
- Serve with ketchup or your favorite dipping sauce (if you manage to have some leftovers, you can freeze them for next time)
tips and tricks for success
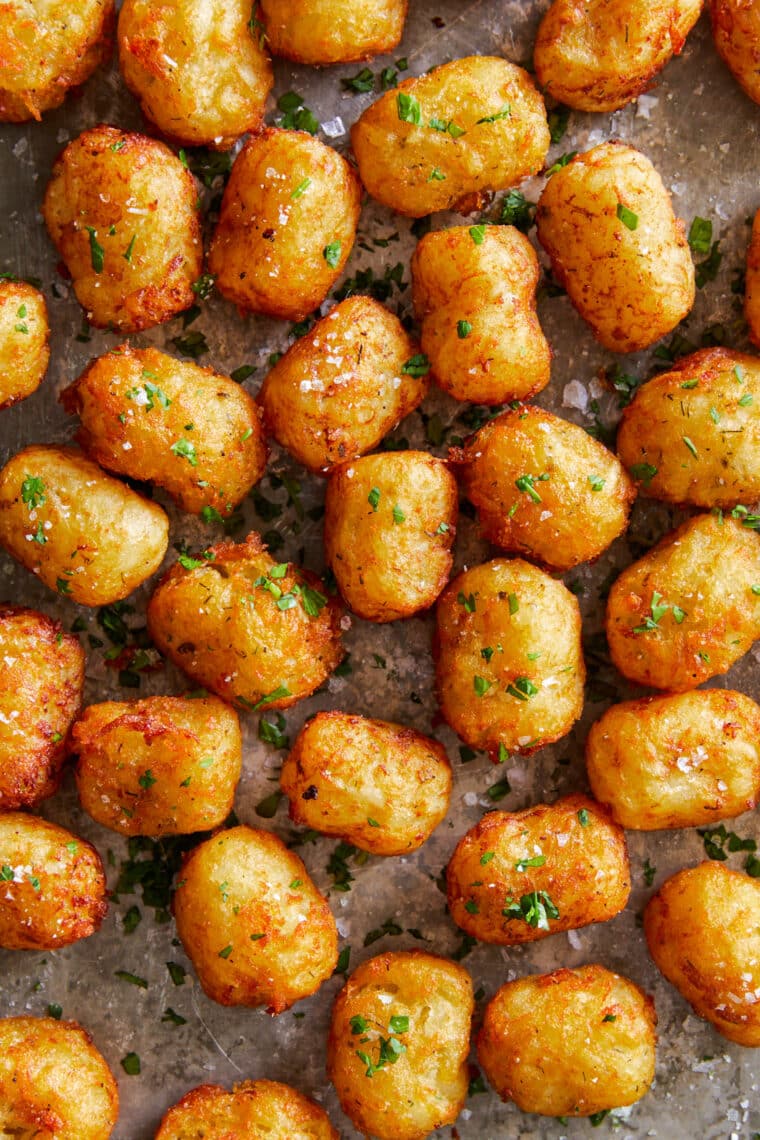
- Parboil the potatoes. Parboiling the potatoes before forming them into tots will partially cook the potatoes. This will help ensure the tater tots to cook evenly, holding their shape with a fluffy interior and crispy golden exterior. However, parboiling the potatoes for too long will make it difficult to shred.
- Use a heavy pot. A heavy bottom pot, such as a Dutch oven, is ideal here for even heat distribution for the hot oil.
- Use a candy thermometer for the most accurate results. The ideal temperature of the oil should be between 350° and 375°F.
- Fry in batches. If too many tater tots are added at once, the oil temperature will drop and the tater tots will absorb too much oil, resulting in soggy tots.
- Reheat in the oven. For best results with leftovers, reheat in the oven at 350°F until warmed through, stirring halfway – we want crispy on the outside, warm on the inside.
- Freeze before cooking. Although tater tots can be frozen before or after cooking, freezing before cooking is preferred to preserve texture and for optimal freshness.
- Mix it up. Swap out the potatoes for sweet potatoes, add jalapenos + cheese to the mixture before forming into tots, or toss with buffalo sauce + sprinkle with blue cheese crumbles.
FREEZING AND STORAGE
Storage
Leftover tater tots can be stored in an airtight container in the fridge for 3-4 days.
Reheating
Reheat in the oven at 350°F until warmed through, about 5-10 minutes.
Freeze before cooking
Place the uncooked tater tots on a baking sheet lined with wax paper or parchment paper, freezing for 1 hour until solid. Transfer the tater tots to an airtight, resealable freezer bag. Label, date and freeze up to 1 month. Cook as directed, adding 1 minute additional cook time as needed. Do not thaw.
Freeze after cooking
Let the tater tots cool completely. Place the tater tots on a baking sheet lined with wax paper or parchment paper, freezing for 1 hour until solid. Transfer the tater tots to an airtight, resealable freezer bag. Label, date and freeze up to 1 month. Reheat in the oven at 400°F until warmed through, about 15-17 minutes. Do not thaw.
what to serve with homemade tater tots
Homemade Tater Tots: Frequently Asked Questions
Russet potatoes are best due to its high starch and low moisture content, yielding the crispiest tots possible. Yukon golds is not recommended as they may be too soft and moist.
Squeezing out the excess moisture will prevent the tater tots from falling apart. Too much moisture in the potatoes can lead to gummy, soggy tots.
Yes! These can be cooked in the air fryer, in batches if needed, at 400°F for 10-15 minutes.
Leftovers can be stored in an airtight container in the fridge for 3-4 days.
Absolutely! Tater tots can be frozen before or after cooking, and can keep for at least 1 month in the freezer.

Homemade Tater Tots
Video
Ingredients
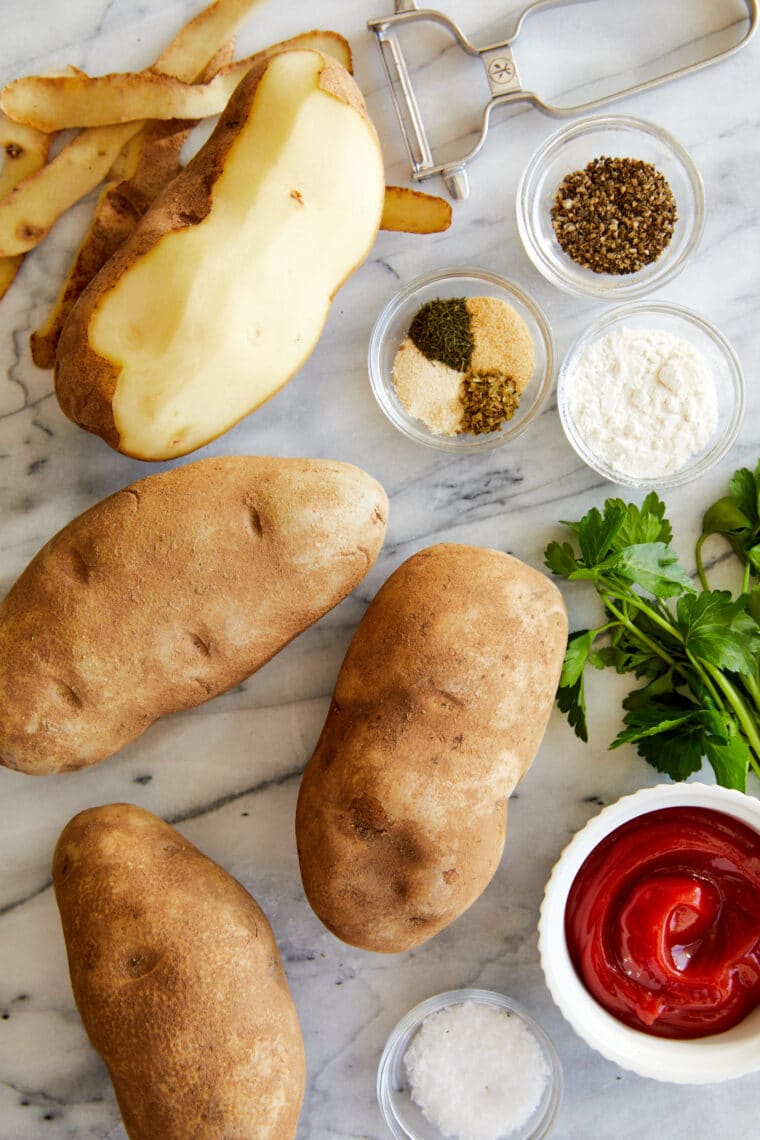
- 2 pounds russet potatoes, peeled
- 1 tablespoon all-purpose flour
- 1 teaspoon garlic powder
- ½ teaspoon onion powder
- ¼ teaspoon dried oregano
- ¼ teaspoon dried dill
- Kosher salt and freshly ground black pepper, to taste
- 3 cups vegetable oil
- 2 tablespoons chopped fresh parsley leaves
Instructions
- Place potatoes in a Dutch oven and cover with cold salted water by 1 inch. Bring to a boil; reduce heat and simmer, covered, until parboiled, about 6-7 minutes; drain well and let cool.
- Using a box grater, finely shred potatoes. Using a clean dish towel or cheese cloth, drain potatoes completely, removing as much water as possible.
- Transfer potatoes to a large bowl. Stir in flour, garlic powder, onion powder, oregano and dill; season with salt and pepper, to taste. The mixture should be workable but dry. Form potatoes into tots.
- Heat vegetable oil in a large stockpot or Dutch oven over medium high heat until it registers 360 degrees F on a deep-fry thermometer.
- Working in batches, add tots to the Dutch oven and cook until evenly golden and crispy, about 3-4 minutes. Transfer to a paper towel-lined plate.
- Serve immediately, garnished with parsley, if desired.*
Equipment
Notes
Did you make this recipe?
Tag @damn_delicious on Instagram and hashtag it #damndelicious!


Yay! A total success, these turned out perfect and were loved by the whole family! Thanks for sharing!
I made these tonight and used red and yellow potatoes from my garden. I might have boiled the potatoes a little too long because the finely grated potatoes were quite gummy. I tried to get as much moisture out as possible, but probably still had too much moisture as they were not quite done in the center after they were fried. I also kept adding flour to my hands while forming them as they were a bit sticky. However, I still had a hard time not eating all of them as they came out of the fryer! These are very delicious, and I will either freeze these tots or use for tater tot casserole so they cook a little further in the middle. I have SOOO many potatoes this year out of my garden, so I will keep trying this recipe until perfected 🙂 Thank you for the recipe!
This will be the 4th recipe I’m using from your site. The first 3 have been a hit in our home so I’m sure these will at well. Quick question, to freeze these tater tots do you recommend freezing prior to frying or after they’ve been fried?
I recommend freezing them in a cooked state (once they’ve been cooled).
I don’t normally leave comments at cooking websites, or any website for that matter, but after making a batch of these little morsels I felt compelled to inject my culinary observation (i.e. I am putting in my two cents worth). I followed the instructions verbatim, in spite of my apprehension as to the possible outcome. To my considerable surprise they came out remarkably well, most particularly the flavor. I could discern each individual seasoning without any one of them overpowering the others (i.e. I made some tots and they tasted good). I was elated to the point that I made a stationery representation of the list of ingredients and preparation instructions and added it to my repertoire of culinary documents for future consideration (i.e. I printed out the recipe and put it in my cookbook). Previous posts by other patrons of this website suggested using a piping bag to extrude the amalgamation. Over the era that my culinary experience entwines I have never acquired the said utensil (i.e. I don’t have a piping bag). So to achieve the desired specific form of the said tots, I applied an aerosol cooking lubricant to resinous impregnated parchment (i.e. I put some cooking spray on wax paper). I then appropriated a sufficient amount of the tuberous crop mixture and applied it to the previously mentioned parchment. I then manipulated the mixture until I achieved the desired appearance (i.e. I put some potato mix on the wax paper and rolled it with my hand until it was the right size and shape). Once I had completed that task I then continued with the remainder of the outlaid instructions.
This is possibly the best comment that I have ever read. It is the most descriptive instructions I have ever had and very entertaining. Thank you!
Mike: Ditto Jeanne. You might be an amateur cook (really?) but I sure hope you are embracing the world in some capacity as a writer. You have a wonderful talent which ought not to go to waste. You are both engaging and entertaining. Please consider enriching us in this field if you don’t already……as an English teacher, would love to encounter more of your writing ……
Mike, as a nonnative speaker I feel like a croissant reading your comment. Marvellous.
Great Recipe! I just whipped up some for my kindergarten aged son’s lunch and there’s none left. I only used 1 large potato because I wasn’t sure he would like it, he LOVES it. He’ll have wedges tomorrow but I’ll definitely make a big batch for next week.
I am on a Renal diet …and I could eat a couple of these because you boil then drain then cook again…This removes some of the potassium which allows me to have a few. And I would not feel like I wasted anything if I did like this…love it.
Awesomely easy peasy… and if you use organic potatoes (regular store bought potatoes are laden with pesticides and now GMOs too – don’t buy them if they say bruise resistant) and then you fry in coconut oil – they will be so much better for you and actually fight inflammation – fresh organic garlic… etc. loving it!!
AWESOME! Tried this a couple times now. First time, exactly as shown. Next time, I added some parmesan cheese. The cheap, dry, powdery stuff works best, so as not to add any moisture. I found that keeping the oil at 300°F worked best for me. It depends on the size of your tot. I like ’em super crispy , but cooked all the way through. If you haven’t tried this recipe yet, you’re missing out.
Good Idea to add parmesan cheese– Thanks for the suggestion
Hello Chungah!
Could these be done in the oven.
What temperature and timing would you use?
Thanks
Charlie
Charlie, unfortunately without further recipe testing, I cannot advise the appropriate temperature and time. Please use your best judgment.
I JUST made these! yum, yum. Works very well without the spices, too! I just added the flour (I used almond flour) to equal the amount of powdered spices as well.
Help I need suggestions! I clearly did something wrong haha my first few turned out like crispy birds nests, all spread out and pokey. the others were better but had potato sticks poking out. (I have a photo but can’t show it.) None of them were beautiful balls like in the photo. I got all the water out and added flour till it was dry but…workable? they wouldn’t really stay in balls well. Was it TOO dry? Could it be I didn’t parboil them long enough? (they were a bit chewy, though still delicious, because what isn’t delicious after being fried? lol) maybe boiling longer would have made them stickier? I don’t know 🙁
I’m not entirely sure what could have happened here – it seems like the mixture may have been too dry – how much flour did you add?
My tots kept sticking to the bottom of the pan and left me with a mess 🙁 any suggestions?
Sana, did you have enough vegetable oil?
Can anyone tell me approximately how many individual tots this makes? it says 6 servings, but I’m planning to make these as one of several hors d’oeurves for a cocktail party, and it would be helpful to have a “grand total” of pieces (more or less) for planning purposes.
Made these the other day. Great recipe. My daughter was eating and one got caught it her throat. So please be careful swallowing tots.
I made these tots tonight and I have to say this recipe is perfect. I changed it a little simply because I am not an oregano fan and I added minced garlic (because we eat garlic in everything). They were great. A bit greasy but delish. Next time we make them we are going to try them baked.. wish me luck
Anyone looking at this recipe but not sure, This is the one to pick, its simple, quick and tasty!
First, these are awesome. Second, they are a huge batch and a huge time investment. One reviewer said to use a pastry bag….works great for the first two fillings, then blew out the side of my favorite bag, (this was a heavy duty bag!). Wet hands and “parastalsis” to form a “snake” then cut with sharp moist knife….keep rinsing knife when it gets too starchy. I am going to play with this some more and come back with additional comments.
I haven’t tried then yet, but was thinking about using my smallest scooper or even cookie press.
These are delicious!!! This was my first try at them and the recipe is bang on! I made them for our Garage/Bake Sale tomorrow. I am making breakfast muffins for the people working the sale. I just hope they enjoy them as much as I do! Thank you so much this is a great recipe!
Just made a batch….delicious! It was a bit sticky to handle and not easy to form into same shape and size……tried the pastry bag trick but mixture was a bit to hard to make that work easily. Would you have any tips for this? Many thanks
Bai, you can try adding a little bit more flour (1 TBS at a time) to help dry up the mixture.
i am not a chef nor do i really enjoy cooking -until now. My hub and I are from the states but live in Ecuador. i found your blog and subscribed. I have made your Asain chicken, hot and spicy green beans, and these tots. My presentation never looks like yours, but the flavor is top notch. We no longer miss many of our favorite foods, because your recipes do not include odd items that we can not get here. Love your food!
Not sure what I did, followed your recipe no changes but tots completely fell a part when I put them in the oil, I ended up with potato mush 🙁
Jody, did you drain the potatoes completely, removing as much water as possible? This step is crucial to avoid this kind of mishap.