No Knead Rosemary Bread
This post may contain affiliate links. Please see our privacy policy for details.
A basic, FOOLPROOF homemade bread recipe here! Anyone can make this! And the bread comes out just perfect!
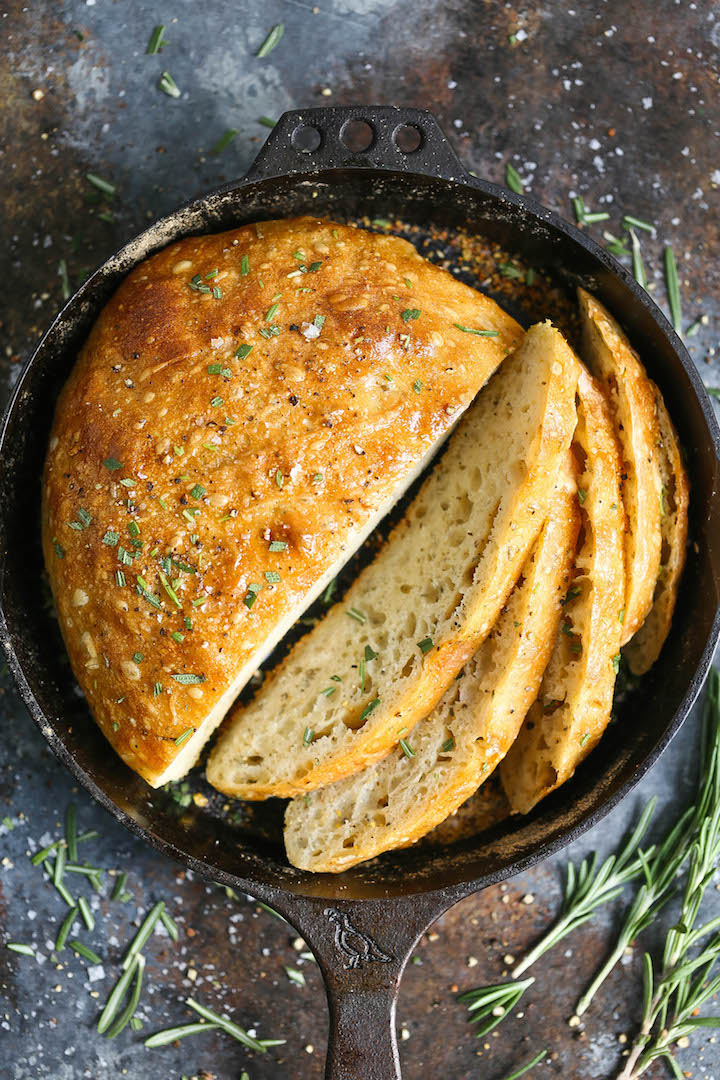
Bread-making has been my jam lately. I mean. Sometimes it takes hours and hours.
This one here takes over 24 hours. But, guys. It’s only 15 minutes of prep work. If that, even. Then you just let the yeast do its thing.
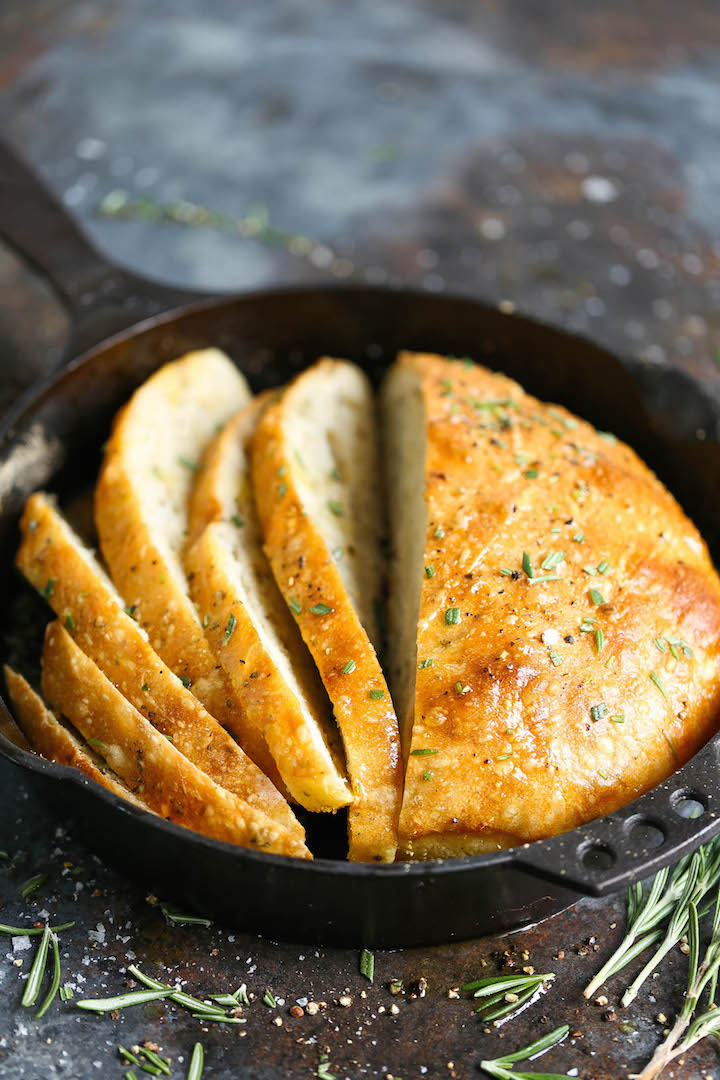
And this here is a no-knead recipe. Which basically means less work for you guys. It’s so easy, it’s ridiculous. ANYONE can make it. And I mean anyone.
Serve with butter, or use to dunk into my favorite tomato basil soup.
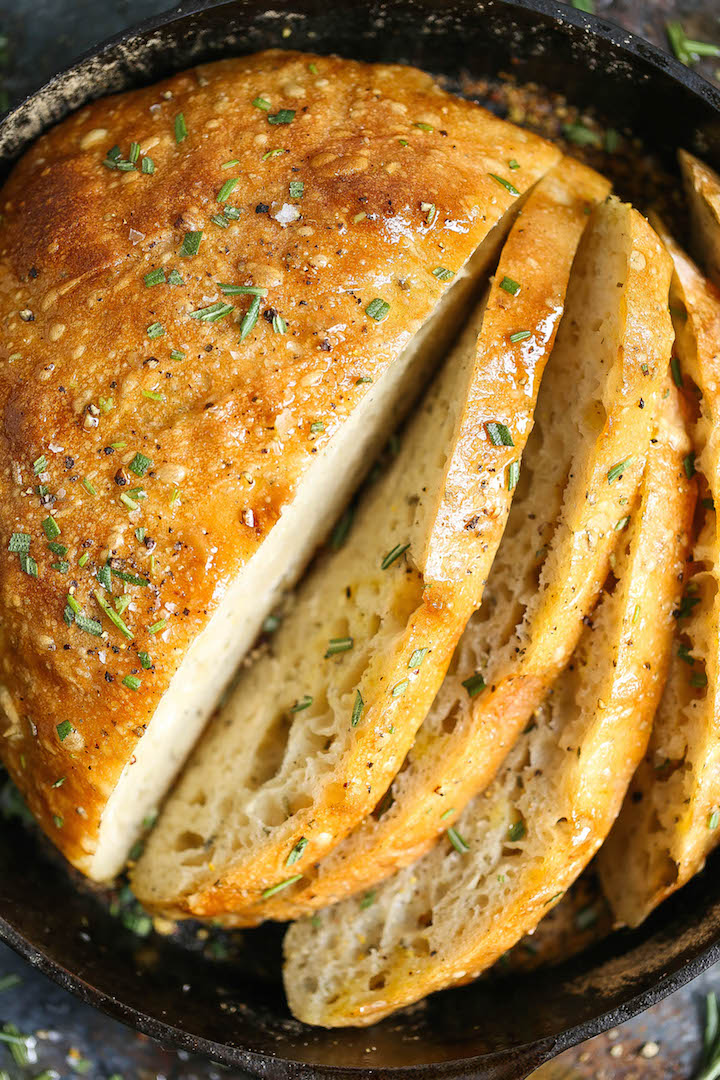
No Knead Rosemary Bread
Ingredients
- 3 cups all-purpose flour
- 3 cloves garlic, minced
- 1 tablespoon finely chopped fresh rosemary, or more, to taste
- 1 ¼ teaspoons kosher salt
- ¾ teaspoon freshly ground black pepper
- ½ teaspoon instant yeast
- 1 ½ cups water, at room temperature
- 2 tablespoons cornmeal
Instructions
- In a large bowl, combine flour, garlic, rosemary, salt, pepper and yeast.
- Using a wooden spoon or your hand, add water and mix until a wet, sticky dough forms, about 30 seconds.
- Cover bowl tightly with plastic wrap and let stand at room temperature until surface is dotted with bubbles, about 18 to 24 hours.
- Lightly oil a 10-inch cast iron skillet or coat with nonstick spray; sprinkle with cornmeal.
- Working on a lightly floured surface, gently shape dough into a round.
- Place dough into the prepared skillet. Cover with a clean dishtowel and let stand at room temperature until dough has doubled in size and does not readily spring back when poked with a finger, about 2 hours.
- Preheat oven to 450 degrees F. Place into oven and bake until golden brown, about 30-40 minutes.
- Serve warm.
Did you make this recipe?
Tag @damn_delicious on Instagram and hashtag it #damndelicious!





Delicious.! Great recipe and so easy
This is the first recipe I have made that doesn’t call for a bit of sugar . It’s rising now so we will see .
As I have been making bread and bread products for many years. I loved this recipe. It’s easy and although it takes 24 hrs. It works. Because I wanted a ciabatta type loaf. I left out the rosemary and garlic. Did use only 1.5 cups of warm water. Love the idea of using my 10 “ cast iron 100 year old fry pan.
I have the dough rising right now. This is the fifth time I have made this recipe, very doable. Smells heavenly,
Taste even better! Definitely a favorite in my home!
Do you have anymore like this one?
Have you tried any other herbs? Husband not a huge fan of rosemary. Thanks
One of my favorite bread recipes and you don’t need any special equipment to make it! Easy, just like she promised – and delicious! I love the texture, and the rosemary flavor is just right. It creates a nice sized loaf, with a slightly firm crust. I have to keep sharing this recipe with family members who I have served it to – with soup, salads, etc…
Just pay attention to the instructions because it should sit for 24 hours after mixed, with another 2 hour rise time required the next day when you bake it.
Easy-peasy. I loved that you don’t have to knead this bread. The most difficult part is timing it (i.e., you have to plan ahead and time it to your meal). Mine didn’t rise much once I had transferred it to the skillet, but that wasn’t a problem, and next time I would go heavier on the seasonings. But really — just yummy, and I can’t wait to make home-made bread with little work next time the family comes over. Actually, the fact that you need to do most of the preparation the day before makes it perfect for company.
Made it today and it came out fantastic! I’ve been making sourdough during this pandemic so I was used to shaping a wetter dough. The only thing that I changed was doing the second rise in a banneton and baked it in my Dutch oven on parchment (same as sourdough)
Thanks for the recipe!
I was really looking forward to this bread. I had the recipe saved for awhile. Just like the last post, in the 24hrs, it had the bubbles and doubled in size. It was a wet sloppy mess so, it was impossible to form any sort of ball at all.
After placing in the skillet to rise for the 2 hours as directed, it didn’t rise anymore. It spread out into a thin sloppy mess in the skillet! During the baking, it did not rise at all. It also has little color. Not appealing as I thought it would be. Sure did not look like the photo. When done, it was like very hard Ciabatta bread that was stuck to the pan and couldn’t get it out. Guess I lost a lot on this one including the pan. I wanted to leave zero stars.
I had the same problem.
That’s what happened to mine!!! I don’t know what I did wrong. Very disappointed.
I followed the recipe to the letter…. twice… !
First time waited 24hrs, it had the bubbles and doubled in size, but was a wet sloppy mess, impossible to form any sort of ball at all. I put it in the skillet, it didn’t rise anymore, over the following 2hrs. It only spread out into a thin sloppy mess in the skillet. I cooked it and it rose a tiny bit but was more a ciabatta type bread than an actual loaf. It tasted ok, it was quite heavy, I think I’ll add more garlic next time. On the second attempt I tried with less water… but the result was exactly the same. It’s an impossibly wet dough, which will not form into anything other than the shape of the skillet. It doesn’t rise at all after the 24hrs, so I saw little point in the 2hr wait in the skillet before cooking as it does nothing in those 2hrs. Maybe I need to use more Instant yeast than is suggested? I don’t know what others are doing who get a perfect loaf? I followed the recipe to the exact letter.
Lara – I also have found this dough to be really difficult to handle (i.e. form into a ball), and you’re right the dough is kind of like a blob that flattens out into the shape of the skillet. I didn’t like the shape of the cooked bread, so I explored some good alternatives…see my review below. I stopped touching the dough at all, and I don’t use a skillet and it’s really great! Good luck with your next batch!
I’ve been using this recipe on a regular basis for about 8 months now. Here’s what I’ve learned along the way…
1. This bread is PERFECT. You simply cannot screw it up. Trust the recipe. It’s very forgiving.
2. You do not need a cast iron skillet, or skillet of any kind. You can use one, but can absolutely use loaf pans instead. It turns out beautiful.
3. You dont need to touch the dough at all. It is very sticky and (IMO) too messy to be handling. I mix all of my ingredients in a glass bowl with a sturdy silicone spatula…cover with saran for 24hrs…then using the spatula, scrape the dough out of the bowl directly into a prepared loaf pan, cover for the recommended 2 hrs with a towel, then bake.
4. Cornmeal is a nice touch and tasty, but unnecessary. I find it a bit messy when slicing, and have been omitting it for a while. If your pan/skillet is prepared with cooking spray, like PAM, you’re fine.
5. This recipe can handle many variations…I toss a teaspoon of garlic powder in with the dry ingredients…sometimes I toss in some Italian spices and a little asiago cheese. Same bake times, same process, same great results.
6. Just prior to putting the pan in the oven, I brush the top of the dough with a little egg wash, and sprinkle with parsley and kosher salt. Again, totally optional but looks shiny and pretty.
I don’t see a place to upload pictures, but if I find one, I’ll do it.
This is a great review & very helpful. I make this bread a lot and I completely agree!
Thank you Chicago mum. Your description is very helpful…. it is giving me courage to try this out.
Hello!
You’re review was amazing thank you so much. I’m wondering if I can use a Dutch oven. Would you cool it covered? Also my dough was very dry and not all of the dry flour was incorporated when mixing so I added more water. About how wet is your dough when you first mixed it? Should it be dry and stringy or a wet loose ball?
A Dutch oven should work just fine. I wouldn’t cool it covered, that could trap steam and make it soggy. I actually pop my loaves out of the pans immediately and cool the bread on racks. That’s just a personal preference, though. The dough should be a wet sticky mess. There are definitely times when I feel like the flour isn’t absorbing the water as well, and I just keep stirring and forcing the incorporation with my spatula. One thing that’s important in all baking is don’t scoop your flour into your measuring cup. Spoon it in, instead – leveling off with a butter knife. Sometimes when flour is scooped, it gets more densely packed into the measuring cup, and results in more than the recommended amount being added to the recipe. Cheers!
Awesome , thank you. I want to make this so I can offer it in my bakery!
This is DELICIOUS!!!! And so easy. Loving your website. Have made several recipes since I found it. Thank you.
Do you have to use a cast iron skillet?
This was delicious and easy. The hardest part was waiting to eat it!! Wondering how I can make croutons from my leftovers?
Turned out great! First attempt in many years making yeast risen bread. Dough was very sticky & a bit hard to work with but the crust, texture, and flavor were wonderful!
My bread did all the rising in the 18 to 24 hour stage. Was able to put on counter and form into a round ball, but it did not rise anymore in the pan as directs suggest. All the rising and bubbles on top happened during the first phase. The crust was super hard. I was excited to try because I love the recipes here and it was my first homemade bread ever. lol. Not sure what happened, but had to throw away.
I don’t know how people could end up with anything less than spectacular results…followed the recipe just about exactly and it came out phenomenal. Only change I made was I omitted the garlic. The dough may feel a little less formed than what people may expect but I’m guessing that is what makes it have such a lovely crust with such a chewy and soft center – perfect bread! I would use this recipe as the base for many variations.
Like so many others, I followed the recipe exactly. It rose (21 hours) beautifully and bubbled. On removing it from the bowl to shape…there is no way. I poured it out of the bowl. It was like trying to shape a bowl of porridge. It resembled a pie. If I bother to try it again I will maybe use less water.
That’s about as accurate of an experience that I had 🙂 It tasted great though!
Favorite bread recipe! Currently baking up some burger buns
Same recipe?
The first time I made it, the dough was way too wet. Didn’t rise well but still baked it and tasted great. The second time, I added the water slowly and stopped just before it got TOO wet. I used closer to 1 1/4 cup and it turned out great.
Just made my second loaf and will serve it to company . Made as directed EXCEPT I roasted garlic cloves, cut them up small and mixed in with the flour yeast mixture..Perfect marriage and a keeper:) It’s Damn Delicious