No Knead Rosemary Bread
This post may contain affiliate links. Please see our privacy policy for details.
A basic, FOOLPROOF homemade bread recipe here! Anyone can make this! And the bread comes out just perfect!
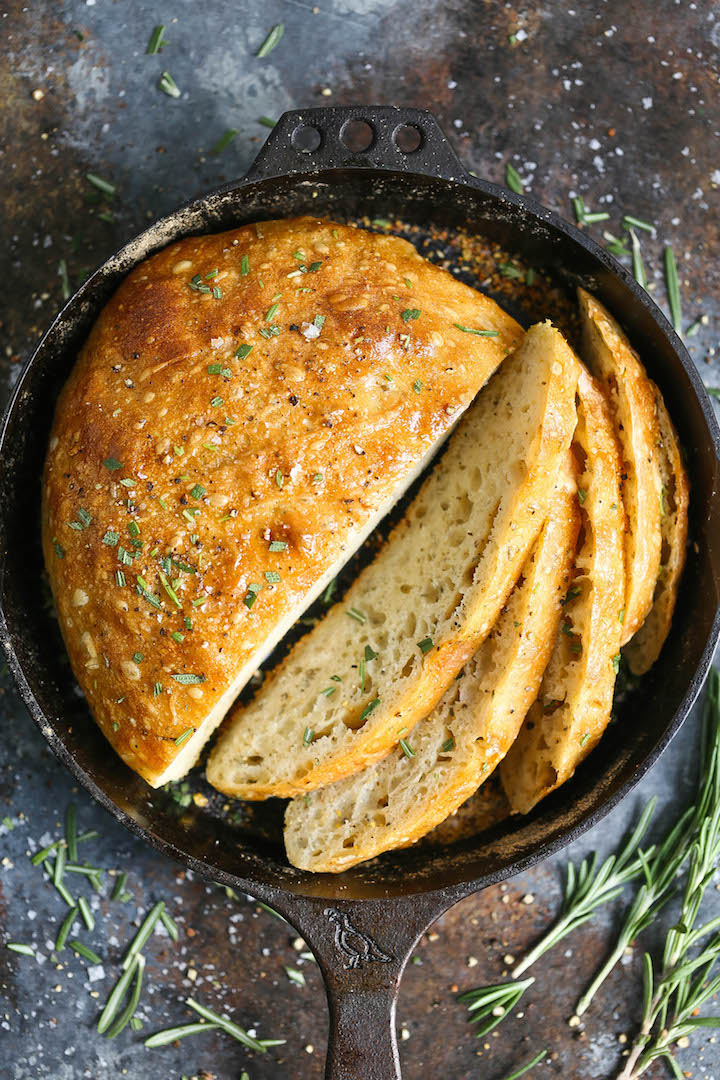
Bread-making has been my jam lately. I mean. Sometimes it takes hours and hours.
This one here takes over 24 hours. But, guys. It’s only 15 minutes of prep work. If that, even. Then you just let the yeast do its thing.
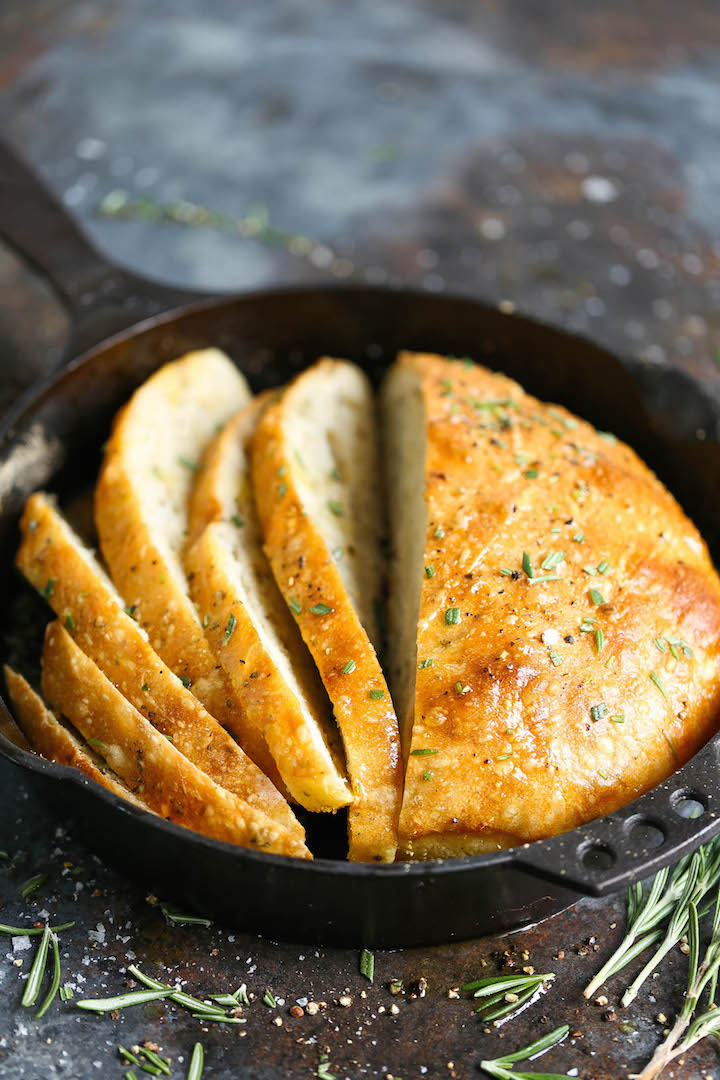
And this here is a no-knead recipe. Which basically means less work for you guys. It’s so easy, it’s ridiculous. ANYONE can make it. And I mean anyone.
Serve with butter, or use to dunk into my favorite tomato basil soup.
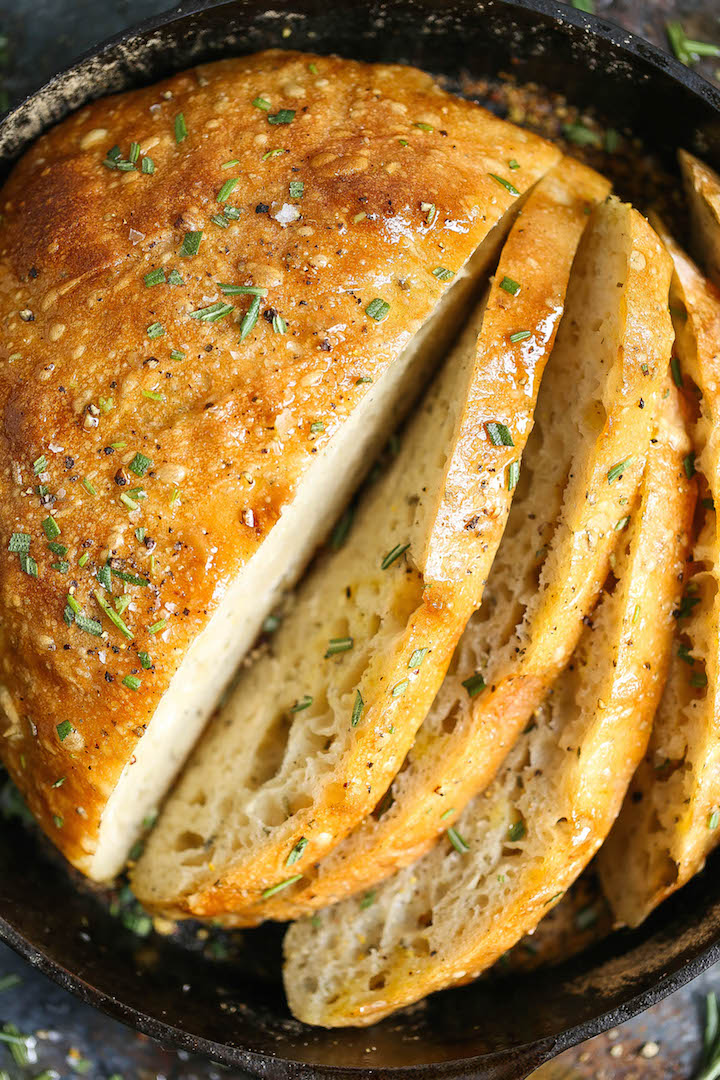
No Knead Rosemary Bread
Ingredients
- 3 cups all-purpose flour
- 3 cloves garlic, minced
- 1 tablespoon finely chopped fresh rosemary, or more, to taste
- 1 ¼ teaspoons kosher salt
- ¾ teaspoon freshly ground black pepper
- ½ teaspoon instant yeast
- 1 ½ cups water, at room temperature
- 2 tablespoons cornmeal
Instructions
- In a large bowl, combine flour, garlic, rosemary, salt, pepper and yeast.
- Using a wooden spoon or your hand, add water and mix until a wet, sticky dough forms, about 30 seconds.
- Cover bowl tightly with plastic wrap and let stand at room temperature until surface is dotted with bubbles, about 18 to 24 hours.
- Lightly oil a 10-inch cast iron skillet or coat with nonstick spray; sprinkle with cornmeal.
- Working on a lightly floured surface, gently shape dough into a round.
- Place dough into the prepared skillet. Cover with a clean dishtowel and let stand at room temperature until dough has doubled in size and does not readily spring back when poked with a finger, about 2 hours.
- Preheat oven to 450 degrees F. Place into oven and bake until golden brown, about 30-40 minutes.
- Serve warm.
Did you make this recipe?
Tag @damn_delicious on Instagram and hashtag it #damndelicious!







Naturally, I screwed up a foolproof recipe…
I halved the recipe, but didn’t make other modifications. The first proof was fine, but the dough was very liquid and runny, so I added some flour as I was shaping. During the second proof, it spread on the skillet instead of rising up, and barely rose during the bake. End product is crunchy and tastes decent, but very dense with no large air pockets as pictured… Should I have resisted adding the extra flour?
Absolutely delicious!!! It was so easy to make. The most difficult part is planning ahead in order to have it for dinner. Since I’m thinking about it, I’m going to make it again right now.
I made this two days ago, it lasted about 45 minutes and was gone. LOL. I also tried this https://www.jennycancook.com/recipes/2-hour-fastest-no-knead-bread/
It was done in two hours time and tasted as good! Take a look, it came out amazing. (this time I hid it, want to make sure I get more than one slice this time!!!)
This is a fantastic recipe and very easy to follow. I have never made bread before and this turned out perfectly. The crust is crispy and the bread is very soft inside. Will be making again!!
As a first time bread maker I was a bit nervous as to how this would turn out. I followed the directions completely and wow, I was surprised. My bread turned out just like in the picture and it was Delicious! Going to have it toasted for breakfast, today 🙂
Thank you so much for this recipe, I’ll be making it again and again and sharing with others!
I made this bread the first time as written. It was DELICIOUS!! This time around I’m currently making it with sundries tomatoes and basil. Pretty excited. Thank you for the wonderful easy bread recipe!
Bread was easy to make and had a great taste.
Next time I make it though, I’ll reduce the oven temp or the bake time as it did get a little over baked in my oven.
I think I blew the recipe as it was left to proof too long and had water in the bowl bottom. I added about a cup of flour, just until I could get it into the skillet and put it in the oven. It is crusty on the outside with a tender even crumb on the inside and tastes great.
Next time I’ll make it early evening and bake in the morning. It is a very forgiving recipe and as easy as touted. Yummy!
Absolutely delicious and so easy ! I added more garlic and rosemary. Freezes beautifully and reheats well. My family loves it!
Can dry rosemary be used ??
I made this bread for Easter and had no issue with the recipe. The dough was fine and when baked the crust was perfect. The bread moist and flavorful. Easy instructions
I’ve never made bread before, but I decided to get on the quarantine trend this Easter! I think I messed something up because it was pretty gooey and never ended up rising, but I went ahead and baked it and it turned out so well!! It’s so incredible easy and is so scrumptious
I tried twice and failed , because of quarantine I was only able to find active dry (I do hope the authors amends the recipe with photos of each step and conversion if rapid rapid not available)
Set aside for 21.5 hours and rose two hours the first time – proofed yeast , used 25% more active dry .
Never rose and raw in middle .
Second attempt proofed amazing 2 tsp active dry per some
Of the comments , set aside 24 hours , used warm bread proof drawer and Stove top still didn’t rise . But cooked in middle . This tastes so good . But I can’t figure out – I live in New Orleans – should I have set aside less time , proofed for only an hour ??
Thanks
Was your bread really flat, or just kinda spread out too much? I found that when I tried this recipe, my dough didn’t have a great shape to it. Ie – when I put it the raw dough into the pan, it was kinda round but spread out a bit, not getting any substantial rise in the second proof.
In the oven, it rose a bit and was fully cooked, but definitely didn’t have that lovely boule shape that I expected. I think the “gently shape into a round” step might actually involve more shaping that I realize. When I try this recipe again, I’m going to try some of the folding techniques to shape it (such as https://www.kingarthurflour.com/blog/2018/05/31/shaping-a-boule).
Maybe this will help you too!
Thank you, the second attempt ,it was not as wet but definitely not dry enough to mold into a ball, maybe if I used a smaller skillet, like 8 inch and if I can ever find rapid rise yeast. Thanks for the input!
Hi Christina, I have the same experience—it’s wetter and shaggier than the Lahey no knead recipe yields and also doesn’t rise in the second proof for me. It raised a tiny bit more when I baked it in my dutch oven. I always struggle with wanting to add lots of flour when trying to mold it into some kind of shape but don’t know if I’m supposed to.
Would be good to mention the adjustments for high altitudes.
If you use active dry, you need to take some of the water from the recipe and add it to the yeast before adding it to the rest of the ingredients. Active dry yeast needs to be re-hydrated before it can be used. I had the same issue. For this recipe you need .625 tsp active dry yeast (rehydrated) – 1 tsp of instant yeast = 1 1/4 tsp active dry. Hope this helps and you give it another shot – it looks so good.
Thank you Stella!! Now I know why mine did not rise..I used active yeast instead of instant
This was my first time making bread by myself. It turned out perfectly, and there was none left after dinner. This is now my go to recipe. Can’t wait to make more!
Never having made bread before, this was my first attempt. I used regular yeast instead of fast rising yeast and followed the recipe as if I used the fast rising type. It turned out perfectly!!!!! I look forward to baking bread more often due to the success of my first try….cheers and thank you
I have only active dry yeast to use and was wondering how that would work. Did you use the exact same amount (half teaspoon) and did you dissolve it in water before adding it to the rest of the ingredients? I really want to try this recipe but haven’t been able to find instant yeast!
Thanks for the great recipe!
Garlic inhibits yeast, so this may be the reason many people are having problems with this recipe.
I tried this recipe and the first time it turned out amazing! It was so easy and was one of the best breads we ever had. So I made another one the next day! This time, I added some other herbs because I was serving it with tomato basil soup. We will keep making this bread. So easy and so delicious.
I love this so much. I made the bread for the frist time and I did so well with the instructions. I ate the hole bread with my mother in less than 2 hour. Love it. One day I will do it again. It took forever to make but it work.
Amazing!! I absolutely love this recipe and just made it for the second time. I am a big rosemary fan so I added a tablespoon and a half and more garlic. The outside is super crunchy but the inside stays soft and delicious!
In the process of making this! So far so good (fingers crossed). Will likely share updates on how this turns out.
The dough is currently in the second rise after about 20 hours for the first rise. Wondering if folks have any thoughts on creating a steamy environment in the oven, as I’ve heard this does good things for bread. I don’t have a Dutch oven, but I was thinking of adding in a tray filled with water on the rack below my cast iron skillet while the bread bakes.
Has any tried this? Would that help or hurt in this recipe?
Bread turned out really tasty, though definitely not as beautiful as in the photos. And I tried the water-in-a-tray thing…not sure it did anything at all but it didn’t hurt.
My only thing for this recipe is that when I try this again, as I noted in a reply to another comment, I’m going to more actively shape the dough into a round. I’m hoping this will give it a better boule shape.
Okay so after looking at this recipe 40 times on Pinterest I have FINALLY made this bread! Turned out soooo good! I’ve eaten so much of it already! I let this sit out for about 22 hours and ended up proofing it for a little over 2 hours after sticking it in my cast iron. I didn’t have any issues with the dough being too watery- just added a bit of flour to it when I took it out of the bowl.
I ended up turning the oven on and letting the pan sit on top to get it a little bigger. Absolutely love how easy this recipe was! I also used dry rosemary cause I didn’t have fresh and still love the flavor, just a little milder. Thank you so much! Deliciousssss