
Instant Pot Rotisserie Chicken
This post may contain affiliate links. Please see our privacy policy for details.

30 min for a whole rotisserie chicken? YES, please! And the chicken comes out incredibly tender, juicy, moist and packed with so much flavor!

Featured Comment
Why you’ll love this instant pot rotisserie chicken
- Tender, juicy goodness. Making a rotisserie chicken in the Instant Pot® will yield the most tender, juicy, fall apart and flavorful rotisserie chicken. So good, you’ll never want to go back to store-bought rotisserie chicken again!
- Cooks so fast. A rotisserie chicken will generally take about 1 – 1.5 hrs to cook in the oven, but it can finish cooking in the pressure cooker in just 28 minutes!
- Ridiculously easy. This recipe requires minimal prep, pantry staples and zero babysitting, the best kind of set-and-forget dinner. And the natural release of the Instant Pot even gives you time to prep your side dishes!
- Freezer-friendly and versatile. The chicken is perfect to freeze whole, in pieces or shredded, and has so many uses. It’s great on its own with a few roasted veggies or with pastas and soups as a fill-in for the quickest dinners.

Uses for rotisserie chicken
Rotisserie chicken is the ultimate meal-prep hack, repurposing leftovers for so many dishes for a quick and easy budget-friendly weeknight meal!
Tex-mex favorites
Shredded chicken can be used for tacos, quesadillas, enchiladas or even lazy enchiladas
Soups
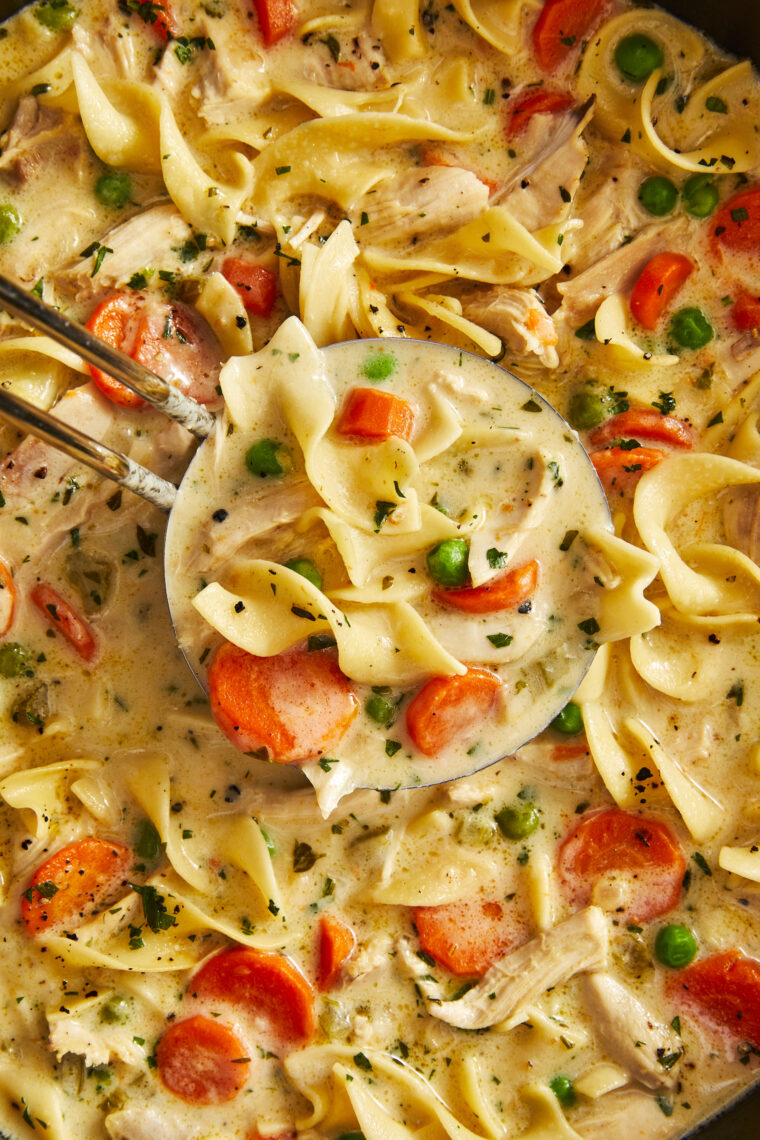
Leftovers work so well for shortcut creamy chicken noodle soup, white chicken chili, or chicken tortilla soup
Salads
Transform leftovers into everyone’s favorite Chinese Chicken Salad
Wraps and sandwiches
Quickly whip up BBQ chicken sandwiches with your favorite BBQ sauce on toasted buns with coleslaw and pickles
Comfort food
Biscuit pot pie makes for the coziest comfort food dinner using up all the shredded chicken, topped with the flakiest biscuits
How to make instant pot rotisserie chicken
- Mix the dry seasonings. Combine the salt, pepper, thyme, paprika, oregano, onion powder and garlic powder – this will be used to season the chicken.
- Prep the chicken. Remove the giblets, if not done already, and dry the chicken thoroughly. This will prevent steaming and allow the seasoning to adhere while yielding that crisp, flavorful, golden brown crust. Rub the dry seasoning mix on the chicken, seasoning the cavity as well for even seasoning throughout.
- Sear the chicken. Using the saute function of the Instant Pot, sear the chicken until golden brown. This will help lock in all the moisture and build deep flavor through caramelization (and give it that classic rotisserie look!).
- Pressure cook. Add the metal trivet to the Instant Pot (this will ensure even steaming, drain excess fat and avoid the burn notice!) and the stock before returning the chicken to the pot. Pressure cook on high for 28 minutes, naturally releasing for 20-30 minutes.
- Let it rest. Let the chicken rest, allowing the juices to redistribute for maximum juiciness and tenderness.
- Broil. For crispy rotisserie-style skin, broil the chicken until golden brown and desired crispness is achieved, about 3-5 minutes.
- Serve or store. Carve and serve warm, or shred the meat for salads, tacos, soups, casseroles and so much more for time-saving meals throughout the week.

freezing and storage
Storage
Leftovers can be stored in an airtight container in the fridge for 3-4 days. Separate the meat from the bones for easy reheating. Bones can be saved for later for homemade stock.
Freezing
Let the chicken cool completely; shred or dice into bite-sized pieces, portioning into 1-2 cup servings in airtight, resealable freezer bags, adding a few tablespoons of cooking liquid to prevent the meat from drying out. Squeeze out any excess air before sealing and lay the bags flat in a single layer in the freezer (this will help them freeze quickly). Freeze up to 3 months.
Defrosting and reheating
For best results and an even thaw, thaw overnight, adding directly to boiling soups or casseroles. It can also be warmed gently on the stovetop, covered, over medium low heat with a splash of water or stock, until heated through.
what to serve with instant pot rotisserie chicken
Tools For This Recipe
Instant Pot Rotisserie Chicken: Frequently Asked Questions
The metal trivet helps elevate the chicken from the bottom of the Instant Pot, ensuring even cooking and avoiding the dreaded “burn” error.
Place the chicken back in the Instant Pot, cooking for an additional 2 minutes for every 5 degrees below 165°F.
For that crispy rotisserie-feel, broil the chicken for 3-5 minutes until golden brown. If you have the Instant Pot Air Fryer lid, you can also air fry the chicken for a few minutes without broiling.
Yes! But be sure to increase the chicken stock to 1.5 cups.
Leftovers can be stored in an airtight container in the fridge for 3-4 days.
Yes! Rotisserie chicken is very freezer-friendly and can be frozen whole, in pieces or shredded in plastic freezer bags. Label, date and freeze up to 3 months.

Instant Pot Rotisserie Chicken
Video
Ingredients
- 2 teaspoons kosher salt
- 1 teaspoon freshly ground black pepper
- 2 teaspoons dried thyme
- 1 ½ teaspoons paprika
- 1 teaspoon dried oregano
- 1 teaspoon onion powder
- ½ teaspoon garlic powder
- 1 (4-pound) whole roasting chicken
- 1 lemon, halved
- 2 tablespoons canola oil
- 1 cup chicken stock
Instructions
- In a small bowl, combine salt, pepper, thyme, paprika, oregano, onion powder and garlic powder.
- Remove giblets and excess fat from the chicken cavity. Dry chicken thoroughly with paper towels. Season chicken and chicken cavity with salt mixture. Stuff cavity with lemon.
- Set 6-qt Instant Pot® to the high saute setting. Add canola oil and chicken, breast side down, and cook until evenly golden brown, about 4-5 minutes. Using tongs, flip, and cook for an additional 4 minutes; set aside.
- Place metal trivet into the pot and add chicken stock. Gently place chicken on top of the trivet. Select manual setting; adjust pressure to high, and set time for 28 minutes. When finished cooking, naturally release pressure according to manufacturer’s directions, about 20-30 minutes. Let rest 10-15 minutes.
- Serve immediately.
Equipment


Notes
- Stuff the cavity. Seasoning and stuffing the cavity with lemon will add moisture from the inside out, allowing the flavors to penetrate even in the thickest parts of the chicken.
- Use good-quality stock. The better quality your stock, the better your chicken. Many brands love to pack in the salt so always opt for unsalted or a lower-sodium variety. Homemade stock is even better.
- Don’t skip the metal trivet. After browning the chicken, place the chicken on top of the metal trivet. This will help ensure that the chicken does not burn and provide better circulation for even cooking throughout.
- Lift the trivet to remove the chicken. The chicken will be very fall-off-the-bone tender (quite literally). Working carefully, lift the trivet to remove the chicken from the Instant Pot and serve.
- Use an instant-read thermometer for the most accurate results. The internal temperature should reach 165°F, inserting through the thickest part of the thigh between the breast and leg but avoiding the bone.
- Natural release is key. Once the chicken is finished cooking, naturally release for 20-30 minutes, giving ample time for the chicken to rest. Quick release of pressure can cause the chicken to dry out.
- Broil for crispy skin. As an optional step, broil the chicken on a sheet pan until crispy (and for that rotisserie-feel!), about 3-5 minutes, watching carefully so that the skin does not burn.
- Let your chicken rest. Let your chicken rest for at least 5-10 minutes prior to serving, allowing the juices to redistribute – this will allow for maximum flavor and juiciness.
- Save the chicken bones. Store the leftover chicken bones, skin and wing tips in an airtight, resealable freezer bag to repurpose for homemade stock.
Did you make this recipe?
Tag @damn_delicious on Instagram and hashtag it #damndelicious!
This was amazing. I was skeptical at first because I love a good oven roasted chicken…but this was way mor flavorful. I did the exact recipe but but half an onion in the cavity with the lemon. I used about a third of the seasoning in the cavity as well. It was falling apart when it was done and you could taste the flavors in every bite. I whisked one some cornstarch in the drippings left in the pot and it was the best gravy ever!
Wow this was absolutely perfect. I seared the chicken first like the recipe said, mostly to sear in those herbs and spices then followed recipe exactly and then broiled for 4 min after it came out perfect! Skin was crispy and delicious AND the meat tender and juicy. I used most of the meat for a Japanese curry I make and used the broth for the curry. Best 2 recipes I’ve made!
I used my own mix of seasonings, but the receipe worked great! It’s on my list of keepers.
I just read your instant pot chicken recipe. I have both a presser cooker and a slow cooker. Your recipe will do well in the pressure cooker. I have been reading instant pot recipe books at stores and online. Most all can readily be applied to the pressure cooker. I really see no reason since I have both cooking pots for me to get an instant pot. Can you see a reason why I should have the instant pot?
The instant pot is a pressure cooker.
I have both a pressure cooker and slow cooker and now an Instant Pot, I LOVE My Instant Pot, but still use my slow cooker for certain recipes as it tastes better and is not as slow as the one program on the instant Pot…But I am super happy with the Instant pot, I haven’t used my stove pot pressure cooker since receiving the Instant Pot as a gift…
Excellent! We both loved it!
This is my go-to chicken recipe now – love it – perfect every time!
My instant pot would not pressurize for this recipe until I added a cup of water to the pot.
Made this tonight. Instant pot newbie here. It was delicious. I bought the chicken on sale and it was cheaper and larger and better than any grocery store chicken. Thank you for recipe. I am looking forward to cooking many more of your recipes!
This was my first attempt with the Instant Pot that I received as a gift for Christmas. This recipe is wonderful! I prepared it exactly according to the instructions and our family devoured this chicken for dinner! We will definitely make this again. It was fool-proof. As noted by other reviewers, the spice mixture doesn’t permeate the inside of the chicken, but the lemon sure does!
28 minutes! Moist, tender, great flavor!!
Hi Changuh, I tried your recipe last night and it turned out excellent! My house smelled so good and the chicken was delicious. The only thing I did differently was to brown my chicken in a large skillet. I’m not a fan of browning in the Instant Pot. Once it was done, I pulled all the meat off for another recipe I use. Then put the skin and bones back in the IP and cooked for another 120 minutes to make bone broth! Yummy
So sorry I misspelled your name Chungah!
Hi! Instant pot newbie here and came across this recipe! I truly am in love and obsessed! I altered the seasoning slightly but other than that followed the recipe to a T. It is incredibly succulent. I saw some comments saying the flavour didn’t transfer to the chicken at all however I disagree. I shredded it up straight from the cooker and placed it in a bowl and poured some of the cooking juice over it Which I’d highly recommend everyone to try as it made it even juicier, if thats possible. (I’ve never written a recipe review before despite using many but this really blew my mind and it deserves acknowledgement) Thank you for creating this masterpiece!
I have made this recipe and variations and use this pretty much as my go to guide. Keep in mind that no matter what method you are using, there is no cooker that will lessen your prep time before sealing the pot. The 28 minutes given is for time under pressure. While it may or may not reduce your total time, it beats babysitting your stovetop while you can be busy with other things or preparing the rest of the meal or waiting 2 hours for the oven to do its job.
Truth be told, the Instant Pot changed my life since I limit my stovetop use due to being distracted these days. This recipe is a great one to keep on hand and tweaking a minute here and there for your particular pot or preferences does indeed produce a rotisserie style chicken. Left to sit for about 10 minutes after removing from the pot gives time for the skin to dry and the juices to settle and it will slice like it came out of your oven.
The chicken came out good but it’s frustrating to start a recipe because you’re looking for something fast and think you can cook a chicken in 28 minutes. Not true at all since it took over an hour with searing and releasing the pressure. A little honesty in the title of this recipe would go a long way.
well most people, except newbies know that there is the heating up timeframe, also we all know that if there is a time given, that is how long it takes to cook it, nothing else. prep time is not included because that is your own speed. what do you see when you see a cookie recipe?? bake for 15 min, does that include any other time? no. Not being rude, just stating the facts.
This is a great recipe! I have made it multiple times and the chicken is delicious and the bones and skin go back into the pressure cooker for broth! Much healthier than the warehouse stores since I know what’s going into my meal.
I made the recipe as directed, however, I purchased a Mealthy Air Fryer lid for my Instant Pot and instead of searing the chicken, I placed it on a rack to keep it above the liquid and added some of the seasonings to the chicken broth. I set the timer for 28 minutes, vented the steam when it was done. I replaced the Instant Pot lid with the air fryer lid and set it on 400 degrees for 10 minutes. The chicken was melt in your mouth tender, full of flavor and had crispy skin.
Did you skip the searing process all together and just air fryer it. That sounds like a great idea.
Very yummy; I added lime instead of lemon and used it for taco’s. Super tasty, thanks for the recipe!
I followed your receipe using my Ninja Foodi and made the chicken using the seasonings that you suggested. The chicken was moist but the flavor was on the skin only and not into the chicken. What can I do so that the seasonings go into the chicken and not just on the skin?
Peppy – if you want more flavor in the chicken a basic brine marinade for a couple of hours before cooking will do the trick. Brining is a must for any chicken with bones dish. Makes my chicken wings very flavorful and I’m sure a whole chicken will be amazing too.
How about putting some of the seasonings under the skin before cooking?
Seasoning should go under the skin and in the cavity as well
My second time using instant pot and not sure if its gonna be a disaster lol. My first snafu was during the searing process, the skin fell off the chicken when I turned it over. Maybe I seared it too long? Then when I started the pressure cooking and I’m sitting and watching it…it occurred to me that I neglected to reinstall the rubber gasket…ugh…since it had already been cooking to some extent…I restarted with 20 minutes…well see how it goes lol. I will attempt again but skipping the searing and doing it in the broiler afterwards.
I LOVED this recipe!! I have never made a chicken this good in my life. Thank you for sharing this easy and foolproof recipe. One thing is that I wish Iinstapot blog posters (this recipe included) would be honest and less misleading with the time advertised. I am sure you get fewer hits on a recipe that says “chicken in one hour” but that is really what it is. Yes, you set the Instapot for 28 minutes but that is after you browned it for 10 minutes, cooked it for 28 minutes, then let it slow release for 20-30 minutes then let it sit for 10 minutes. The chicken is great and worth the hour but You can do the math as well as I can–its a one hour+ chicken. Please start the trend of honesty in Instapot advertising.
I agree! I’m new to insta pot and just want to know the total ACTUAL time.
Question: Do you use store bought chicken stock? If so, what brand should I use?
I use Better Than Boullion and that way you can control the salt. I use half of what they recommend and still get great flavor!!