Homemade Tater Tots
This post may contain affiliate links. Please see our privacy policy for details.
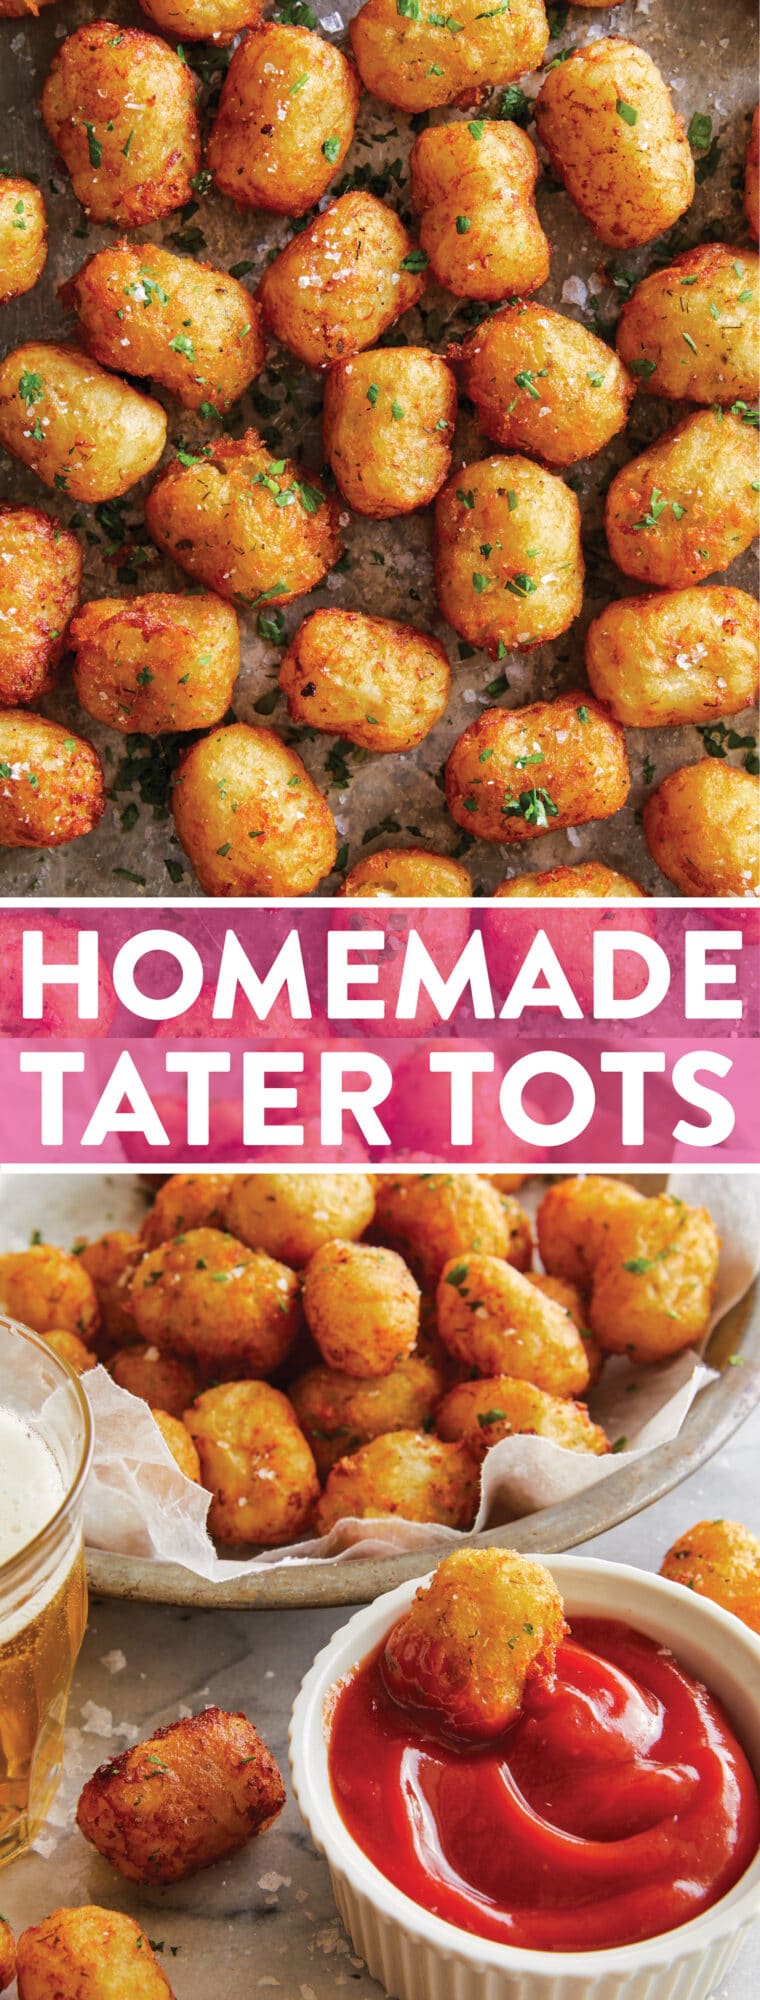
Say goodbye to those frozen bags of tots! This homemade version is easy, freezer-friendly and better than store-bought!

Featured Comment
There’s no shame in the frozen tots game. But after trying these homemade tots from scratch, there’s absolutely no going back to the store-bought version.
why i love this easy tater tot recipe
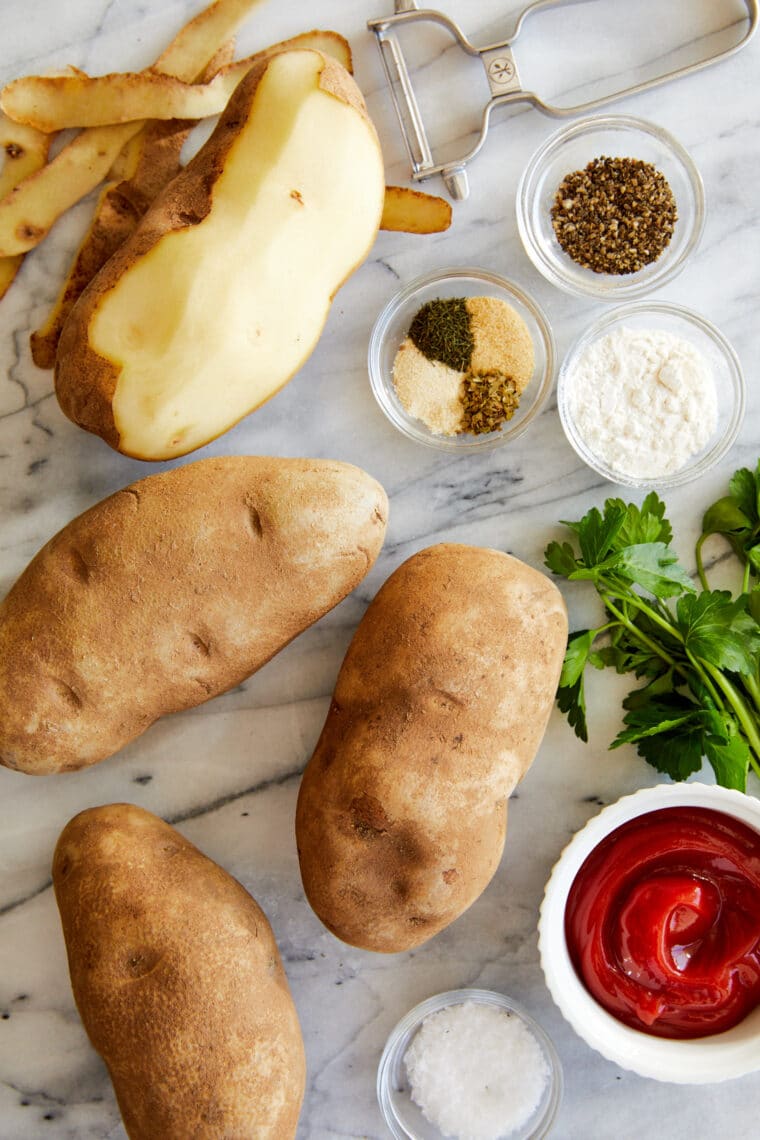
- No special equipment needed. Homemade tater tots is easier to make than you think! And you Special equipment like a potato mill or potato masher is not required. All you need is a cheese grater to shred those parboiled potatoes and a clean dish towel to squeeze out as much moisture as possible (for maximum crispness, of course).
- Crowd-favorite. Tater tots are a huge hit with kids, teens, grown-ups, grandmas and great-grandpas alike. And they can be served with anything and everything any time of day – we’re talking afternoon snack, an appetizer or as a side!
- Freezer-friendly. Tots freeze beautifully before or after cooking (but generally preferred before) and can keep for at least 1 month in the freezer.
how to make the crispiest tater tots
- Peel and parboil the potatoes until just tender
- Shred the potatoes and squeeze out the excess moisture
- Stir in the seasonings and form into beautiful little tots
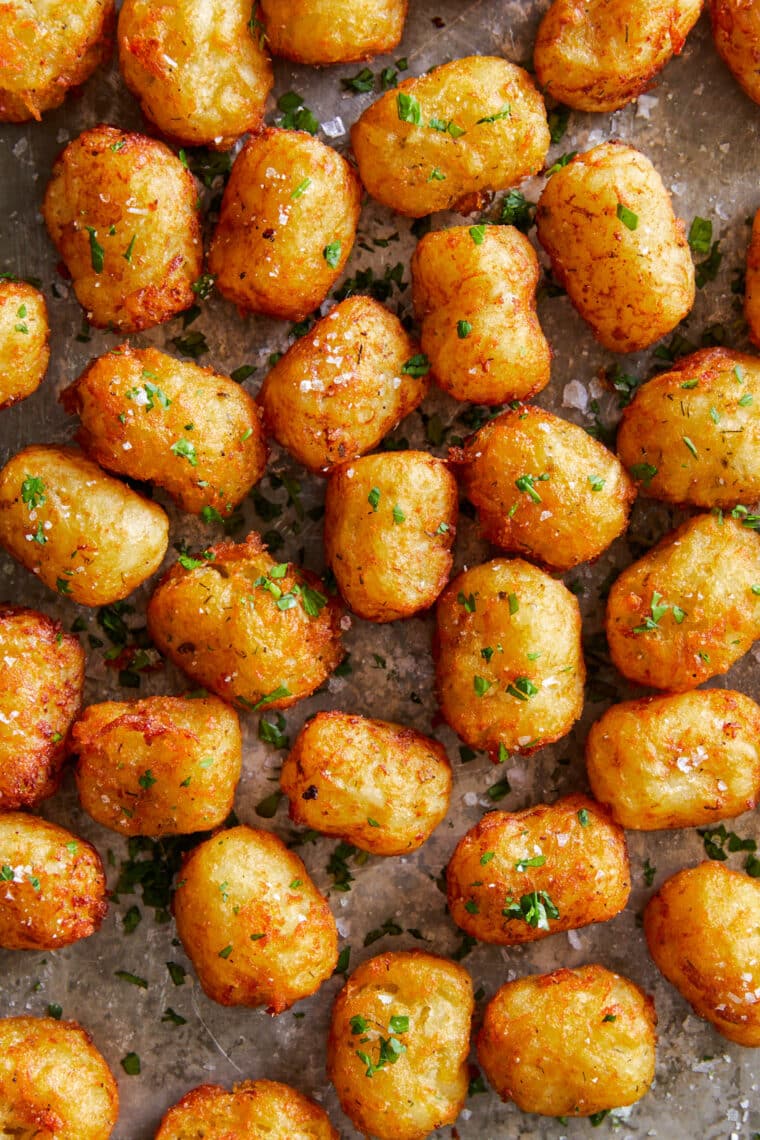
- Freeze for later, if desired, or fry the tots until crisp, golden brown goodness (in batches, of course)
- Serve with ketchup or your favorite dipping sauce (if you manage to have some leftovers, you can freeze them for next time)
tips and tricks for success
- Parboil the potatoes. Parboiling the potatoes before forming them into tots will partially cook the potatoes. This will help ensure the tater tots to cook evenly, holding their shape with a fluffy interior and crispy golden exterior. However, parboiling the potatoes for too long will make it difficult to shred.
- Use a heavy pot. A heavy bottom pot, such as a Dutch oven, is ideal here for even heat distribution for the hot oil.
- Use a candy thermometer for the most accurate results. The ideal temperature of the oil should be between 350° and 375°F.
- Fry in batches. If too many tater tots are added at once, the oil temperature will drop and the tater tots will absorb too much oil, resulting in soggy tots.
- Reheat in the oven. For best results with leftovers, reheat in the oven at 350°F until warmed through, stirring halfway – we want crispy on the outside, warm on the inside.
- Freeze before cooking. Although tater tots can be frozen before or after cooking, freezing before cooking is preferred to preserve texture and for optimal freshness.
- Mix it up. Swap out the potatoes for sweet potatoes, add jalapenos + cheese to the mixture before forming into tots, or toss with buffalo sauce + sprinkle with blue cheese crumbles.
FREEZING AND STORAGE
Storage
Leftover tater tots can be stored in an airtight container in the fridge for 3-4 days.
Reheating
Reheat in the oven at 350°F until warmed through, about 5-10 minutes.
Freeze before cooking
Place the uncooked tater tots on a baking sheet lined with wax paper or parchment paper, freezing for 1 hour until solid. Transfer the tater tots to an airtight, resealable freezer bag. Label, date and freeze up to 1 month. Cook as directed, adding 1 minute additional cook time as needed. Do not thaw.
Freeze after cooking
Let the tater tots cool completely. Place the tater tots on a baking sheet lined with wax paper or parchment paper, freezing for 1 hour until solid. Transfer the tater tots to an airtight, resealable freezer bag. Label, date and freeze up to 1 month. Reheat in the oven at 400°F until warmed through, about 15-17 minutes. Do not thaw.
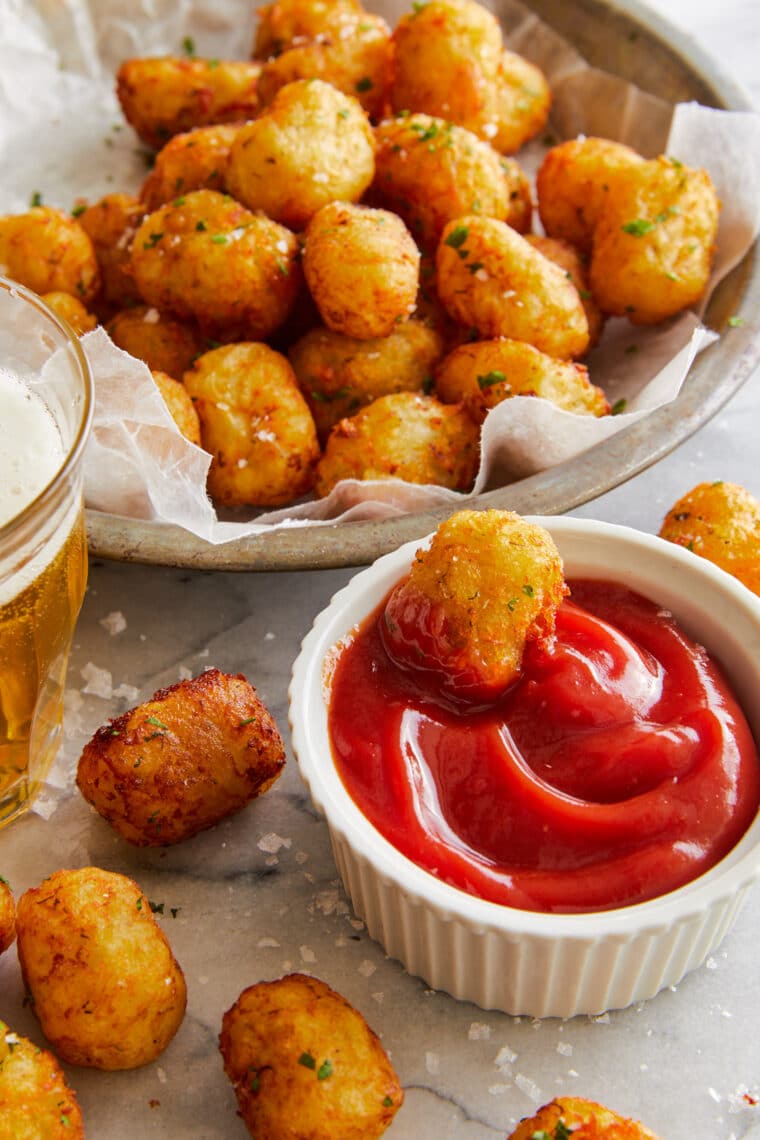
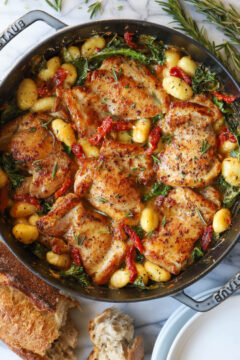
what to serve with homemade tater tots
Homemade Tater Tots: Frequently Asked Questions
Russet potatoes are best due to its high starch and low moisture content, yielding the crispiest tots possible. Yukon golds is not recommended as they may be too soft and moist.
Squeezing out the excess moisture will prevent the tater tots from falling apart. Too much moisture in the potatoes can lead to gummy, soggy tots.
Yes! These can be cooked in the air fryer, in batches if needed, at 400°F for 10-15 minutes.
Leftovers can be stored in an airtight container in the fridge for 3-4 days.
Absolutely! Tater tots can be frozen before or after cooking, and can keep for at least 1 month in the freezer.

Homemade Tater Tots

Ingredients
- 2 pounds russet potatoes, peeled
- 1 tablespoon all-purpose flour
- 1 teaspoon garlic powder
- ½ teaspoon onion powder
- ¼ teaspoon dried oregano
- ¼ teaspoon dried dill
- Kosher salt and freshly ground black pepper, to taste
- 3 cups vegetable oil
- 2 tablespoons chopped fresh parsley leaves
Equipment
Instructions
- Place potatoes in a Dutch oven and cover with cold salted water by 1 inch. Bring to a boil; reduce heat and simmer, covered, until parboiled, about 6-7 minutes; drain well and let cool.
- Using a box grater, finely shred potatoes. Using a clean dish towel or cheese cloth, drain potatoes completely, removing as much water as possible.
- Transfer potatoes to a large bowl. Stir in flour, garlic powder, onion powder, oregano and dill; season with salt and pepper, to taste. The mixture should be workable but dry. Form potatoes into tots.
- Heat vegetable oil in a large stockpot or Dutch oven over medium high heat until it registers 360 degrees F on a deep-fry thermometer.
- Working in batches, add tots to the Dutch oven and cook until evenly golden and crispy, about 3-4 minutes. Transfer to a paper towel-lined plate.
- Serve immediately, garnished with parsley, if desired.*
Video
Notes
Did you make this recipe?
Tag @damn_delicious on Instagram and hashtag it #damndelicious!


These look yummy – now I can have a home-made stash in the freezer. Please may we have some more home-made copy-cat food? This way, we will know what went into them without the extra sugar, preservatives, etc. Our waistlines will thank you for it. 🙂
Wow, your pictures are always amazing. I swear I could smell the tots frying as I read.lol. must be my middle of the night hunger pain.
Lisa, I could smell them, also. How weird… 🙂
Kelli
Wow do these look yummy! I stopped buying tator tots because my son didn’t really like them plus I figure not the healthiest food. However, yours not only look delicious but it’s nice to know exactly what goes into them. I do think my son will eat these up!